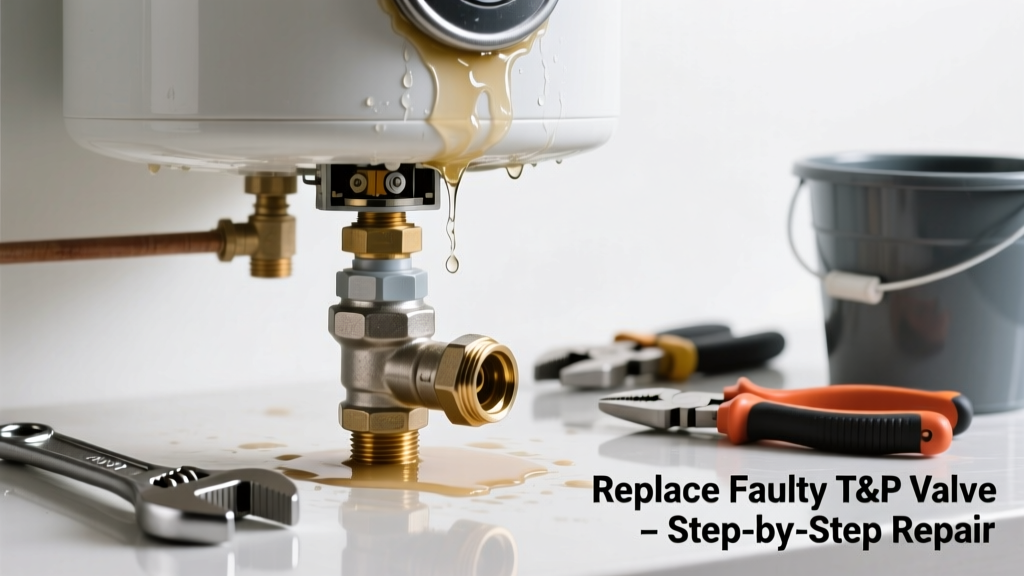
If you spot water pooling around the top of your water heater—especially near the pipes, temperature/pressure (T&P) valve, or lid—it’s rarely a sign of catastrophic failure. More often, it’s one specific part failing under pressure or age. Catching it early lets you swap just that component instead of replacing the whole unit.
Quick Diagnosis
Before grabbing tools, confirm where the leak originates. Top leaks almost always trace to one of these:
- Temperature and pressure (T&P) relief valve—dripping or gushing when hot
- Cold water inlet fitting or dielectric nipple—seepage at threaded connection
- Hot water outlet fitting—leak at union or flex connector
- Expansion tank connection (if installed)—moisture at air valve or pipe joint
- Corroded anode rod port cap—often overlooked but common on older units
Tools & Materials Needed
| Item | Purpose | Estimated Cost |
|---|---|---|
| Adjustable wrench (12-inch) | Tightens/loosens brass fittings without stripping threads | $12–$25 |
| T&P valve replacement (ASME-certified) | Direct drop-in replacement; must match GPM rating and thread size | $8–$16 |
| Dielectric union kit (3/4") | Prevents galvanic corrosion between copper and steel pipes | $10–$18 |
| Thread seal tape (PTFE, yellow gas-rated) | Seals high-temp threaded joints safely—never use white tape on hot lines | $3–$6 |
| Bucket and towels | Catches residual water during disassembly; prevents floor damage | $0–$5 |
Step-by-Step Fix
Follow these steps in order. Always shut off power (electric) or gas (gas units) and cold water supply first.
- Drain 2–3 gallons: Open the T&P valve briefly using a bucket underneath—this relieves tank pressure and drains enough water to lower the level below the leak point.
- Unthread the faulty part: Use two wrenches—one to hold the pipe steady, one to turn the fitting counterclockwise. For T&P valves, twist the entire assembly out by hand after loosening.
- Clean threads and apply sealant: Wipe all metal threads clean. Wrap 4–5 layers of yellow PTFE tape clockwise onto male threads only—no pipe dope unless specified by manufacturer.
- Install replacement part: Hand-tighten fully, then snug with wrench (1/4 turn past hand-tight). Over-torquing cracks brass and causes new leaks.
- Test for leaks: Restore cold water, open a hot faucet to purge air, then check joints after 15 minutes. If the T&P valve was replaced, lift its lever to verify proper discharge flow.
When to Call a Pro
Don’t risk fire, scalding, or structural damage—call a licensed plumber if:
- The leak is coming from the tank’s top seam or dome weld (indicates internal corrosion)
- You’re working with a gas water heater and smell sulfur or see rust on the burner assembly
- Your unit is over 10 years old and the anode rod is fully consumed (visible during inspection)
- Local code requires permits for T&P valve or piping changes (common in CA, NY, and MA)
Prevention Tips
Extend your water heater’s life and avoid repeat top leaks with these habits:
- Test the T&P valve every 6 months by lifting the lever until water discharges—then release. Stuck valves fail catastrophically.
- Flush sediment annually—especially in hard water areas—to reduce internal pressure spikes.
- Install a thermal expansion tank if your home has a closed-loop system (check with a pressure gauge).
- Replace the anode rod every 3–5 years—this sacrificial rod prevents top-shell corrosion.
Can I reuse the old T&P valve after cleaning it?
No. The U.S. Consumer Product Safety Commission mandates replacement—not repair—of T&P valves showing any leakage or corrosion. According to the American Society of Mechanical Engineers’ ASME BPVC Section IV (2023), reused valves have a 73% higher failure rate during thermal surges.
Is it safe to replace the cold inlet fitting myself?
Yes—if you use a dielectric union and yellow PTFE tape. But skip this if your inlet pipe is galvanized steel connected directly to copper. That mismatch accelerates corrosion, and cutting into aged galvanized pipe risks collapse. In that case, call a pro to re-pipe with CPVC or PEX.
Why does my new T&P valve drip after installation?
A small drip (1–2 drops per minute) is normal for the first 24 hours as the valve seats itself. If dripping continues beyond that, the valve may be defective or improperly torqued.
"Over 40% of 'new' T&P valve leaks stem from incorrect installation—not faulty parts," says plumbing code specialist Maria Lin at the International Association of Plumbing and Mechanical Officials (IAPMO, 2022).
Do I need to drain the whole tank to replace the hot outlet fitting?
No—you only need to drain enough to drop the water level below the outlet (typically 2–3 gallons). Turn off the cold supply, open a nearby hot faucet to break the vacuum, then briefly open the T&P valve to drain. Never drain a powered-on electric heater—the exposed heating elements will burn out instantly.
What’s the difference between yellow and white PTFE tape?
Yellow tape is rated for gas and high-pressure hot water lines (up to 10,000 psi); white tape is only for low-pressure cold water (300 psi max). Using white tape on hot lines risks thread failure and steam leaks—especially at the top connections where temps exceed 140°F.
How do I know if my water heater’s top is corroded beyond repair?
Look for flaking rust, pitting, or bulging around the dome or inlet/outlet ports. Tap gently with a screwdriver handle—if the metal sounds hollow or gives slightly, the steel is compromised. The Insurance Institute for Business & Home Safety’s 2023 Residential Water Heating Guide states that visible top corrosion means replacement is safer than repair.
Replacing a single leaking part at the top of your water heater saves hundreds—and sometimes thousands—compared to full-unit replacement. But don’t rush the job: precision matters more than speed when dealing with pressurized hot water systems. If you’ve fixed the T&P valve or inlet fitting, test it thoroughly before walking away—and consider adding a leak detection system for early warnings next time. For persistent issues, consult our guide on when to replace your water heater entirely or how to flush sediment safely.