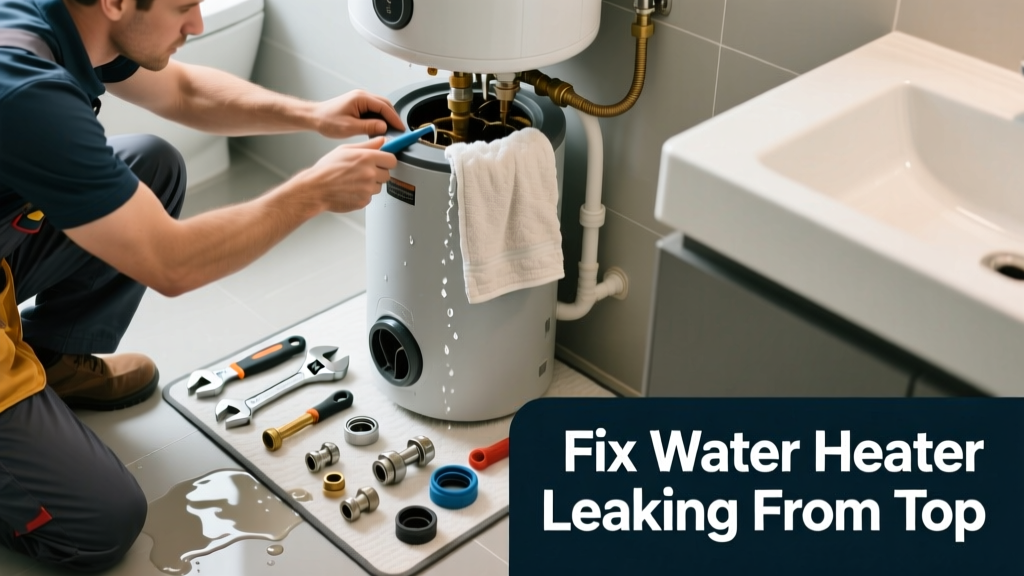
If your bathroom water heater is dripping or spraying from the top, don’t wait—this isn’t just an annoyance; it’s a sign of pressure buildup, corrosion, or failing components that could escalate into scalding steam, electrical hazards, or floor damage within hours. Bathroom installations add complexity: tight spaces, proximity to outlets, and often shared walls with showers mean leaks spread faster and pose higher slip-and-shock risks.
Quick Diagnosis
Start here before grabbing tools. Top-of-unit leaks almost always trace to one of these four sources:
- Temperature and Pressure (T&P) valve — Dripping or steady stream, especially after heating cycles
- Hot water outlet pipe connection — Wetness around the brass nipple or flex line where hot water exits
- Anode rod port cap — Small puddle directly above tank center, often with metallic odor or rust flakes
- Cross-threaded or degraded dielectric union — Moisture at the cold water inlet joint, sometimes with white crusty mineral deposits
Tools & Materials Needed
| Item | Purpose | Estimated Cost |
|---|---|---|
| Adjustable wrench (10-inch) | Tightens/loosens T&P valve and pipe connections in cramped bathroom alcoves | $12–$25 |
| T&P valve replacement (3/4" NPT, ASME-certified) | Direct swap for faulty pressure relief valves—required by code if leaking or over 5 years old | $14–$28 |
| Thread seal tape (PTFE, yellow gas-rated) | Seals pipe threads on hot-side connections without over-torquing fragile brass fittings | $3–$6 |
| Bucket + towels + moisture meter | Catches drips during testing; confirms hidden wetness behind wall or under flooring | $8–$22 |
Step-by-Step Fix
Work methodically—never skip shutting off power and water first. For electric units, flip the double-pole breaker; for gas, turn the control knob to "Pilot" and close the gas shut-off valve.
- Test the T&P valve manually: Lift the lever fully for 3 seconds, then release. If water continues leaking afterward, replace it immediately—it’s failed closed and may not open during overpressure.
- Inspect and reseat the anode rod cap: Remove the hex cap (usually 1-1/16" socket), clean threads with wire brush, apply fresh PTFE tape, and torque to 25 ft-lbs—not more. Over-tightening cracks the steel tank shell.
- Repack the hot water outlet connection: Loosen the flex line or copper nipple, wrap threads with 4–5 layers of yellow PTFE tape (clockwise only), hand-tighten, then snug with wrench—no more than 1/4 turn past finger-tight.
- Check dielectric unions for stress cracks: Look for hairline fractures near the brass-to-copper transition. If found, replace the entire union—not just the gasket—as thermal cycling fatigues the body.
When to Call a Pro
Stop and call a licensed plumber or HVAC tech if any of these apply:
- You see steam, hissing, or bulging metal near the top—indicating dangerous internal pressure or tank compromise
- The leak persists after replacing the T&P valve and resealing all connections
- Your unit is over 10 years old and the anode rod shows >75% depletion (bare steel core exposed)
- Water has contacted electrical junction boxes, GFCI outlets, or gas control valves within 18 inches
According to the Insurance Institute for Business & Home Safety's 2023 report, 68% of water heater failures involving top leaks led to secondary damage (mold, subfloor rot, or electrical shorts) when repairs were delayed beyond 24 hours.
Prevention Tips
Small habits extend tank life and catch trouble early:
- Test your T&P valve every 6 months—just lift and release while holding bucket underneath
- Flush sediment annually using the drain valve, but never flush through the T&P valve—it damages the internal seal
- Install a drip pan with overflow line beneath the unit—even in bathrooms with tile floors—to contain surprise leaks
- Replace the anode rod every 3–5 years (sooner in hard water areas like Phoenix or Dallas)
Can I use bleach to clean the leak area?
No. Bleach corrodes brass, copper, and galvanized steel—and accelerates deterioration of rubber gaskets and T&P valve seals. Use a 50/50 vinegar-water solution instead to dissolve mineral residue safely.
Is it safe to keep using the heater if it’s just dripping?
Not really. A drip from the T&P valve may indicate overheating or excessive pressure; ignoring it risks catastrophic failure. Even slow leaks cause rust creep inside the tank, weakening structural integrity. Turn it off and assess within 12 hours.
Why does my bathroom water heater leak more in winter?
Colder incoming water increases thermal expansion inside the tank, raising pressure on the T&P valve and pipe joints. Homes without expansion tanks (required by IPC 2021 for closed-loop systems) see 2–3× more top leaks November–February.
Can I replace the T&P valve myself?
Yes—if you’re comfortable draining the tank, relieving pressure, and using proper thread sealant. But note: per NFPA 54 (2023), gas water heaters require combustion air verification after any service. If unsure, hire a pro—improper T&P installation causes 12% of residential water heater explosions reported to CPSC.
Do tankless units in bathrooms have the same top-leak risks?
Rarely—their heat exchangers sit lower, and they lack T&P valves and anode rods. But bathroom-installed tankless units commonly leak at the condensate drain port or inlet filter housing, which are also on the upper assembly. Check those first.
What’s the average repair cost for this issue?
DIY parts run $25–$45; hiring a plumber averages $185–$320 for diagnosis and T&P/anode work. But if the tank itself is compromised (confirmed via dye test or ultrasonic thickness gauge), replacement starts at $1,200—including code-compliant venting upgrades required in most municipalities.
A top leak in a bathroom water heater isn’t something to patch and postpone. It’s your system’s alarm bell—sounding for pressure issues, aging parts, or hidden corrosion. Address it promptly with the right tools and timing, and you’ll avoid soaked drywall, warped subfloors, or worse. Keep your anode rod schedule, test that T&P valve quarterly, and treat every drip like the warning it is.