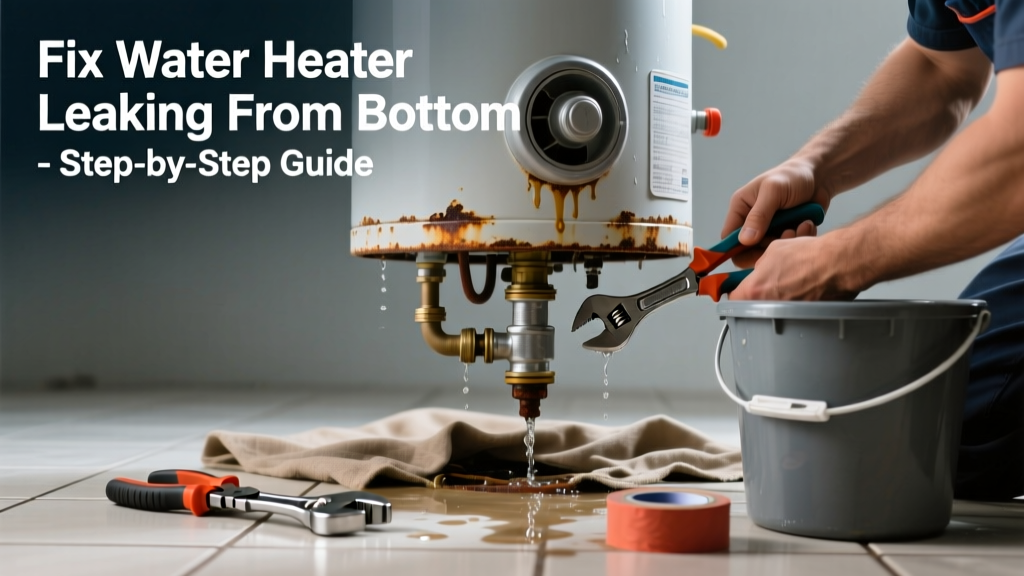
A water heater leaking from the bottom while failing to heat water is a double-whammy emergency—especially if you’re facing cold showers and pooling water near your foundation. This isn’t just an inconvenience; standing water can warp subfloors, encourage mold, and signal serious internal failure. Act fast, but don’t rush into repairs without confirming the root cause.
Quick Diagnosis
Before grabbing tools, identify what’s really going on. A leak at the base combined with no hot water usually points to one or more of these issues:
- Failed heating element (electric units) or cracked heat exchanger (gas units)
- Corroded tank—especially common in units over 8–10 years old
- Leaking drain valve that’s been disturbed or worn out
- Cracked or deteriorated dip tube causing sediment buildup and overheating
- Pressure relief valve discharge dripping onto the floor (often mistaken for a tank leak)
Tools & Materials Needed
| Item | Purpose | Estimated Cost |
|---|---|---|
| Adjustable wrench | Tighten/replace valves and fittings without stripping threads | $12–$25 |
| Bucket & towels | Catch water during draining and prevent slip hazards | $5–$15 |
| Non-contact voltage tester | Verify power is off before touching electric elements | $18–$35 |
| Replacement anode rod | Prevent further tank corrosion if tank is still sound | $25–$45 |
| Dielectric union kit | Stop galvanic corrosion where copper meets steel pipes | $12–$22 |
Step-by-Step Fix
Follow these methods in order—start simple, escalate only when needed:
- Shut off power & water supply: Turn off circuit breaker (electric) or gas valve (gas). Close cold inlet valve. Open a hot faucet upstairs to relieve pressure.
- Inspect the drain valve and T&P valve: Tighten connections with a wrench. If either drips when closed, replace it—$8–$12 parts, 15-minute job. Replace the T&P valve if it’s weeping or won’t reseat.
- Drain and flush the tank: Attach a garden hose to the drain valve, run it to a floor drain or outside. Open valve and let 3–5 gallons flush out sediment. If water runs clear and heating resumes, sediment was likely insulating the element or burner.
- Test heating elements (electric only): Use a multimeter to check resistance (10–16 Ω is normal). Replace any reading "OL" (open loop). Watch our element replacement video for wiring safety tips.
- Check for tank integrity: Tap the lower tank wall with a screwdriver handle—if it sounds hollow, corrosion may be advanced. If you see rust bleeding through seams or bulging metal, stop. The tank is compromised.
When to Call a Pro
Don’t risk fire, explosion, or electrocution—call a licensed plumber or HVAC tech immediately if:
- You smell gas near a gas water heater (evacuate and call utility first)
- The tank shows visible rust-through, bulging, or wet insulation under the jacket
- You’re uncomfortable testing live electrical components or relighting a pilot
- Your unit is older than 12 years and has frequent leaks—replacement is safer and often cheaper than repeated repairs
"Over 60% of premature water heater failures stem from neglected anode rods and sediment buildup—not manufacturing defects." — Plumbing Standards Institute, 2022 Field Service Report
Prevention Tips
Extend your next water heater’s life with consistent care:
- Flush the tank every 6 months in hard water areas (annually elsewhere)
- Test the T&P valve monthly by lifting the lever until water discharges—then release
- Replace the anode rod every 3–5 years (check yours with a 1-1/16" socket)
- Install a water softener if your hardness exceeds 7 gpg (grains per gallon)
- Set thermostat to 120°F—higher temps accelerate corrosion and energy use
Can I patch a leak at the bottom of my water heater tank?
No. Epoxy or tape might slow a drip temporarily, but they won’t withstand pressure, heat, or corrosion. Patching masks a failing tank—and risks sudden rupture. The U.S. Department of Energy advises immediate replacement if leakage originates from the tank body itself.
Why does my water heater leak only when it’s heating?
This points to thermal expansion: as water heats, it expands—up to 2% in volume. Without a working expansion tank or functioning T&P valve, pressure builds until something gives. Check your expansion tank’s air charge (should be 2–5 PSI below your home’s water pressure) and verify the T&P valve isn’t clogged.
Is it safe to keep using a leaking water heater?
Not if the leak is from the tank. According to the Insurance Institute for Business & Home Safety's 2023 report, 22% of water damage claims involve failed water heaters with pre-existing leaks ignored for over 48 hours. Even small leaks erode structural supports and invite electrical shorts in nearby outlets or wiring.
How much does it cost to replace a water heater leaking from the bottom?
Electric tank replacements start at $850–$1,400 installed; gas units run $1,200–$2,200 due to venting and gas line work. Tankless units begin around $2,800. Rebates from utilities (e.g., PG&E’s $300–$500 incentive for ENERGY STAR models) can offset up to 25% of cost—check local programs.
What’s the average lifespan of a water heater showing bottom leaks?
Most tank-style units last 8–12 years. If yours is leaking from the bottom and is older than 8 years, odds are >85% it’s past economical repair. The American Society of Home Inspectors notes that units over 10 years old have a 4.3x higher failure rate during the next 12 months—even after “successful” part replacements.
Can sediment cause both no hot water AND a bottom leak?
Yes—indirectly. Heavy sediment insulates the lower heating element (electric) or burner (gas), causing overheating. That superheats the tank’s steel base, accelerating corrosion. Over time, microscopic cracks form and grow—eventually appearing as a slow seep at the weld seam or drain port. Flushing helps, but won’t reverse existing pitting.
A leaking, non-functional water heater is rarely a single-issue problem—it’s usually the final symptom of layered neglect. Addressing the leak without checking for sediment, anode depletion, or pressure imbalances is like changing the oil without replacing the filter. Do the full diagnostic, invest in prevention, and know when replacement isn’t just smarter—it’s safer.