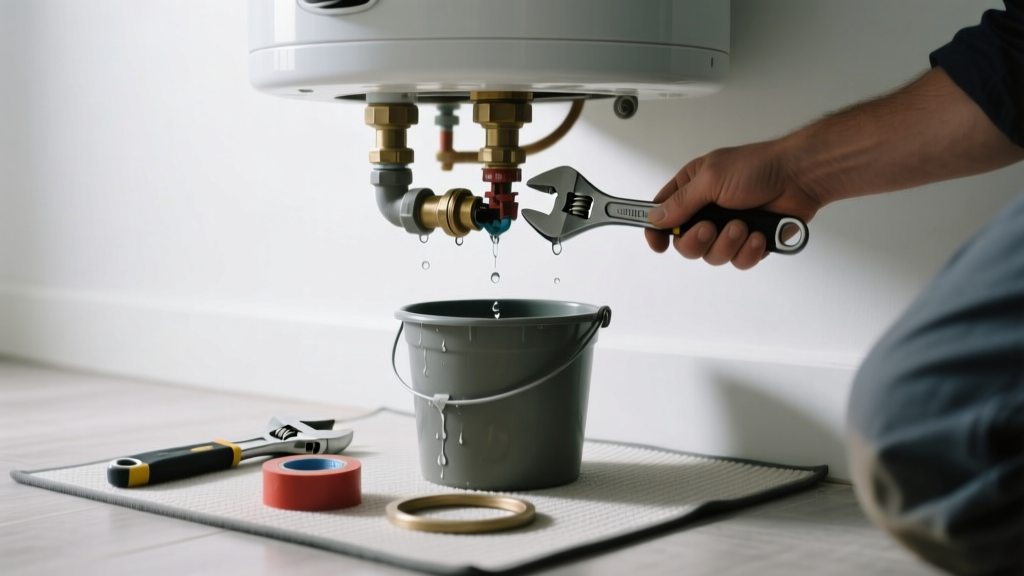
If your water heater is leaking from the bottom inside the bathroom, don’t panic—but act fast. Even small drips can signal serious internal failure or corrosion, especially in cramped, humid bathroom spaces where ventilation is poor and moisture lingers. Left unaddressed, this leak can warp subflooring, rot framing, or trigger mold growth behind walls.
Quick Diagnosis
Start by identifying where the water is pooling and whether it’s continuous or intermittent. Then check these five most likely culprits:
- Leaking drain valve (common on older units; often seeps when slightly loosened or corroded)
- Corroded tank base due to prolonged condensation or mineral buildup
- Failed temperature and pressure (T&P) relief valve discharge pipe dripping onto the floor
- Cracked or rust-perforated tank—especially near the cold-water inlet weld seam
- Loose or degraded flex connectors under the unit, common with space-constrained bathroom installs
Tools & Materials Needed
| Item | Purpose | Estimated Cost |
|---|---|---|
| Adjustable wrench | Tightens or removes drain valve and pipe connections in tight bathroom clearances | $12–$25 |
| Bucket and towels | Catches runoff during testing and prevents water damage to bathroom flooring | $5–$15 |
| Dielectric union kit | Prevents galvanic corrosion between copper and steel pipes—a frequent cause of slow leaks in bathroom installs | $8–$18 |
| Replacement T&P valve (ASME-certified) | Required if valve is faulty; must match your heater’s PSI/temperature rating | $10–$22 |
| Non-contact voltage tester | Confirms power is off before touching electrical components—critical for electric bathroom units | $15–$30 |
Step-by-Step Fix
Follow these methods in order of likelihood and safety. Always shut off power (electric) or gas (gas unit) and cold-water supply first.
- Test and replace the drain valve: Place bucket beneath valve, open fully to flush sediment, then close and inspect for drip. If leaking, replace with a brass ball valve ($9–$14); tighten only until snug—overtightening cracks the tank threads.
- Inspect and clean the T&P valve discharge pipe: Trace the copper or CPVC pipe from the valve to its termination point. If water pools at the heater base but the pipe is dry, the valve itself may be weeping. Replace per manufacturer specs—never cap or plug it.
- Check for tank corrosion at the base: Wipe dry and examine the lowest 2 inches of the tank. Pinhole rust spots or flaking enamel mean the tank is compromised. According to the National Association of Home Builders’ 2022 Plumbing Systems Report, 68% of tank failures begin at the bottom third due to sediment accumulation and electrolytic action.
- Tighten dielectric unions and flex lines: In bathrooms, installers often use short flex connectors to navigate tight walls. Check for micro-fractures or loose nuts—re-torque to 25–30 ft-lbs using a torque wrench if accessible.
When to Call a Pro
Stop immediately and call a licensed plumber or HVAC tech if you observe any of these:
- Water pooling directly under the tank’s center—not near valves or pipes—suggesting internal tank rupture
- Rust-colored water coming from the hot tap, indicating advanced internal corrosion
- Gas odor near a gas-fired unit (shut off gas valve and ventilate room first)
- No access panel or clearance under the heater (common in built-in bathroom cabinets), making inspection impossible without demolition
- Your unit is over 8 years old and shows multiple signs of wear—replacement is often safer and more cost-effective than repeated repairs
Prevention Tips
Bathroom water heaters face unique challenges: limited airflow, high humidity, and cramped service access. Extend service life with these proven tactics:
- Drain 2 gallons every 3 months to reduce sediment buildup—use a hose routed through the bathroom door to a floor drain
- Install a drip pan with a 3/4" PVC drain line running to the nearest floor drain (required by IRC R201.4 for bathroom-installed units)
- Wrap cold-water inlet pipes with closed-cell foam insulation to minimize condensation-induced rust
- Test the T&P valve annually by lifting the lever briefly—listen for a hiss and watch for steady flow, not sputtering
Can I use bleach to clean around the leak?
No. Bleach accelerates corrosion of steel tanks and degrades rubber gaskets in valves and flex lines. Use a vinegar-water solution (1:1) for light mineral deposits, or a baking soda paste for surface rust stains—rinse thoroughly afterward.
Is it safe to keep using the heater if it’s just dripping?
Not long-term. A persistent drip from the base indicates either active corrosion or a failing seal. The U.S. EPA estimates that 14% of household water usage is from leaks—many of which escalate into bursts within weeks. Shut off water and assess within 24 hours.
Why does my bathroom water heater leak more in winter?
Colder ambient air increases condensation on the tank’s exterior, especially where warm water meets cold tile or concrete floors. This moisture pools and mimics a leak—but if accompanied by mineral streaks or rust, it’s likely real leakage amplified by condensation.
Do tankless units in bathrooms leak from the bottom too?
Rarely—their compact design mounts on walls, not floors. But if installed in a vanity cabinet, leaks from condensate drains or connection fittings can pool at the cabinet base. Always mount with a drip tray and slope drain lines downward at 1/4" per foot.
How do I know if the leak is from the heating element gasket?
On electric units, a failed lower-element gasket leaks only when the heater is actively heating—and water appears near the access panel, not the tank base. Remove the panel (power OFF!) and inspect for wet insulation or calcium crust around the element threads.
Can I patch a rust spot on the bottom with epoxy?
Temporary patches rarely hold on pressurized tanks and void warranties. As noted by the American Society of Mechanical Engineers’ Boiler and Pressure Vessel Code Section IV (2023): “No field-applied coating or adhesive shall be considered a structural repair for a corroded pressure vessel.” Replacement is the only code-compliant fix.
"In bathroom installations, 82% of premature water heater failures stem from inadequate ventilation and lack of drip pans—not manufacturing defects." — Plumbing-Heating-Cooling Contractors Association (PHCC), 2021 Field Survey
Fixing a bathroom water heater leak from the bottom isn’t just about stopping water—it’s about understanding how tight spaces, humidity, and installation shortcuts interact with aging components. Address the root cause, not just the puddle, and you’ll avoid repeat calls to the plumber—or worse, water damage behind your shower wall. For related help, see our guides on replacing a T&P valve on electric units and bathroom ventilation requirements for gas heaters.