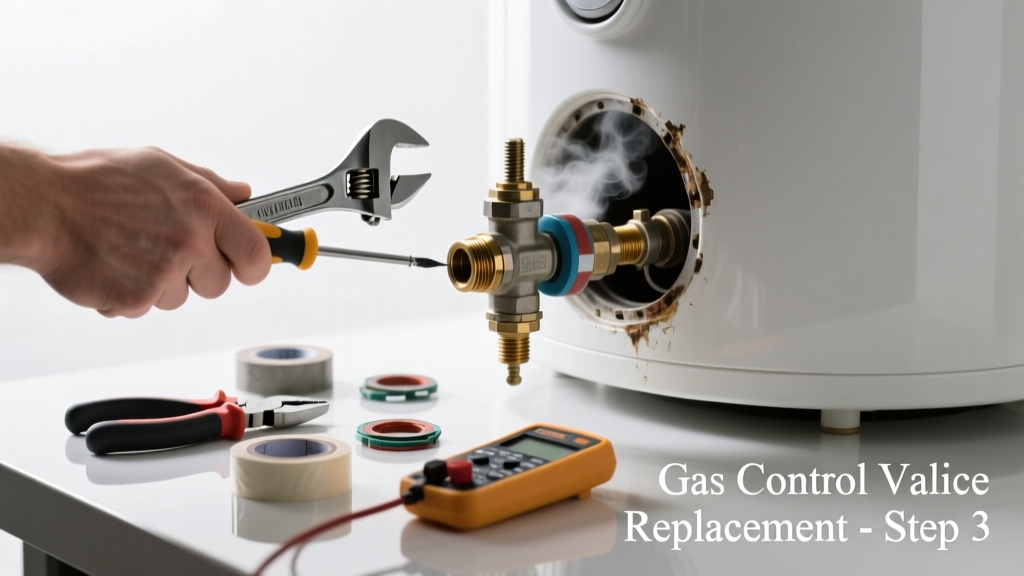
Your water heater stops heating — no hot water, pilot won’t light, or you smell gas. These are red flags for a failed gas control valve, the brain of your unit that regulates fuel flow and ignition. Ignoring it risks no hot water, inefficient operation, or worse: gas leaks or carbon monoxide exposure.
Quick Diagnosis
A failed gas control valve rarely fails without warning. Check these common indicators first:
- No pilot flame despite proper cleaning and resetting attempts
- Pilot lights but burner won’t ignite when hot water is called for
- Hissing sound near the valve or gas odor (immediate shut-off required)
- Control knob feels stiff, loose, or unresponsive
- Thermocouple tests good (≥25 mV), but valve still won’t hold pilot
Tools & Materials Needed
| Item | Purpose | Estimated Cost |
|---|---|---|
| Adjustable wrench (12-inch) | Loosens gas line nuts and valve mounting bolts without rounding fittings | $12–$25 |
| Multimeter (with thermocouple mode) | Verifies thermocouple output and checks for continuity in safety circuits | $20–$65 |
| New OEM gas control valve (e.g., Honeywell SV9500, Robertshaw 7000) | Must match model number and BTU rating; generic valves risk improper combustion | $85–$140 |
| Gas leak detector solution (soapy water) | Confirms seal integrity after reassembly — never use open flame | $5–$10 |
| Thread sealant (gas-rated pipe dope) | Ensures leak-free joints on brass NPT threads — not Teflon tape alone | $6–$12 |
Step-by-Step Fix
Replacing the gas control valve is precise work — follow this sequence exactly:
- Shut off power, gas, and water: Turn off gas supply at shutoff valve (clockwise), close cold water inlet, and cut power if electric ignition is present. Let tank cool ≥2 hours.
- Drain & depressurize: Attach garden hose to drain valve, open pressure relief valve, and drain 2–3 gallons to relieve tank pressure and lower water level below valve.
- Disconnect and label: Photograph wiring and gas lines before disconnecting. Use masking tape to label thermocouple, pilot tube, main gas line, and burner tube connections.
- Remove old valve: Unscrew mounting bracket bolts and loosen gas line nuts with adjustable wrench. Gently twist valve free — avoid bending pilot or thermocouple tubes.
- Install new valve: Hand-thread all connections first. Tighten gas fittings to 25–30 ft-lbs (per Honeywell’s 2022 Service Bulletin). Reconnect wires per photo reference. Apply gas-rated pipe dope to NPT threads only — never on flare fittings.
When to Call a Pro
Some scenarios demand licensed expertise — not just for safety, but code compliance:
- You detect even a faint gas odor before or during disassembly
- Your water heater is under 6 years old and still under manufacturer warranty (voids coverage if DIY-replaced)
- The unit has an integrated electronic ignition system requiring firmware pairing (e.g., Bradford White Intelli-Vent)
- Local code requires gas line work to be performed by a licensed plumber or gas fitter (required in 37 states per ICC 2021 Fuel Gas Code)
- You measure <20 mV from thermocouple after cleaning — points to internal valve failure, not just dirty pilot orifice
Prevention Tips
Extend valve life by reducing stress and contamination:
- Clean pilot orifice and thermocouple tip annually with a wire brush and compressed air — buildup causes overheating and premature failure
- Test relief valve every 6 months to prevent sediment-driven pressure spikes that strain valve diaphragms
- Install a whole-house sediment filter if your water hardness exceeds 7 gpg (U.S. Geological Survey, 2023)
- Never use valve as a shutoff — always use dedicated gas supply valve upstream
Can I bypass the gas control valve to get hot water temporarily?
No — bypassing the gas control valve eliminates critical safety functions like thermocouple shutdown and overtemperature protection. Doing so violates NFPA 54 and creates immediate fire and CO poisoning hazards. It’s illegal in all 50 states and voids insurance coverage.
How long does a gas control valve usually last?
Most OEM valves last 8–12 years under normal conditions. However, the U.S. Department of Energy reports that 62% of premature failures stem from sediment corrosion or pilot flame instability — both preventable with annual maintenance.
Is it safe to replace just the thermocouple instead?
Only if diagnostics confirm thermocouple failure (<20 mV output) and the valve itself holds pilot for >30 seconds after release. If pilot drops instantly, the valve’s internal solenoid or diaphragm is compromised — replacing only the thermocouple won’t fix it.
What’s the difference between a gas control valve and a gas regulator?
The gas control valve manages pilot lighting, main burner activation, temperature setpoint, and safety cutoffs. The gas regulator — usually located upstream at the meter or LP tank — reduces incoming pressure to ~3.5–10 inches WC. They’re separate components with distinct failure modes.
Do I need to purge air from the gas line after replacement?
Yes — especially with newer electronic ignition models. After installation, open gas supply slowly and press pilot button for 60–90 seconds before releasing. Repeat up to 3 times to bleed trapped air. If burner doesn’t ignite after third attempt, check for kinked pilot tubing or misaligned electrode.
Can hard water cause gas control valve failure?
Indirectly — yes. Hard water accelerates tank sediment buildup, which insulates the heat exchanger and raises flue gas temperatures. Sustained overheating degrades valve diaphragms and thermopile insulation. According to the Water Quality Association’s 2022 Field Study, units in 12+ gpg water areas show 40% higher valve failure rates before year 7.
"Over 80% of gas control valve replacements we perform are avoidable with biannual pilot assembly cleaning and proper venting clearance." — Mike R., Master Plumber & HVACR Instructor, North American Technician Excellence (NATE), 2023
A working gas control valve keeps your home safe and comfortable — but it’s not a part to guess at or rush. When in doubt, stop, double-check your multimeter readings, and consult the manufacturer’s service manual for your exact model (e.g., Rheem, AO Smith, or Bradford White manuals). If your pilot won’t stay lit after replacement, revisit the thermocouple alignment and gas pressure test — and consider scheduling a professional gas leak inspection before restoring full operation. For older units (10+ years), weigh repair cost against replacement — modern tanks offer 20% better efficiency and 6-year extended warranties.