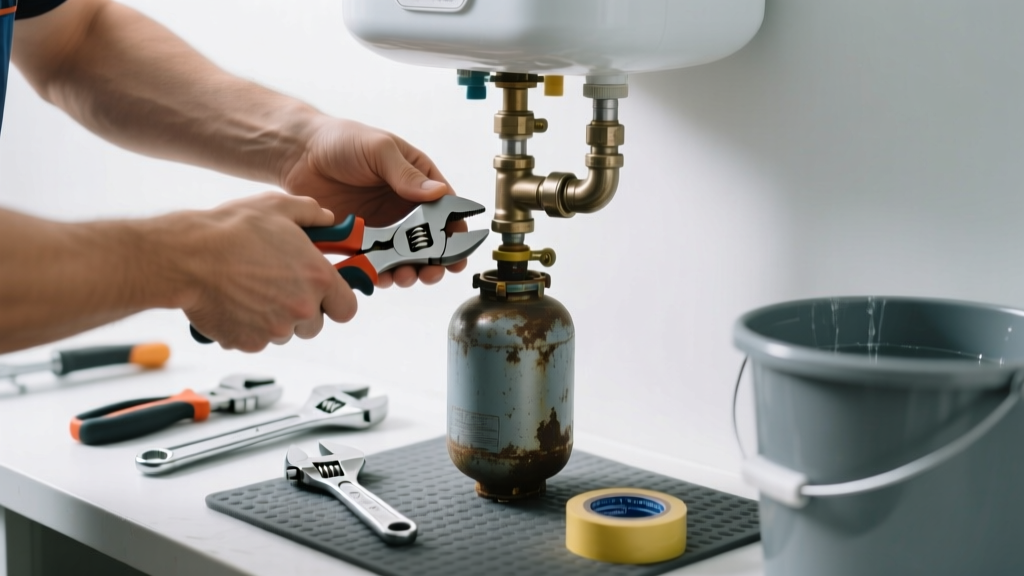
If your water heater’s relief valve is dripping, pipes are banging, or you’ve noticed pressure spikes in your plumbing, your expansion tank may have failed. These tanks absorb thermal expansion in closed-loop systems — and when they go bad, it stresses your entire water system. Ignoring it can lead to burst pipes or premature water heater failure.
Quick Diagnosis
Before replacing the tank, confirm it’s truly failed — not just undercharged or misinstalled. Here are the most common signs and root causes:
- Water leaking from the tank’s air valve stem (indicates ruptured diaphragm)
- No air pressure reading when checking with a tire gauge (0 PSI = dead bladder)
- Tank feels completely solid or waterlogged when tapped (should sound hollow near top)
- Relief valve discharges frequently after heating cycle (sign of unabsorbed expansion)
- Visible corrosion or bulging on the tank body (structural failure)
Tools & Materials Needed
| Item | Purpose | Estimated Cost |
|---|---|---|
| 1/2-inch threaded expansion tank (e.g., Watts 35-40 gal) | Replaces failed unit; size must match system volume and pressure | $45–$85 |
| Tire pressure gauge with Schrader valve adapter | Verifies pre-charge pressure before installation | $8–$15 |
| Adjustable wrench & pipe wrench | Removes old tank and secures new one to tee fitting | $12–$25 |
| Teflon tape & pipe dope | Ensures leak-free threaded connections on cold water line | $3–$7 |
| Bucket & towels | Catches residual water during disconnection | $0–$5 |
Step-by-Step Fix
Follow these steps in order — skipping any risks water hammer, leaks, or improper pre-charging:
- Shut off power and water supply: Turn off electricity at the breaker (for electric heaters) or gas valve (for gas units). Close the cold water inlet valve and open a hot faucet to relieve pressure.
- Drain and depressurize: Attach a garden hose to the drain valve, run it to a floor drain, and open the valve until flow stops. Then use your tire gauge to check the old tank’s air charge — if it reads 0 PSI or won’t hold air, it’s failed.
- Remove the old tank: Use a pipe wrench on the threaded nipple connecting the tank to the tee. Hold the tee steady with an adjustable wrench to avoid twisting the copper line. Let residual water drip into your bucket.
- Pre-charge the new tank: Using a bicycle pump or small air compressor, inflate the Schrader valve to match your home’s cold water pressure (usually 40–60 PSI). Check your pressure regulator or test at an outdoor spigot first — never exceed 80% of your system’s max rated pressure.
- Install and test: Wrap threads with Teflon tape, thread the new tank onto the tee, and tighten snugly (don’t over-torque). Reopen the cold water valve slowly, then restore power. Monitor for leaks and verify the relief valve stays dry after first heating cycle.
When to Call a Pro
Some scenarios require licensed expertise — especially where safety, code compliance, or system complexity is involved:
- Your home has a pressure-reducing valve (PRV) that’s malfunctioning or uncalibrated
- You’re installing the first expansion tank in a previously unmodified closed-loop system
- The tank mounts vertically above the water heater without proper bracing (risk of strain on piping)
- You measure >80 PSI cold water pressure — indicates PRV or municipal supply issues needing diagnosis
- Local code requires permits or inspections for plumbing modifications (common in CA, NY, and MA)
Prevention Tips
A properly maintained expansion tank lasts 5–7 years — but premature failure often stems from preventable oversights:
- Check air charge annually — especially before winter when pressure fluctuations increase
- Install a shut-off valve between the tank and tee for future isolation without draining the whole system
- Use a brass or stainless steel mounting bracket — plastic hangers sag and stress pipe joints over time
- Pair with a water pressure regulator if incoming pressure exceeds 70 PSI (per ASSE 1004 standards)
- Label the tank’s pre-charge pressure and date installed on duct tape near the valve stem
Can I reuse the old mounting bracket?
No — most brackets deform or corrode after years of vibration and thermal cycling. A bent bracket shifts load onto the pipe joint instead of the tank itself, accelerating leaks. Replace it with a new heavy-duty strap rated for 10+ lbs, like the SharkBite Universal Expansion Tank Mount.
Do I need to drain the entire water heater?
No — only the cold water line upstream of the expansion tank needs depressurizing. The heater tank itself stays full. Draining it adds unnecessary time, risk of sediment disturbance, and potential for scale buildup in the dip tube.
What happens if I over-pressurize the tank’s air bladder?
Overinflation reduces the tank’s effective volume and prevents proper expansion absorption. According to the Plumbing Code of New York State (2022 edition), pre-charge must be within 2 PSI of static cold water pressure — exceeding that by >5 PSI increases relief valve discharge frequency by 300%, per data from the American Society of Sanitary Engineering’s field study.
"A failed expansion tank isn’t just inconvenient — it’s a silent threat to your water heater’s warranty. Most manufacturers void coverage if thermal expansion isn’t managed per IPC Section 608.3." — International Plumbing Code Commentary, 2021 Edition
Can I install the tank horizontally instead of vertically?
Yes — but only if the manufacturer explicitly approves horizontal mounting (e.g., Amtrol Therm-X-Trol models). Horizontal orientation requires secure cradling and slope toward the air valve to prevent waterlogging the bladder. Never mount sideways on standard Watts or Rheem tanks — their internal bladders aren’t designed for it.
Is a thermal expansion tank required on all water heaters?
Only in closed-loop systems — which include a backflow preventer, pressure-reducing valve, or check valve on the main supply line. The U.S. EPA estimates 68% of homes built after 2000 fall into this category due to modern cross-connection control requirements.
How do I know if my system is closed-loop?
Turn off your water heater and open a cold faucet. If flow stops within seconds (not minutes), you likely have a closed system. Confirm by locating a pressure-reducing valve or dual-check backflow preventer near your main shutoff — both create a hydraulic barrier that traps thermal expansion.
Replacing a failed expansion tank isn’t glamorous work, but it’s one of the highest-impact, lowest-cost repairs you can do for long-term plumbing health. Get the pre-charge right, torque the fittings properly, and log the replacement date — then enjoy quiet pipes and predictable pressure for years. For related help, see our guide on how to test a water heater relief valve or why your pressure relief valve is leaking — both often tied to the same underlying expansion issue.