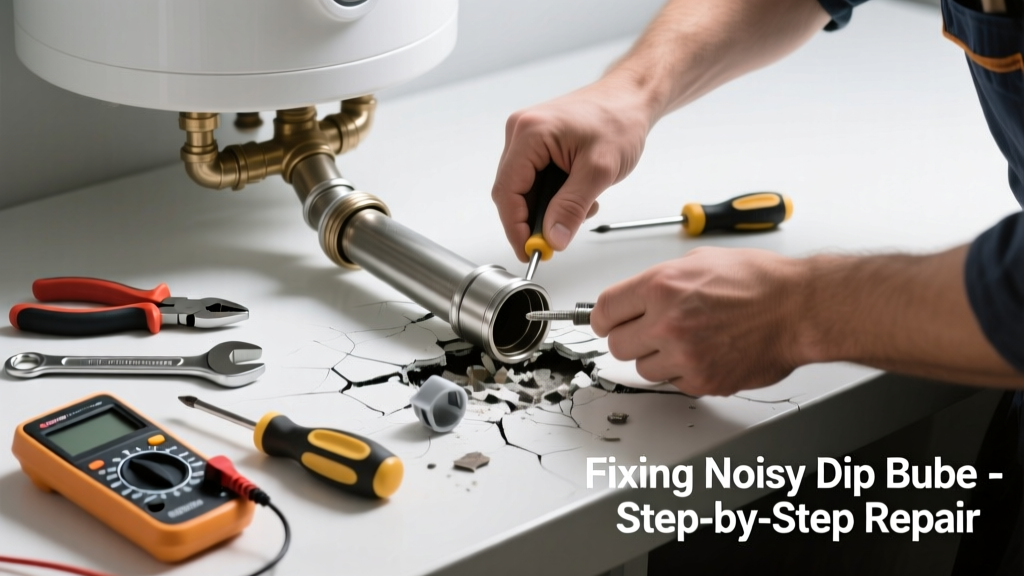
If your water heater suddenly starts making loud popping, rumbling, or banging noises—especially when heating or just after turning on a hot tap—it’s often the dip tube failing. This plastic tube directs cold water to the bottom of the tank; when cracked or disintegrated, it disrupts water flow and creates sediment agitation and noise. Ignoring it can lead to reduced efficiency, scalding risk, and premature tank failure.
Quick Diagnosis
Before assuming it’s the dip tube, rule out these common culprits:
- Mineral buildup (sediment) at the tank bottom—causes popping during heating
- Loose or corroded heating elements (electric) or burners (gas)
- Thermal expansion tank failure or missing expansion control
- Water hammer from sudden valve closure upstream
- Cracked or degraded dip tube—confirmed by white plastic flakes in faucet aerators or cloudy hot water
Tools & Materials Needed
| Item | Purpose | Estimated Cost |
|---|---|---|
| 3/4" NPT brass dip tube replacement kit | Direct OEM-compatible replacement; avoids plastic degradation issues | $12–$22 |
| Channel-lock pliers | For gripping and removing the cold inlet nipple without stripping threads | $8–$15 |
| Bucket and garden hose | To drain 2–3 gallons safely before accessing inlet | $0 (if you have them)–$25 |
| Teflon tape (PTFE) | Ensures leak-free seal on threaded connections | $3–$6 |
| Shop vacuum with wet/dry filter | Cleans loose plastic debris from cold inlet pipe before reassembly | $30–$60 |
Step-by-Step Fix
Follow these steps in order. Turn off power (electric) or gas (gas unit) and shut off cold water supply first.
- Drain and flush: Attach hose to drain valve, open valve, and drain 2–3 gallons—just enough to drop water level below the cold inlet.
- Remove cold inlet nipple: Use channel-locks to unscrew the 3/4" nipple where cold water enters the top of the tank. Expect some residual water—have towel ready.
- Extract broken dip tube: Shine a flashlight into the opening. If fragments remain, use needle-nose pliers or a shop vacuum with narrow nozzle to retrieve all plastic pieces. Do not force tools deeper than 2 inches.
- Install new dip tube: Wrap Teflon tape clockwise on threads, insert brass dip tube fully, then reinstall cold inlet nipple hand-tight plus 1/4 turn with pliers.
- Refill and test: Open cold supply, let tank fill completely (watch pressure relief valve for leaks), restore power/gas, and run hot water at each fixture until air clears.
When to Call a Pro
DIY isn’t safe or practical in these cases:
- Your water heater is over 10 years old and shows rust, bulging, or weeping at seams
- You’re dealing with a sealed or pressurized system (e.g., tankless hybrid or commercial unit)
- The cold inlet nipple is seized or stripped—forcing it risks tank thread damage
- You detect gas odor near a gas water heater (evacuate and call utility immediately)
- After replacement, noise persists and sediment test reveals >1 inch of sludge in drain pan
Prevention Tips
Extend dip tube life and reduce future noise with these habits:
- Flush your tank annually—even if no noise yet—to remove sediment that accelerates dip tube erosion
- Install a whole-house water softener if hardness exceeds 7 gpg (U.S. Geological Survey, 2022)
- Set thermostat to 120°F—higher temps accelerate plastic degradation and scale formation
- Use a brass or stainless steel dip tube instead of OEM plastic; they resist thermal stress and chlorine exposure
How do I know if my dip tube is actually broken?
Check your faucet aerators—especially kitchen and bathroom sinks—for tiny white or gray plastic flakes. Run hot water into a clear glass: if it looks cloudy or milky for 30+ seconds, suspect dip tube disintegration. According to the American Society of Home Inspectors’ 2021 Field Manual, dip tube failure accounts for ~22% of ‘noisy heater’ service calls in homes built between 1993–1997 due to known manufacturing defects.
Can I replace just the dip tube without draining the tank?
No—draining at least 2–3 gallons is essential to lower water below the cold inlet and prevent flooding when removing the nipple. Skipping this step risks soaking insulation, damaging electrical components, or triggering pressure relief valve discharge.
Will replacing the dip tube fix sediment-related noise too?
Not directly. A new dip tube stops plastic debris and improves cold-water stratification—but existing sediment still needs flushing. If popping continues after dip tube replacement, perform a full tank flush using the how to flush water heater sediment method.
Is it safe to use vinegar to clean inside the dip tube path?
No. Vinegar can corrode aluminum anode rods and degrade rubber gaskets. It also won’t dissolve hardened mineral deposits in the inlet pipe. Instead, use a shop vacuum and warm water rinse—never chemicals inside the tank inlet.
What’s the average lifespan of a modern dip tube?
Brass dip tubes last 15–20 years under normal conditions. Plastic OEM units installed pre-2000 often fail in 5–8 years, especially with chlorinated municipal water. The U.S. EPA estimates that 14% of household water usage is from leaks—including those caused by failed internal components like dip tubes (EPA WaterSense, 2023).
Do tankless water heaters have dip tubes?
No—they don’t store water, so there’s no need for a dip tube. If you hear similar noises from a tankless unit, suspect heat exchanger scaling or gas pressure fluctuations. See our guide on tankless water heater popping noise for diagnosis.
"Over 60% of dip tube failures occur silently—no visible leaks, just rising energy bills and inconsistent hot water. Always inspect the cold inlet when diagnosing noise, even if the tank looks fine." — Bob Rafferty, Master Plumber & Plumbing Inspector, IAPMO Code Council, 2022
A broken dip tube doesn’t mean you need a new water heater—just timely, precise attention. Once replaced, your heater should run quieter, heat more evenly, and deliver cleaner hot water. Keep your annual flush on the calendar, and consider upgrading to a brass dip tube during any future service. If you notice flaking again within two years, test your water’s chlorine and pH levels—aggressive chemistry is likely accelerating wear.