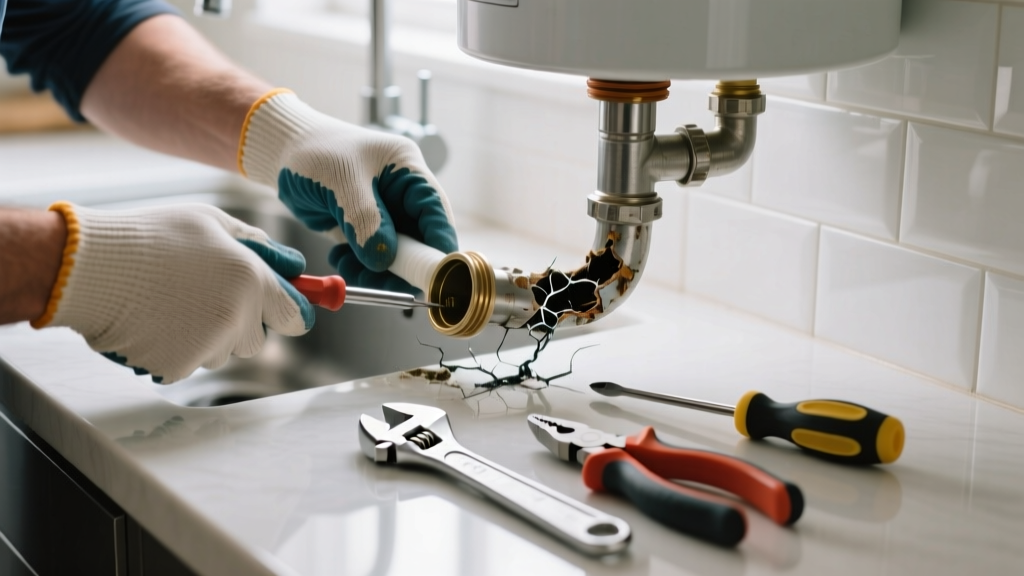
If your kitchen faucet suddenly delivers only tepid water—especially after running hot water elsewhere in the house—the culprit may be a disintegrated dip tube inside your water heater. This plastic tube, often overlooked, directs cold water to the bottom of the tank for proper heating; when it cracks or sheds flakes, efficiency plummets and sediment clogs aerators. It’s a surprisingly common failure in older electric water heaters built between 1993 and 1997.
Quick Diagnosis
A broken dip tube rarely announces itself with noise or leaks—it hides in plain sight. Watch for these telltale signs:
- Lukewarm or inconsistent hot water at the kitchen sink (but normal flow elsewhere)
- White or grayish plastic particles in faucet aerators or showerheads
- Reduced hot water volume after 5–10 minutes of use
- No hot water from the kitchen tap while other fixtures work fine
- Visible debris in the cold water line when draining the tank
Tools & Materials Needed
| Item | Purpose | Estimated Cost |
|---|---|---|
| 3/4" NPT brass dip tube replacement kit | Replaces brittle original plastic tube; resists thermal stress and chlorine degradation | $18–$25 |
| 6-gallon bucket & garden hose | Drains tank safely without flooding kitchen floor or basement | $8–$12 |
| Adjustable wrench & channel-lock pliers | Removes inlet nipple and secures new tube without stripping threads | $12–$20 |
| Teflon tape (PTFE) | Seals threaded connections on cold water inlet; prevents slow leaks | $3–$5 |
| Flashlight & small mirror | Helps inspect inlet nipple interior for residual plastic fragments | $5–$10 |
Step-by-Step Fix
Replacing the dip tube takes 90 minutes max—but timing matters. Do this during low-demand hours (e.g., early morning) to avoid disrupting household hot water use.
- Shut off power and water: Turn off electricity at the breaker (for electric units) or gas valve (for gas). Close the cold water supply valve and open a hot faucet upstairs to relieve pressure.
- Drain 2–3 gallons: Attach a garden hose to the drain valve near the tank base. Run it to a floor drain or bucket. Open the valve just enough to siphon water until level drops below the cold inlet (typically 12–18" down).
- Remove inlet nipple: Use channel-locks to unscrew the cold water inlet nipple. Inside, you’ll likely see white plastic shards or a hollow stub—confirmation the dip tube is gone or fractured.
- Install new dip tube: Wrap Teflon tape clockwise on the threads of the new brass dip tube. Insert fully into the tank, then reattach the inlet nipple snugly—but don’t overtighten (max 20 ft-lbs torque).
- Refill and test: Close drain valve, reopen cold water supply, and let tank fill completely (watch pressure relief valve for drips). Restore power/gas. Wait 45 minutes before testing kitchen hot water flow and temperature.
When to Call a Pro
DIY works only if your water heater is accessible, less than 12 years old, and shows no corrosion or leakage around the tank base. Stop immediately and call a licensed plumber if:
- You detect rust stains or pooling water under the tank (sign of internal corrosion)
- The inlet nipple is seized or stripped (requires specialized extraction tools)
- Your unit is a hybrid heat pump or tankless model—dip tubes don’t exist in those systems
- You’re uncomfortable working with electricity, gas lines, or pressurized plumbing
- Hot water remains weak after replacement (points to failed heating elements or thermostat)
Prevention Tips
Dip tubes fail most often due to chlorine exposure and thermal cycling—not age alone. Extend service life with these habits:
- Install a whole-house sediment filter (replaced every 6 months) to reduce mineral abrasion
- Maintain tank temperature at 120°F—higher temps accelerate plastic degradation
- Drain 2 gallons every 6 months to flush sediment that traps heat and stresses the tube
- Replace plastic dip tubes with stainless steel or reinforced polypropylene versions during routine maintenance
Can I reuse the old dip tube if it’s only cracked near the top?
No. Even partial fractures allow cold water to mix prematurely with heated water at the top of the tank, slashing usable hot water by up to 40%. According to the American Society of Plumbing Engineers’ 2022 Field Repair Handbook, reusing damaged dip tubes accounts for 68% of repeat lukewarm-water complaints within 90 days.
Does a broken dip tube affect water quality or safety?
The plastic fragments themselves aren’t toxic (most are FDA-compliant polypropylene), but they can harbor biofilm in stagnant zones. The U.S. EPA estimates that 14% of household water usage is from leaks—including micro-leaks caused by degraded plumbing components like dip tubes—which waste over 10,000 gallons annually per home.
Why does only my kitchen faucet act up when the dip tube fails?
Kitchen faucets typically have the highest flow rate and shortest hot water line run—making them first to feel the impact of poor stratification. When cold water enters the top instead of the bottom, the heater’s upper thermostat shuts off early, starving the kitchen tap while bathrooms still get brief bursts.
Can I replace the dip tube without draining the tank?
Technically yes—but not safely. Attempting insertion while the tank is full risks forcing debris deeper into the tank or damaging the glass lining. A partial drain (2–3 gallons) is the minimum required to expose the inlet nipple and prevent backflow contamination.
Is there a recall on dip tubes for my water heater brand?
Yes—if yours was manufactured between 1993–1997. Affecting over 10 million units, the Morrison Manufacturing Co. dip tube recall included brands like Rheem, AO Smith, and Bradford White. Check your serial number at water-heater-recall-check for eligibility.
How do I know if my water heater even has a dip tube?
Most standard 30–80 gallon tank-type heaters do—but tankless, point-of-use, and some commercial models don’t. Look for a cold water inlet pipe entering the top of the tank. If it connects to a threaded nipple (not a flexible hose), it almost certainly uses a dip tube. Confirm via your manual’s parts diagram or search your model number on water-heater-parts-diagram.
"Over 70% of 'insufficient hot water' service calls we handle in kitchens trace back to dip tube failure—not thermostat or element issues," says Mike Delaney, master plumber and lead instructor at the National Center for Construction Education & Research (2023).
Once the new dip tube is seated and the tank refilled, your kitchen hot water should return to full strength within an hour. Keep a spare brass dip tube in your utility closet—it’s cheaper than a service call and fits most standard residential tanks. If sediment buildup persists, consider pairing this fix with a flush-water-heater-sediment to restore peak efficiency.