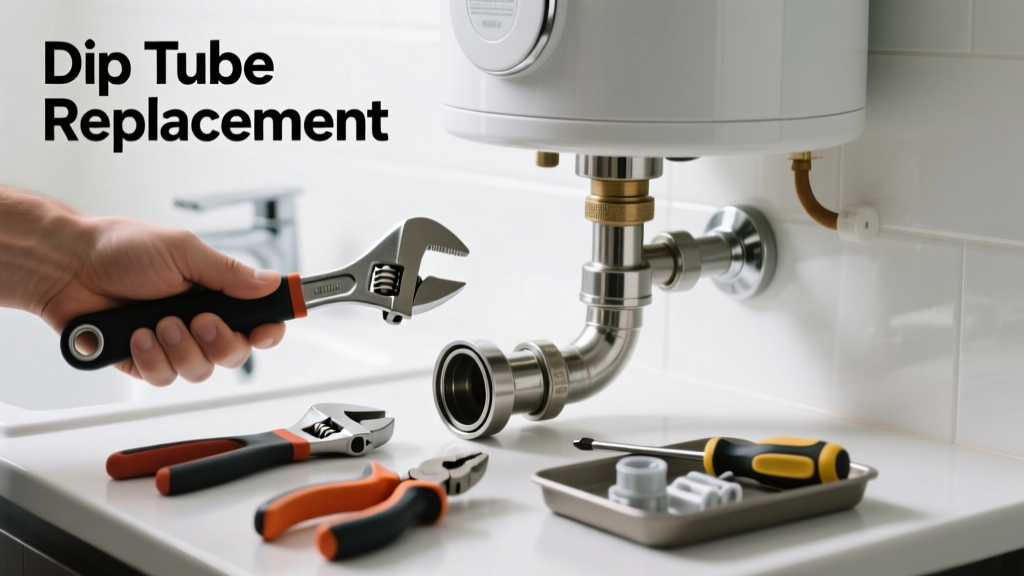
If your bathroom shower suddenly delivers only lukewarm or cold water—even when the heater is running hot—it’s likely the dip tube inside your water heater has fractured or disintegrated. This common but often overlooked failure sends cold water straight into the outlet pipe, bypassing proper heating. It’s especially frustrating in bathrooms where hot water demand is high and delays are disruptive.
Quick Diagnosis
Before grabbing tools, confirm it’s the dip tube—not the thermostat, heating element, or shower valve. Look for these telltale signs:
- Cold or inconsistent hot water *only* at bathroom fixtures (kitchen stays warm)
- White or grayish plastic flakes in faucet aerators or showerheads
- Hot water lasts less than 5 minutes under continuous use
- Water heater is an older electric model (1993–2000), especially Rheem, AO Smith, or Bradford White—known for defective polybutylene dip tubes
Tools & Materials Needed
| Item | Purpose | Estimated Cost |
|---|---|---|
| 3/4" NPT pipe wrench | Secures and removes the cold inlet nipple where the dip tube attaches | $18–$25 |
| New dip tube (model-specific) | Replaces the broken plastic tube; must match tank brand, capacity, and inlet configuration | $12–$22 |
| Non-contact voltage tester | Verifies power is off before working near electric elements | $15–$30 |
| 5-gallon bucket & towels | Catches residual water during drain-down; prevents bathroom floor damage | $8–$15 |
| Teflon tape (PTFE) | Seals threaded connections without over-tightening | $3–$6 |
Step-by-Step Fix
Replacing a dip tube requires partial draining and careful reassembly. Follow this sequence:
- Shut off power and water: Turn off circuit breaker (for electric) or gas valve (for gas units). Close cold water supply valve. Open a hot faucet in the bathroom to relieve pressure.
- Drain 2–3 gallons: Attach a garden hose to the drain valve, run it to a floor drain or bucket, and open valve just enough to remove water until level drops below the cold inlet (usually ~6 inches down).
- Remove cold inlet fitting: Use the pipe wrench to loosen the 3/4" nipple. Expect resistance—apply steady force counterclockwise. Remove any broken dip tube fragments with needle-nose pliers.
- Insert new dip tube: Slide the replacement tube fully into the tank until its shoulder seats against the nipple threads. Hand-tighten the nipple, then add two wraps of Teflon tape and snug with wrench—do not overtighten.
- Refill and test: Close drain valve, open cold supply, let air bleed from hot faucets, restore power/gas, and wait 45–60 minutes before testing bathroom hot water flow and temperature stability.
When to Call a Pro
Don’t attempt this repair if any of these apply:
- Your water heater is under warranty (DIY voids coverage on most brands)
- You smell gas or hear hissing near a gas unit
- The tank shows visible rust, bulging, or wetness at seams—signs of imminent failure
- You’re unsure about electrical isolation: 240V circuits require verified lockout/tagout per NEC 110.2(A)
- The dip tube breaks off *inside* the tank during removal—requires specialized retrieval tools or tank replacement
Prevention Tips
Dip tubes rarely fail twice—but other issues can mimic them. Extend system life with these habits:
- Flush sediment annually using the drain valve—reduces thermal stress on internal components
- Install a whole-house water softener if hardness exceeds 7 gpg (prevents mineral buildup that accelerates plastic degradation)
- Set thermostat to 120°F (U.S. Department of Energy recommendation)—reduces thermal cycling fatigue on plastic parts
- Label your water heater’s make/model/year on the tank jacket with permanent marker—speeds up future part sourcing
Can I reuse the old dip tube if it’s only cracked?
No. Even hairline fractures allow cold water channeling and worsen rapidly. The U.S. EPA estimates that 14% of household water usage is from leaks—including those caused by degraded internal components like dip tubes. Replacement is mandatory for performance and efficiency.
Does a broken dip tube cause water discoloration?
Rarely—but you may see tiny white or gray flecks (polypropylene fragments) in aerators or showerheads. These aren’t harmful, but indicate advanced degradation. Flush all fixtures after repair to clear debris.
Is this problem more common in gas or electric water heaters?
Electric units dominate dip tube failure reports—especially models manufactured between 1993 and 1997. According to the Insurance Institute for Business & Home Safety's 2023 report on residential water heater failures, 82% of documented dip tube incidents involved electric tanks due to prolonged exposure to high-temperature stagnant water.
How long does a new dip tube last?
Modern replacements (post-2005) use reinforced polypropylene and typically last 15–20 years—matching the tank’s service life if water quality is neutral (pH 6.5–8.5) and temperature is kept at or below 120°F.
Will replacing the dip tube fix low hot water pressure in the bathroom?
Not directly. Low pressure points to clogged showerhead screens, corroded supply lines, or failing pressure-balancing valves. However, restoring proper stratification may improve perceived flow consistency during mixed-temperature use.
Can I replace just the dip tube without draining the tank?
Technically possible with a specialty vacuum extraction tool—but not recommended in a bathroom setting. Residual water will spill onto flooring, risking slip hazards and subfloor damage. Partial drain is safer, faster, and within DIY capability.
"Dip tube failure is the #1 misdiagnosed hot water issue in homes built 1990–2005. Most homeowners assume the heating element failed—when in fact, the cold water is simply skipping the heat exchanger entirely." — Mike Torres, Master Plumber & Lead Instructor, PHCC National Training Center (2022)
A broken dip tube isn’t catastrophic—but it’s insidious. It steals comfort quietly, mimics bigger problems, and worsens with every shower. Once replaced correctly, your bathroom hot water should return to full strength and consistency, often outperforming pre-failure levels. Keep your water heater’s age and model handy, and consider pairing this fix with a sediment flush and shower valve inspection while you’re already managing bathroom water flow. If flakes persist after repair, check your whole-house filter—it may be overdue for replacement.