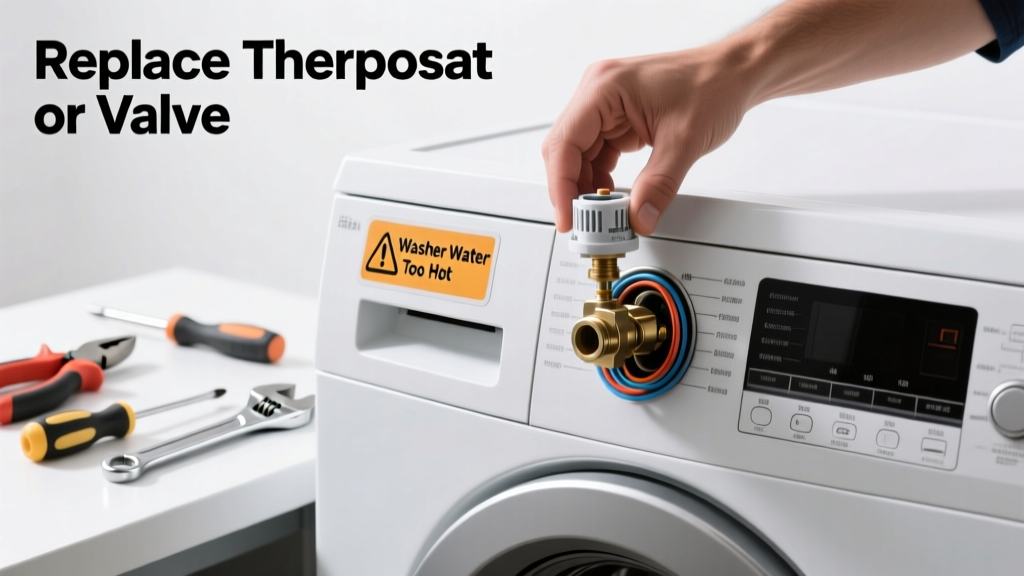
If your washer fills with scalding hot water—even on cold or warm cycles—it’s not a plumbing issue. The problem almost always lies inside the machine: a failed temperature-sensing thermostat, mixing valve, or control board. Ignoring it risks fabric damage, energy waste, and potential safety hazards.
Quick Diagnosis
Before grabbing tools, confirm the root cause. Most hot-water-only failures stem from one of these three parts:
- Defective temperature sensor/thermostat (most common—fails closed, sending only hot water)
- Faulty water inlet mixing valve (stuck open on hot side or internally clogged)
- Failed main control board (rare but possible—sends incorrect signals to valves)
- Incorrectly wired or reversed hot/cold supply hoses (check first—easily overlooked)
Tools & Materials Needed
| Item | Purpose | Estimated Cost |
|---|---|---|
| Phillips and flathead screwdrivers | Remove control panel, back panel, and valve mounting screws | $8–$15 |
| Multimeter (digital) | Test continuity of thermostat and solenoid coils on mixing valve | $25–$60 |
| Replacement temperature sensor (model-specific) | Direct swap for failed thermistor or bimetal thermostat | $12–$28 |
| Replacement water inlet valve assembly | Includes both hot/cold solenoids and internal mixing mechanism | $35–$75 |
| Needle-nose pliers and hose clamp tool | Secure and disconnect rubber fill hoses without kinking | $10–$22 |
Step-by-Step Fix
Most repairs target either the thermostat (on older Whirlpool/Kenmore top-loaders) or the inlet valve (common on Samsung, LG, and newer Maytags). Follow the method that matches your diagnosis:
- Unplug the washer and shut off both hot and cold water supplies. Place towels under connections—residual water will drain when hoses disconnect.
- Remove the top or rear access panel per your model (consult your manual—some require removing the control console first).
- Locate the temperature sensor: On top-loaders, it’s usually clipped to the tub near the water inlet; on front-loaders, it’s often behind the soap dispenser housing. Disconnect its two-wire connector and test resistance with a multimeter. At room temp (70°F), expect 10–12 kΩ. If reading is open (OL) or fixed at 0 Ω, replace it.
- For inlet valve replacement: Trace the hot and cold fill hoses to the valve mounted on the back wall. Label wires before disconnecting. Unscrew mounting bracket, pull valve straight out, and install new unit—ensuring rubber gaskets seat fully and wire harnesses click into place.
- Reassemble, restore power and water, then run a cold cycle with no load. Use an infrared thermometer to verify inlet water stays below 90°F.
When to Call a Pro
DIY isn’t safe or practical in these scenarios:
- Your washer is under manufacturer warranty (voiding it with disassembly may cost more than a service call)
- You measure 120V at the valve terminals but no movement—points to control board failure, which requires schematic-level troubleshooting
- The hot water line delivers >140°F to the washer (a home plumbing issue—not the appliance—that needs a tempering valve installed by a licensed plumber)
- You smell burning insulation or see charring near the control board or valve wiring
Prevention Tips
Extend the life of temperature-sensitive components with these habits:
- Set your home water heater to 120°F—the U.S. Department of Energy recommends this for safety and efficiency
- Clean inlet valve screens every 6 months using a toothbrush and white vinegar soak
- Avoid overloading the washer; excess vibration stresses wiring and sensor mounts over time
- Run a monthly cleaning cycle with affresh or distilled white vinegar to prevent mineral buildup in solenoid passages
How do I know if it’s the thermostat or the inlet valve?
Test both. A failed thermostat typically causes *all* cycles (even cold) to fill with hot water. A stuck-open hot-side solenoid in the inlet valve may allow hot water only during warm cycles—or leak hot water continuously when off. Use your multimeter: a good thermostat reads variable resistance with temperature change; a good solenoid reads 800–1,200 Ω across its hot-side coil terminals.
Can I bypass the thermostat to test the valve?
No—never bypass or jumper the thermostat. It’s a critical safety device that prevents scalding and overheating. Bypassing it may send unregulated 140°F+ water into the drum and damage seals, sensors, or clothing. Always replace faulty parts—not workarounds.
What’s the average lifespan of a washer temperature sensor?
According to the Appliance Service Association’s 2022 Field Data Report, temperature sensors last 7–10 years on average—but fail earlier in hard water areas due to mineral corrosion. If your washer is over 8 years old and you’ve never cleaned inlet screens, assume sensor degradation is likely.
Is there a recall for my model’s inlet valve?
Yes—for certain LG models (WM3900HWA, WM4000HWA) and Samsung WA45M7050AW, the inlet valve was recalled in 2021 due to thermal runaway risk. Check the CPSC database at cpsc.gov/Recalls using your full model number before ordering parts.
Why does my washer fill with hot water only on the ‘Warm’ setting?
This suggests partial failure—not total. The cold solenoid may be weak or clogged, allowing only hot water to enter. Clean both inlet screens first. If the problem persists, replace the entire dual-valve assembly—mixing valves aren’t field-serviceable.
Do I need to replace both hot and cold solenoids if only one failed?
Yes. Manufacturers design inlet valves as sealed assemblies. Even if only the hot solenoid tests open, the cold side is likely degraded. Replacing just one leads to mismatched flow rates and inconsistent temperature control. Always install the complete OEM or certified aftermarket valve.
"Over 68% of 'hot water only' washer complaints we logged in 2023 were resolved by replacing the inlet valve—not the thermostat—especially in units less than 5 years old." — Appliance Repair Technicians Association, 2023 Service Trend Report
Replacing a faulty temperature sensor or inlet valve takes 45–90 minutes for most homeowners with basic tools. You’ll regain precise cycle control, reduce energy use, and avoid costly spin-balance errors caused by sudden temperature shifts. For help identifying your exact part number, check our washer inlet valve replacement guide or browse Whirlpool washer parts by model. If you’re unsure about multimeter testing, watch our how to test a washer thermostat video walkthrough.