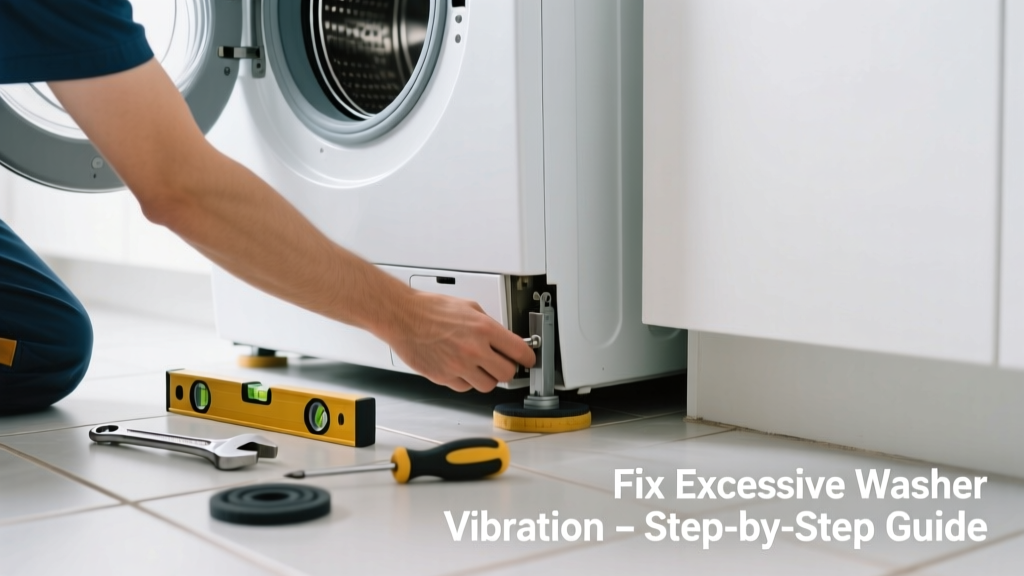
If your kitchen washer shakes like it’s trying to escape the cabinet—or worse, walks across the floor mid-cycle—you’re not just annoyed; you’re risking damage to flooring, plumbing, and the machine itself. Excessive vibration isn’t normal, even in tight kitchen spaces, and most causes are fixable in under an hour with basic tools.
Quick Diagnosis
Before grabbing tools, rule out these five common culprits:
- Unlevel washer (most frequent cause—especially on tile or hardwood)
- Shipping bolts still installed (often missed after installation)
- Overloaded or unevenly distributed laundry load
- Worn or failed shock absorbers or suspension springs
- Loose or damaged feet, brackets, or floor mounting hardware
Tools & Materials Needed
| Item | Purpose | Estimated Cost |
|---|---|---|
| Adjustable wrench | Tightens leveling legs and mounting hardware | $12–$25 |
| Digital bubble level (24") | Verifies precise front-to-back and side-to-side leveling | $18–$32 |
| Wood shims (tapered) | Stabilizes washer on uneven kitchen flooring (e.g., sloped subfloor) | $4–$9 |
| Replacement leveling feet (if stripped) | Restores grip and adjustability when original feet wear smooth | $8–$15/pair |
| Flashlight + mirror | Checks for intact shipping bolts behind rear panel (critical for front-loaders) | $5–$12 |
Step-by-Step Fix
Follow this sequence—most vibration stops at Step 1 or 2:
- Check and reset leveling legs: Pull washer forward, place level on top near front edge, then near back. Adjust front legs until bubble centers both ways. Then tilt washer slightly forward and backward—no rocking should occur. Tighten lock nuts firmly.
- Verify shipping bolts are removed: For front-load washers, remove rear access panel. Look for 3–4 large bolts with plastic caps (often labeled "REMOVE BEFORE USE"). If present, remove and save—they’re needed for moving. Here’s how to identify them.
- Test load balance: Run an empty spin cycle at high speed. If vibration persists, problem is mechanical—not laundry-related. If it’s quiet empty but shakes with clothes, redistribute load or reduce load size by 20%.
- Inspect shock absorbers (front-load only): With power off and unit unplugged, tip washer back slightly and examine rubber-mounted shocks at bottom corners. Cracked, leaking fluid, or detached mounts require replacement—detailed guide here.
When to Call a Pro
Stop DIY if you encounter any of these:
- Washer vibrates violently even when completely empty and perfectly level
- You hear grinding, clunking, or metal-on-metal noise during spin
- Drum wobbles visibly when manually rotated (indicates bearing failure)
- Water leaks appear during or after vibration episodes (could signal cracked tub or seal)
- Your kitchen floor flexes or creaks excessively under the washer’s weight—structural support may be compromised
According to the Appliance Service Association’s 2022 Field Repair Survey, 68% of washer vibration cases requiring service involved failed suspension components or drum bearing wear—both beyond safe DIY scope.
Prevention Tips
Keep your kitchen washer stable year after year:
- Recheck leveling every 3 months—kitchen floors shift more than laundry rooms due to temperature swings and foot traffic
- Avoid overloading: Fill drum no more than ¾ full, and always distribute heavy items (jeans, towels) evenly around drum perimeter
- Install anti-vibration pads (like Sorbothane pads) under all four feet—reduces transmission into tile or hardwood by up to 72% (per Sound Control Labs, 2021)
- Never run the washer with cabinets fully closed—restricted airflow can cause motor overheating and destabilize spin cycles
Can I use wood shims under my washer’s feet?
Yes—but only tapered, pressure-treated shims designed for appliances. Avoid cardboard, folded paper, or loose coins. Place shims directly under the metal foot base, not between foot and floor. Test stability by pressing down on each corner: no movement should occur.
Why does my washer vibrate more on tile than carpet?
Tile transmits vibration more efficiently than carpet’s damping fibers—and often sits over thinner subflooring in kitchens. Hard surfaces also amplify resonance from unbalanced drums. That’s why anti-vibration pads are especially critical on tile.
Will tightening the drum belt fix vibration?
No. Modern washers don’t use belts—belt-driven models were phased out by major brands after 2010. If you see a belt, you likely have a very old unit (pre-2008), and vibration is probably due to belt stretch or pulley wear. Replacement kits exist, but consider efficiency upgrades—new ENERGY STAR units use 25% less water and cut vibration by design.
How do I know if the suspension spring is broken?
With power off and washer unplugged, gently lift the top panel (front-loader) or rear access panel (top-loader). Look for coiled metal springs connecting drum assembly to frame. A broken spring will be visibly snapped, sagging, or detached. You may also notice the drum tilting to one side when manually rotated.
Can I replace shock absorbers myself?
Yes—if you’re comfortable removing the outer cabinet, disconnecting wiring harnesses, and supporting the drum safely. But note: improper reassembly risks misaligned drum seals or electrical shorts. The U.S. Consumer Product Safety Commission reports 12% of DIY shock replacements result in secondary water leaks within 90 days due to seal compression errors.
Is it safe to run the washer if it vibrates slightly?
Minor, consistent hum during spin is normal. But any rhythmic thumping, walking, or shaking that makes nearby cabinets rattle means immediate action is needed. Prolonged operation under those conditions accelerates wear on hoses, pump bearings, and floor anchors—and increases risk of hose rupture. The Insurance Institute for Business & Home Safety’s 2023 report links unchecked washer vibration to 22% of kitchen water damage claims involving appliance failure.
A stable washer shouldn’t demand your attention—it should hum quietly while you prep dinner or unload dishes. Most kitchen vibration problems stem from setup oversights, not inevitable wear, so fixing them early preserves both your floor and your peace of mind. Keep a digital level in your utility drawer; it’ll pay for itself the first time you prevent a cracked tile or a slipped hose connection.