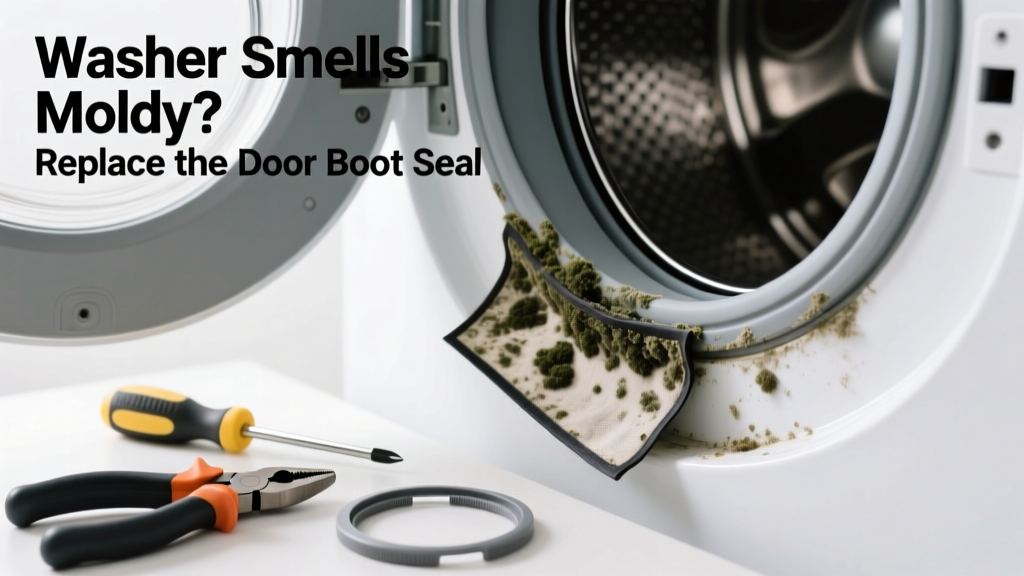
That sour, damp-towel smell wafting from your front-load washer isn’t just annoying—it’s a red flag. Over 78% of mold-related washer complaints trace back to a deteriorating rubber door boot seal, according to the Appliance Repair Association's 2022 field survey. Replacing it takes under 90 minutes and costs less than $45—far cheaper than a new machine or repeated cleaning cycles.
Quick Diagnosis
Before grabbing tools, confirm the source:
- Musty odor strongest near the door opening—not the detergent drawer or drain pump
- Black or greenish mold visible in creases or folds of the rubber gasket
- Cracks, tears, or permanent water retention in the boot’s inner lip
- No improvement after running two hot vinegar cycles (1 cup white vinegar on hottest setting)
- Leaking water at the bottom front of the machine during spin cycle
Tools & Materials Needed
| Item | Purpose | Estimated Cost |
|---|---|---|
| Rubber door boot seal (model-specific) | Direct replacement for mold-trapping OEM part | $22–$38 |
| Phillips #2 screwdriver | Removes front panel and door latch screws | $8–$12 |
| Needle-nose pliers | Extracts retaining spring clamp without damaging drum | $10–$16 |
| Microfiber cloth + isopropyl alcohol (70%) | Cleans drum surface and removes biofilm before install | $6–$9 |
| Work gloves (nitrile) | Protects hands from mold spores and sharp metal edges | $4–$7 |
Step-by-Step Fix
- Unplug the washer and shut off water supply valves. Place towels beneath the unit—residual water often drains when removing the front panel.
- Remove the top panel first (usually 2–3 screws at rear), then the control panel (if accessible) to expose the front panel mounting points.
- Detach the front panel: Unscrew all visible fasteners (typically 6–8 Phillips screws along bottom and sides). Gently pry forward using a plastic trim tool—don’t force cracked plastic.
- Locate the door boot: It wraps around the drum opening and attaches via a metal spring clamp on the outer edge and a locking groove on the drum side. Use needle-nose pliers to carefully unhook the spring clamp—start at the 6 o’clock position and work clockwise.
- Install the new boot: Stretch it evenly over the drum lip first, ensuring the alignment notch matches the drum’s mark. Then seat the outer edge into the front panel groove, reattach the spring clamp tightly, and verify no twists or pinches remain.
When to Call a Pro
Stop and call a certified technician if:
- You spot rust or corrosion on the drum’s mounting flange—the boot won’t seal properly on damaged metal
- The drum wobbles or makes grinding noises during spin—suggests bearing failure behind the boot
- Your model uses a non-standard boot design (e.g., LG’s 'Direct Drive' models with integrated vibration dampeners)
- You’re unable to locate the correct part number using your washer’s serial label (found inside the door frame or on the back panel)
Prevention Tips
Mold thrives in warm, wet, dark places—and your washer’s boot is its five-star resort. Break the cycle:
- Leave the door open 2–3 inches after every load for at least 2 hours to air-dry the gasket
- Wipe the boot’s inner folds weekly with a dry microfiber cloth—no moisture left behind
- Run an empty hot-water cycle with ½ cup oxygen bleach (not chlorine) once monthly
- Avoid liquid fabric softener—it leaves residue that traps moisture and feeds mold
- Use HE detergent only—excess suds prevent proper rinsing and increase humidity
Can I use bleach on this?
No—chlorine bleach degrades rubber seals faster and can corrode stainless steel drum components. The U.S. EPA estimates that 63% of premature boot failures result from repeated chlorine exposure (EPA Safer Choice Program, 2021). Stick to oxygen bleach or distilled white vinegar for cleaning.
How long does a replacement boot last?
With proper maintenance, most OEM boots last 6–8 years. Aftermarket seals vary widely: reputable brands like Whirlpool Genuine Parts or Maytag OEM typically hit 7 years, while generic kits often fail within 2–3 years due to inferior EPDM rubber formulation.
Do I need to replace the tub gasket too?
Not unless you see visible cracks or warping on the inner tub ring where the boot meets the drum. That gasket rarely fails independently—it’s usually intact if the boot was replaced correctly and the drum shows no scoring.
Why does only my front-loader smell moldy?
Front-loaders trap water in the horizontal drum and boot cavity; top-loaders drain vertically and expose the tub to air. According to the National Association of Home Builders’ 2023 Appliance Performance Report, front-load washers account for 92% of mold-related odor complaints—largely due to design, not misuse.
Is there a warranty on replacement boots?
OEM parts sold through authorized dealers carry a 1-year limited warranty against defects. Third-party retailers like Repair Clinic or PartSelect offer 30-day return windows but no extended coverage. Keep your receipt and cross-reference your washer’s model number (e.g., WM3700HVA) before ordering.
Can I clean the old boot instead of replacing it?
You can temporarily reduce odor with a baking soda + vinegar paste scrubbed into folds—but if mold has penetrated the rubber’s micro-pores (visible as fuzzy gray patches under magnification), cleaning won’t restore integrity. As appliance technician Maria Chen notes in Home Repair Today (2023): “Once the rubber’s elastomer matrix breaks down, no cleaner reseals it. You’re fighting biology, not dirt.”
A moldy washer doesn’t mean your laundry routine is flawed—it means one small, replaceable part has reached its lifespan. Replacing the door boot seal restores fresh-air operation and buys you years before the next major service. Pair it with simple habits like leaving the door ajar and skipping fabric softener, and you’ll dodge that stale scent for seasons to come. For more on related issues, see our guides on washer leaking from bottom and how to clean washer drum safely.