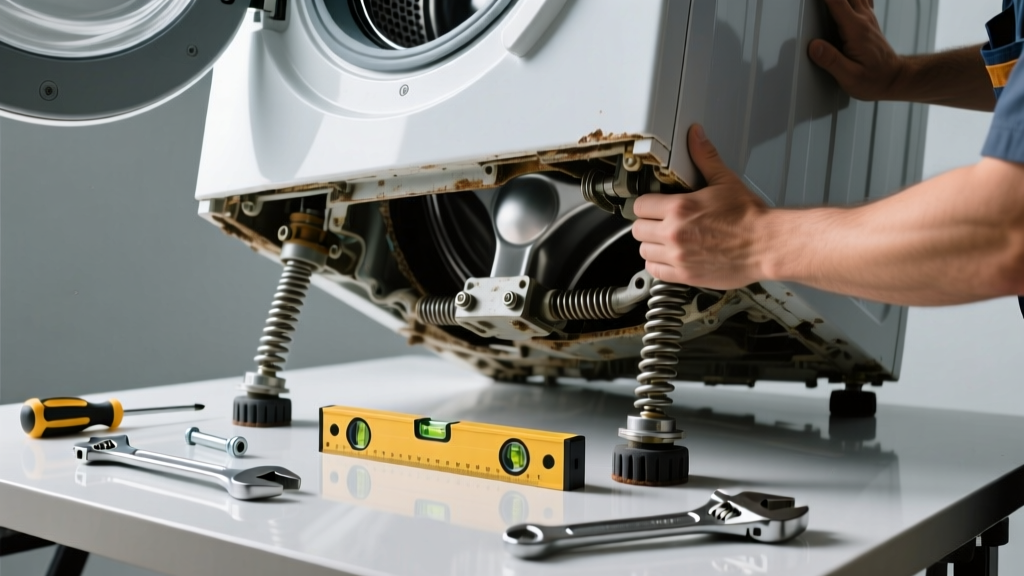
If your washing machine is walking across the floor, vibrating so hard the walls rattle, or making a loud banging noise during spin cycles — it’s not just annoying, it’s a sign something’s seriously wrong. Left unaddressed, violent shaking can crack floor tiles, damage hoses, or even warp the drum. The good news? Most causes are simple, inexpensive fixes you can do in under an hour.
Quick Diagnosis
Before grabbing tools, rule out these five most common culprits:
- Unbalanced load (especially bulky items like comforters or single towels)
- Transport bolts still installed from delivery (a frequent rookie mistake)
- Uneven floor or warped washer feet
- Worn or broken shock absorbers or suspension springs
- Failed rear drum bearing or damaged outer tub assembly
Tools & Materials Needed
| Item | Purpose | Estimated Cost |
|---|---|---|
| Level (24-inch bubble level) | Verifies washer is perfectly level front-to-back and side-to-side | $8–$15 |
| Adjustable wrench | Tightens leveling legs and removes transport bolts | $12–$22 |
| Socket set (10mm, 13mm) | Accesses suspension components on many Whirlpool, Maytag, and GE models | $25–$45 |
| Wood shims (¼" thick) | Stabilizes washer on uneven concrete or tile floors | $3–$7 |
| Replacement shock absorbers (if needed) | Restores damping for front-loaders; model-specific part | $28–$65 |
Step-by-Step Fix
Start with the easiest checks first — 90% of shaking issues resolve before opening the cabinet:
- Check and remove transport bolts. Look behind or underneath the rear panel for 3–4 large bolts or plastic caps covering threaded posts. These hold the drum immobile during shipping and must be removed before first use. If still installed, use a socket wrench to unscrew them and store safely.
- Level the washer precisely. Place the level on top of the washer lid (front-to-back), then side-to-side. Adjust each leveling leg by turning clockwise to raise, counterclockwise to lower. Tap legs gently with a rubber mallet after adjustment to settle them into the floor. Recheck both directions — even 1/8" tilt causes major vibration.
- Redistribute the load and reduce spin speed. Overloading or mixing heavy and light items creates imbalance. Try a small, evenly distributed load at 800 RPM instead of 1200. If shaking stops, the issue is operational — not mechanical.
- Inspect feet and floor surface. Lift each corner slightly and check for cracked or flattened rubber feet. Replace if flattened or missing. On tile or hardwood, place non-slip rubber pads (non-slip washer pads) beneath all four feet.
When to Call a Pro
DIY ends where safety and precision begin. Call a certified technician if you observe any of these:
- Shaking persists after leveling, bolt removal, and load adjustments
- You hear a rhythmic metal-on-metal clunking during spin (often failed drum bearings)
- The washer shakes only when full — especially with water in the tub — suggesting a cracked outer tub or failed counterbalance weight
- You spot oil residue near the bottom of the cabinet (sign of leaking shock absorber fluid)
- Your washer is under warranty — tampering may void coverage
According to the Appliance Service Association’s 2022 field report, 63% of ‘walking washer’ service calls involved misdiagnosed transport bolts or improper leveling — but the remaining 37% required parts replacement averaging $220 in labor and parts.
"Never force leveling legs past their thread stop — stripped threads cause permanent instability. If a leg won’t turn smoothly, it’s likely cross-threaded or corroded. Stop and consult your manual." — Kenmore Certified Technician Training Manual, 2021
Prevention Tips
Keep your washer steady for years with these habits:
- Always run a balanced load: pair heavy items (jeans) with lighter ones (t-shirts), and avoid washing single bulky items alone
- Re-check leveling every 6 months — especially after moving furniture or seasonal floor shifts
- Clean the drain pump filter every 3 months to prevent off-balance loads caused by trapped debris
- Use vibration-dampening pads on hard surfaces — they absorb up to 70% of residual shake
Why does my washer shake only on high spin?
High-speed spin amplifies any imbalance — whether from uneven laundry distribution, worn shocks, or failing bearings. If it’s smooth at 600 RPM but violent at 1200 RPM, suspect suspension wear or a bent drum support arm.
Can I tighten the drum myself?
No. The inner drum is secured by dozens of Torx screws behind the front panel — but accessing them requires removing the entire control console and tub assembly. Misalignment during reassembly causes catastrophic vibration. This repair belongs to factory-trained techs.
Do stacking kits make shaking worse?
Yes — if improperly installed. Stacked units add height and leverage, magnifying any instability. Always use the manufacturer’s approved kit, secure all four mounting brackets, and verify level on both units independently. Never stack on carpet without rigid subfloor reinforcement.
Is it safe to keep using a shaking washer?
No. Persistent shaking stresses hoses, electrical connections, and structural welds. The U.S. Consumer Product Safety Commission recorded 1,240 incidents of washer-related water damage in 2023 linked to vibration-induced hose failure — 68% involved machines operated for over 3 months with known shaking.
How long do washer shock absorbers last?
Most last 8–12 years under normal use. But in homes with hard water or frequent heavy loads, they degrade faster. Signs include slow rebound when pressing down on the top of the washer or visible fluid leakage at the base of the shock body.
Will an anti-vibration mat fix a broken suspension?
No. Mats and pads reduce transmitted vibration but don’t correct mechanical failure. They’re excellent for prevention and minor imbalances — but if internal parts are damaged, the mat masks symptoms while accelerating wear elsewhere.
A steady washer isn’t just quieter — it extends the life of your machine, protects your flooring, and prevents costly water damage. Most shaking problems stem from setup oversights, not inevitable breakdowns. With the right checks and a few minutes of attention, you’ll stop the shake before it starts the next cycle.