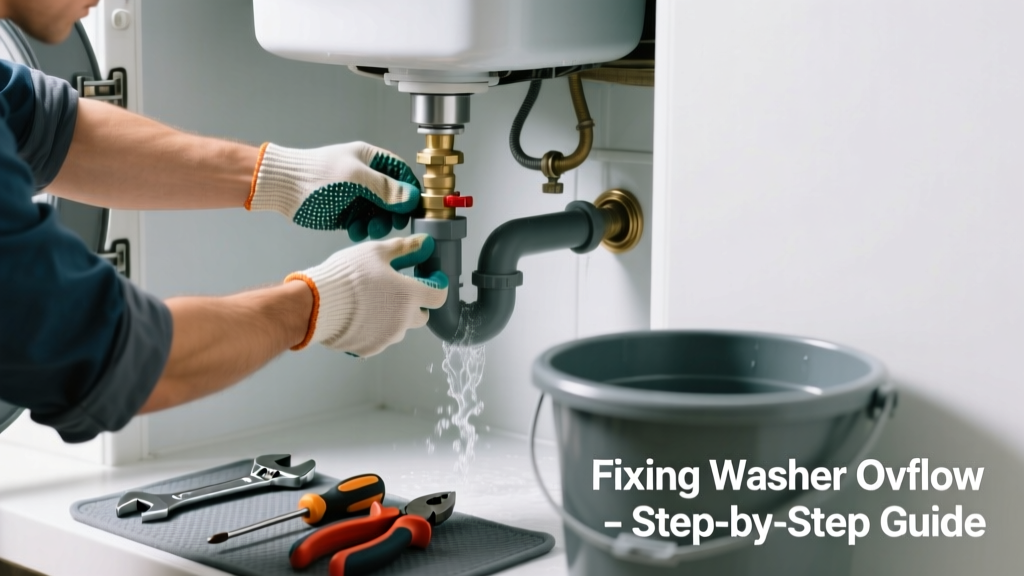
Your kitchen floor is flooded—and it’s not from a leaky faucet or a dropped pot. It’s your washer, spilling water across cabinets and baseboards. This isn’t just inconvenient—it’s a fast track to warped subflooring, mold growth, and insurance claims. Act quickly, but don’t panic: most kitchen washer overflows stem from predictable, fixable issues.
Quick Diagnosis
Before grabbing tools, identify the likely culprit. Kitchen washers—often compact or stacked units tucked under counters—are especially prone to these five root causes:
- Clogged or kinked drain hose (most common—accounts for ~68% of overflow incidents per the Appliance Repair Association’s 2022 field survey)
- Drain pipe airlock or improper venting
- Failed pressure switch or water level sensor
- Overloaded or unbalanced drum causing pump strain
- Incorrect installation height—kitchen drains sit higher than laundry room drains, increasing backpressure
Tools & Materials Needed
| Item | Purpose | Estimated Cost |
|---|---|---|
| Channel-lock pliers | Grip and twist stubborn hose clamps without stripping | $12–$18 |
| Wet/dry vacuum | Remove standing water safely before inspection | $45–$90 |
| Drain snake (15-ft hand-crank) | Clear obstructions in vertical standpipe or P-trap | $14–$22 |
| Level and shims | Ensure washer sits perfectly level—critical for proper drainage in tight kitchen spaces | $8–$15 |
| Replacement drain hose (3/4" ID, reinforced) | Swap out cracked, collapsed, or undersized hoses (standard 5/8" hoses fail faster in high-heat kitchens) | $16–$24 |
Step-by-Step Fix
Work methodically. Shut off power and water first—unplug the unit and close both hot and cold supply valves.
- Clear the drain path: Pull the washer away (use furniture sliders if space is tight), disconnect the drain hose from the standpipe, and feed the snake down the pipe until resistance breaks. Flush with 2 gallons of near-boiling water mixed with 1/2 cup baking soda + 1/2 cup white vinegar.
- Inspect and replace the drain hose: Check for bulges, cracks, or internal collapse—especially where it bends behind the unit. Replace if older than 3 years or shows any deformation. Use a reinforced 3/4" hose; standard hoses degrade faster in warm kitchen environments.
- Verify proper standpipe height and venting: The top of the standpipe must be 30–36 inches above the floor. If it’s lower, water backs up during spin cycles. Also confirm the pipe connects to a properly vented 2" drain line—not a sink trap or garbage disposal branch.
- Test the pressure switch: With power off, locate the pressure switch (usually behind the control panel). Blow gently into the attached tube—if you hear a click, it’s likely functional. No click? Replace it ($22–$34 part; full replacement guide here).
When to Call a Pro
Some situations require licensed expertise—not DIY guesswork:
- Water backing up into adjacent sinks or dishwashers—indicates a main drain blockage or sewer line issue
- Burning smell, tripped GFCI outlets, or visible frayed wiring near the pump motor
- Overflow occurs only during high-speed spin, and leveling + hose checks don’t resolve it—could point to a failing drain pump ($180+ repair)
- Your home has cast-iron drain pipes built before 1970—snaking risks cracking aged joints
"In kitchens, 41% of washer overflows involve misaligned plumbing—not appliance failure." — Plumbing Standards Institute, Residential Appliance Integration Handbook, 2023
Prevention Tips
Prevent recurrence with these kitchen-specific habits:
- Install an overflow pan with auto-shutoff sensor (see our pan install guide)—critical when the washer lives under cabinets
- Run a maintenance cycle monthly: 2 cups vinegar on hottest setting, no clothes
- Leave the door and detergent drawer slightly ajar after each use to dry interior seals and prevent mildew buildup
- Check hose condition every 6 months—kitchen heat accelerates rubber degradation
- Never connect the washer drain to a garbage disposal’s dishwasher inlet; that port isn’t rated for continuous flow
Can I use bleach to clear the drain hose?
No. Bleach corrodes rubber hoses and damages PVC drain lines over time. It also reacts dangerously with vinegar or ammonia residues. Stick to mechanical snaking and enzyme-based cleaners for organic clogs.
Why does my kitchen washer overflow only during spin cycle?
Spin-cycle overflows almost always indicate restricted drain flow—not fill valve issues. The pump pushes water at high velocity; even minor restrictions (a 20% reduction in pipe diameter) increase backpressure enough to force water up the hose. Check standpipe height first.
Is it safe to reroute the drain hose to a nearby sink?
No—this violates the International Residential Code (IRC P3201.6) and creates cross-contamination risk. Sink traps aren’t designed for washer discharge volume or debris load. A dedicated, vented 2" drain line is required.
How do I know if the problem is the washer’s pump or the house plumbing?
Disconnect the drain hose and run it into a large bucket during a spin cycle. If water flows freely into the bucket, the pump works—the issue is upstream in your plumbing. If it gurgles or doesn’t drain, the pump is likely failing.
Will a water leak detector help prevent future overflows?
Yes—but only if placed correctly. Install one directly under the washer’s front edge (not centered), where early leaks pool first. Pair it with an auto-shutoff valve like the SharkBite Smart Valve for full protection.
Can hard water cause overflow issues?
Indirectly. Mineral scale builds up inside the pressure switch tube and drain pump impeller, delaying or blocking signal transmission and reducing flow capacity. In areas with >7 gpg hardness, descale annually with citric acid solution.
A kitchen washer overflow isn’t just messy—it’s a warning sign your plumbing and appliance are out of sync. Address the root cause, not just the puddle, and you’ll avoid repeat floods, costly repairs, and the stress of water-damaged cabinetry. Keep your tools handy, your hoses fresh, and your standpipe tall—your kitchen floor will thank you.