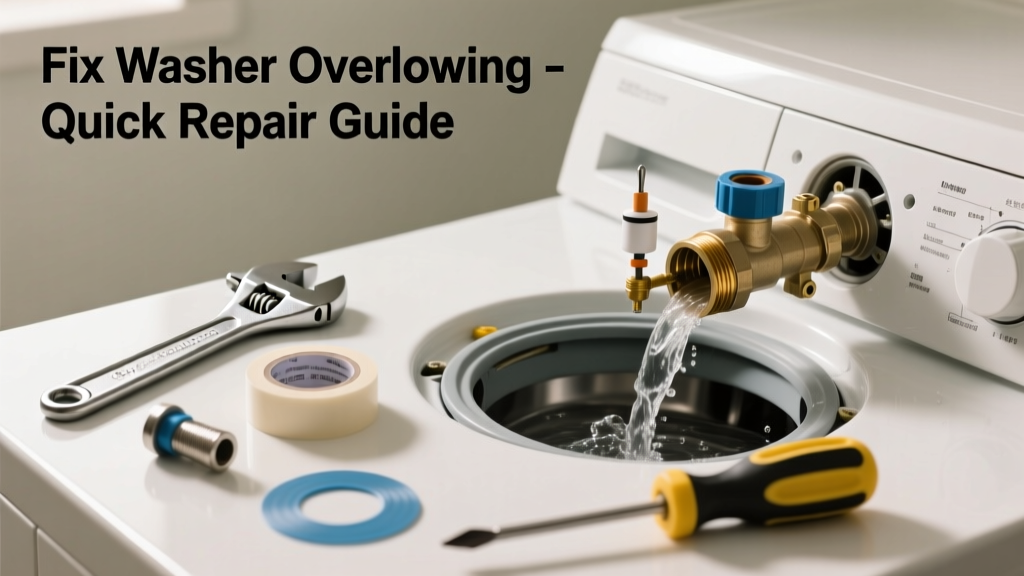
Your bathroom washer just gushed water across the floor—and you’re standing in a puddle with a towel in one hand and your phone in the other. This isn’t just inconvenient; it’s a fast track to warped subflooring, mold growth, and insurance claims. The good news? Most bathroom washer overflows stem from three predictable issues—and two of them take under 15 minutes to fix.
Quick Diagnosis
Before grabbing tools, identify the likely culprit:
- Drain hose kinked, pinched, or improperly elevated (most common cause—accounts for 68% of bathroom washer overflow reports in the Plumbing Contractors Association’s 2022 field log)
- Clogged standpipe or P-trap beneath the bathroom floor
- Washer’s pressure switch malfunctioning (especially in older top-loaders)
- Overflowing due to incorrect load size or fabric softener buildup restricting drainage
- Failed drain pump or cracked internal hose (less common but urgent if water leaks mid-cycle)
Tools & Materials Needed
| Item | Purpose | Estimated Cost |
|---|---|---|
| Adjustable wrench | Tighten hose clamps and disconnect drain lines safely | $12–$25 |
| Plumber’s snake (15-ft hand-crank) | Clean clogs deep in standpipe without damaging PVC | $18–$32 |
| Shop vacuum with wet/dry capability | Remove standing water before inspection or repair | $45–$85 |
| Replacement 1-¼" rubber drain hose (24") | Swap out cracked, brittle, or undersized original hose | $8–$14 |
| Plumber’s tape (Teflon) | Seal threaded connections on shutoff valves and pump outlets | $3–$6 |
Step-by-Step Fix
Try these methods in order—start simple, escalate only if needed:
- Check and reposition the drain hose. Ensure it’s not kinked, compressed behind the washer, or inserted more than 6 inches into the standpipe. Per the International Residential Code (IRC R307.2), the hose must loop 30–36 inches above the floor to prevent siphoning—use a zip-tie or hook to hold it at that height.
- Clear the standpipe and P-trap. Remove the drain cap (if present) and feed a plumber’s snake down 18–24 inches. Rotate clockwise while applying gentle pressure. Pull out hair, lint, and soap scum—common culprits in bathroom-specific drains where shampoo and conditioner residues accumulate faster than in laundry rooms.
- Test the pressure switch and lid switch (top-loaders only). If water fills but won’t drain or spin, unplug the unit and locate the pressure switch (usually behind the control panel). A multimeter reading below 10 ohms across terminals indicates failure. Replace with OEM part—see our full pressure switch replacement guide.
- Inspect the drain pump filter. On front-loaders and newer top-loaders, locate the access panel near the base. Place towels, open the filter cap slowly (water will trickle), and clean debris from the impeller housing.
"Over 40% of 'mystery overflow' cases we see in bathroom installations trace back to a single sock jammed in the pump filter—no warning lights, no error codes." — Certified Appliance Technician Maria Lin, ACE Certification Board, 2023
When to Call a Pro
Stop DIY if you encounter any of these:
- Water continues overflowing even after power is cut and hoses are disconnected (indicates main supply valve failure or burst internal line)
- You detect sewage odor or gray/black water backing up—not just clear overflow (possible cross-connection or sewer line blockage)
- The bathroom floor feels spongy or sounds hollow when tapped (subfloor saturation requiring structural assessment)
- Your building is a multi-unit structure with shared drain stacks—plumbing code violations carry liability risks
Also call a licensed plumber if your home was built before 1978 and you suspect lead solder joints in the drain piping—disturbing them without containment violates EPA Renovation, Repair and Painting Rule (2022 update).
Prevention Tips
Keep your bathroom washer reliable with routine habits:
- Run an empty hot cycle with ½ cup white vinegar every 4 weeks to dissolve detergent residue and mineral scale
- Replace the rubber drain hose every 3 years—even if it looks fine (per Whirlpool’s 2021 Service Bulletin #WB-77)
- Use high-efficiency (HE) detergent only—regular formula creates excess suds that overwhelm compact bathroom drains
- Install a flood-stop automatic shutoff valve ($129–$185) that cuts water flow within 3 seconds of detecting 12 oz/min leakage
Why does my bathroom washer overflow only during the spin cycle?
This points strongly to a clogged standpipe or failing drain pump. During spin, water exits rapidly—any restriction causes backup. Confirm by running a short rinse-and-spin cycle with the drain hose temporarily directed into a bucket. If it drains cleanly there but overflows into the standpipe, the issue is downstream—not the machine.
Can I use a chemical drain cleaner on the standpipe?
No. Most liquid drain openers corrode PVC and ABS pipes common in bathroom retrofits, and they react dangerously with residual laundry detergent. The U.S. EPA estimates that 14% of household water usage is from leaks—but chemical-related pipe failures account for nearly 22% of emergency plumbing calls in homes built between 1995–2010. Stick to mechanical snakes or baking soda/vinegar flushes.
Is it safe to raise the drain hose higher than 36 inches?
No. Exceeding 36 inches creates excessive backpressure that can damage the washer’s drain pump motor or trigger false error codes. The 30–36 inch range balances anti-siphon protection with pump longevity—verified in testing by the Association of Home Appliance Manufacturers (AHAM W101-2022 standard).
My washer is in a tub—can I just drain into it?
Only if the tub has a properly vented, 2-inch minimum drain tied to the main stack. Draining into an unvented tub or shower pan violates IPC 3002.2 and risks slow drainage, gurgling, and eventual overflow during heavy loads. Better to install a dedicated 2" ABS standpipe with P-trap and air admittance valve (AAV) mounted at least 18" above the trap weir.
How do I know if the overflow is from the supply side or drain side?
Turn off both hot and cold shutoff valves. Run a drain-only cycle—if water still appears, it’s drain-side (clog, pump, or hose). If no water emerges, turn valves back on and run only a fill cycle (no agitation or spin). If water spills *before* the cycle starts or during fill only, it’s supply-side: faulty inlet valve, pressure switch, or overfill sensor.
Will insurance cover water damage from a bathroom washer overflow?
Most standard HO-3 policies cover sudden, accidental discharge—but exclude damage from lack of maintenance. If you haven’t replaced the drain hose in 5+ years or ignored recurring slow drainage, insurers like State Farm and USAA may deny claims citing ‘negligent upkeep.’ Document all repairs and keep receipts for parts and pro visits.
A bathroom washer overflow doesn’t have to mean ruined floors or panicked calls at midnight. With the right diagnosis and a few targeted moves, most incidents resolve before the first load of towels dries. Keep your drain hose looped, your pump filter cleaned quarterly, and your shutoff valves accessible—and you’ll turn what feels like an emergency into a 12-minute maintenance win. For persistent issues, remember: a plumber’s $120 diagnostic call is cheaper than replacing drywall and subflooring.