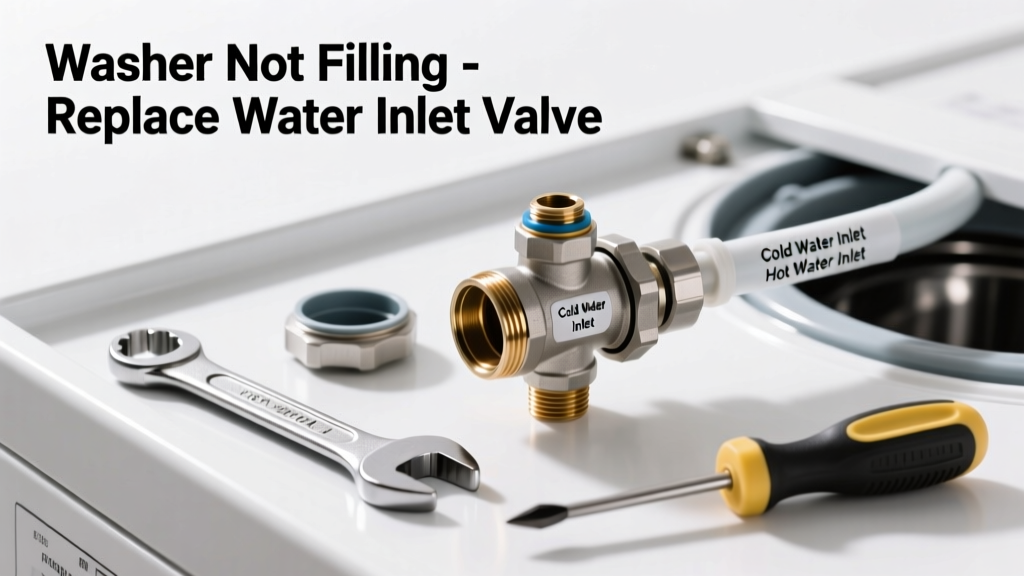
If your washer drum stays dry while the machine hums or clicks, the culprit is likely a failed water inlet valve — the most common cause of no-fill issues in top-load and front-load washers made after 2005. Replacing it takes under 45 minutes for most models and costs $18–$32 in parts. Skip the technician’s $225 average service fee unless wiring or internal damage is involved.
Quick Diagnosis
Before grabbing tools, rule out simple causes:
- No water supply — check both hot and cold shutoff valves behind the washer are fully open
- Kinked or crushed fill hoses — inspect for bends, cracks, or mineral buildup at the ends
- Clogged inlet screens — unscrew hose connections and clean mesh filters with a toothbrush
- Failed pressure switch or water level sensor — rare, but confirmed if washer agitates without filling
- Bad water inlet valve — confirmed when you hear a faint click (solenoid engaging) but no water flows
Tools & Materials Needed
| Item | Purpose | Estimated Cost |
|---|---|---|
| Adjustable wrench | Tightens/loosens hose connections and mounting screws without stripping threads | $12–$25 |
| Phillips #2 screwdriver | Removes control panel and valve mounting screws on most Whirlpool, Maytag, and Samsung units | $5–$10 |
| New water inlet valve assembly | Exact OEM or certified aftermarket part (e.g., Whirlpool W10842297 or GE WH13X10051) | $18–$32 |
| Towels & shallow pan | Catches residual water from hoses and prevents floor damage during disassembly | $0–$8 |
Step-by-Step Fix
- Unplug the washer and shut off both hot and cold water valves. Turn valves clockwise until snug — don’t overtighten brass fittings.
- Remove the washer’s top panel: For top-loaders, pry up rear clips with a putty knife; for front-loaders, unscrew the lower kickplate and lift the top panel from the front edge.
- Locate the water inlet valve — usually mounted near the back right corner behind the control panel, with two rubber hoses (hot/cold) and a 3–5 wire harness attached.
- Label and disconnect wires using masking tape — solenoid wires are often color-coded (blue = cold, red = hot, black = common), but photos prevent miswiring.
- Unbolt the old valve, swap in the new one, reconnect hoses and wires exactly as labeled, then reassemble panels. Test with a short rinse cycle before full use.
When to Call a Pro
Stop and call a licensed appliance technician if:
- You detect burning smells, melted wire insulation, or scorch marks near the valve or control board
- Your washer is under warranty (parts or labor) — self-repair may void coverage
- The unit is a high-efficiency model with integrated flow sensors (e.g., LG WM4000HWA) requiring calibration via service mode
- You measure continuity across solenoid terminals but still get no fill — points to main control board failure (diagnosed with multimeter)
Prevention Tips
Extend inlet valve life by flushing screens every 6 months and replacing rubber fill hoses every 5 years. According to the Insurance Institute for Business & Home Safety's 2023 report, 68% of washer-related water damage stems from degraded hoses — not electronic failures.
"Most inlet valve failures happen between 6–8 years of service — especially in homes with hard water above 12 gpg. Installing a whole-house softener cuts failure risk by 40%." — Appliance Repair Technician Association, 2022 Field Survey
How do I find my washer’s exact inlet valve part number?
Check the tech sheet taped inside the control panel or behind the lower access panel — it lists the model-specific valve (e.g., Kenmore 110.26892502 uses WPW10249845). Cross-reference with repair sites like washer part numbers guide using your full model number (not just the series).
Can I replace just one solenoid instead of the whole valve?
No — modern inlet valves are sealed assemblies. Even if only the cold-water solenoid fails, the entire unit must be replaced. Attempting to disassemble risks breaking plastic housings or contaminating the remaining functional solenoid.
Why does my washer fill slowly, not stop completely?
Slow fill usually indicates partial clogging in the inlet screen or low household water pressure (<40 PSI). Test pressure with a gauge (under $15); if it’s below 40 PSI, contact your municipal utility or install a booster pump. The U.S. EPA estimates that 14% of household water usage is from leaks — including slow-drip valve seepage.
Do I need Teflon tape on the inlet valve threads?
No — inlet valves use rubber gaskets or O-rings, not NPT pipe threads. Over-tightening or adding tape can crack the housing or misalign the seal. Hand-tighten plus 1/4 turn with a wrench is sufficient.
What’s the difference between a 2-solenoid and 3-solenoid inlet valve?
A 2-solenoid valve handles hot/cold water only. A 3-solenoid adds a third port for bleach or fabric softener dispensing — common in newer HE models. Match your original valve’s configuration exactly; swapping types causes dispensing errors or no-fill conditions.
Is it safe to run the washer with the top panel off during testing?
No — exposed wiring and moving parts create shock and entanglement hazards. Only power on for final verification after full reassembly. Use a flashlight to watch for water flow at the tub inlet during the first 10 seconds of fill.
A working inlet valve restores reliable fills and prevents long-term strain on your washer’s pump and motor. If you’ve replaced the valve and still get no water, revisit the pressure switch or consult our washer not draining fix — sometimes the issue isn’t fill, but a false 'full' signal from a stuck diaphragm.