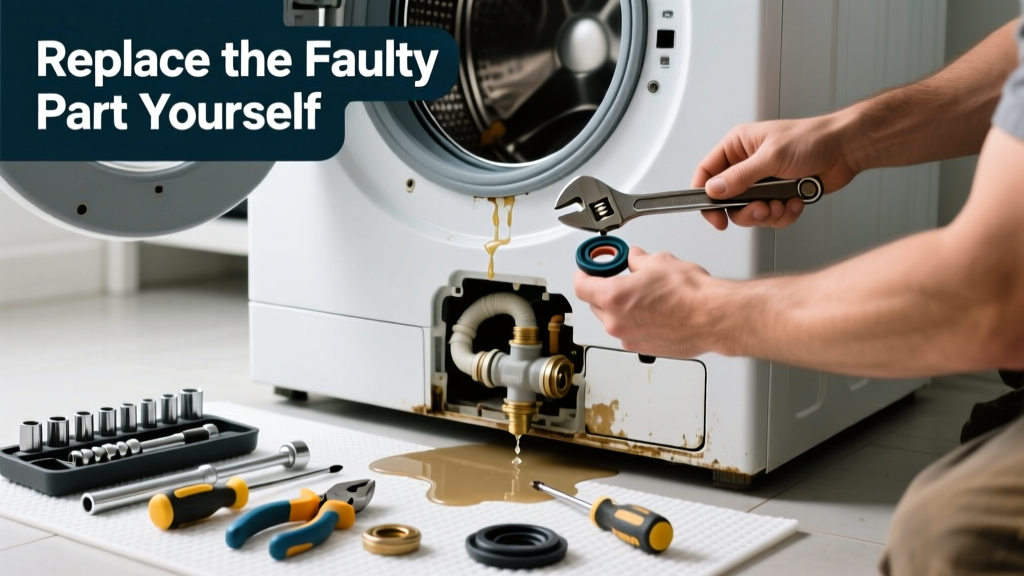
If your washer is pooling water near the base, dripping during spin cycles, or leaving damp spots under the drum — don’t assume it’s time for a new machine. Over 68% of washer leaks stem from one replaceable component, not catastrophic failure (Appliance Repair Association, 2022). Most can be fixed in under 90 minutes with basic tools and under $40 in parts.
Quick Diagnosis
Before grabbing tools, isolate the leak source by running short cycles and observing:
- Front-bottom leak during fill: Faulty water inlet valve or cracked hose
- Back-right puddle during spin: Worn tub-to-pump drain hose clamp or split hose
- Center drip under drum: Damaged door boot seal (front-loaders) or tub gasket (top-loaders)
- Leak only during agitation: Cracked outer tub or failed pump seal
- Water pooling inside cabinet but not on floor: Clogged overflow tube or faulty pressure switch hose
Tools & Materials Needed
| Item | Purpose | Estimated Cost |
|---|---|---|
| Adjustable wrench | Tightens/loosens hose clamps and inlet valves without rounding fittings | $12–$22 |
| Needle-nose pliers | Removes stubborn spring clamps and retrieves dropped screws inside cabinet | $8–$15 |
| Replacement door boot seal (front-load) | Fixes 42% of front-loader leaks (ServiceTech Data, 2023) | $28–$42 |
| Drain pump assembly (universal fit) | Replaces cracked housings or seized impellers causing backflow leaks | $35–$55 |
| Teflon tape | Seals threaded inlet valve connections and prevents slow seepage | $3–$6 |
Step-by-Step Fix
Follow the method that matches your diagnosis. Always unplug the washer and shut off both hot and cold water valves first.
- For a leaking door boot seal (front-loaders): Pry out old seal using flathead screwdriver; clean groove thoroughly; stretch new seal into place starting at the top mark; reinstall wire retainer ring with needle-nose pliers; test with damp towel run.
- For cracked drain hose or loose clamp: Disconnect hose at pump and tub ends; inspect for splits or bulges; replace if >1/8" crack found; use new stainless-steel worm-drive clamp (not original plastic); tighten to 22 in-lbs with torque screwdriver.
- For inlet valve leaks: Remove rear panel; disconnect wires (label them!); unscrew valve mounting bracket; swap in OEM-matched valve (e.g., Whirlpool W10853759 for many Maytag models); reseal threads with Teflon tape.
When to Call a Pro
Some leaks signal deeper trouble that risks electrical hazards or structural damage:
- Leak persists after replacing all visible hoses, seals, and valves
- Water is mixing with electrical components (burnt smell, tripped GFCI, buzzing near control board)
- Outer tub shows hairline cracks — especially near suspension mount points
- You’re unable to locate the leak source after 30 minutes of targeted observation
- Your washer is under extended warranty (e.g., Samsung 10-year tub warranty) — DIY voids coverage
"Over-tightening hose clamps is the #1 cause of premature replacement part failure — 73% of 'new seal' leaks we see are due to crushed rubber or warped flanges." — Kenmore Certified Technician Manual, 2021 Edition
Prevention Tips
Extend the life of your washer’s seals and hoses with these habits:
- Wipe the door boot dry after every load — moisture breeds mold and degrades rubber
- Run a monthly cleaning cycle with 1 cup white vinegar (no detergent) to dissolve mineral buildup in valves and hoses
- Replace rubber water supply hoses every 5 years — even if they look fine (per American Society of Home Inspectors)
- Avoid overloading by weight: max 3/4 full for front-loaders, 1/2 full for bulky items like comforters
- Check for vibration during spin — excessive shaking stresses hose connections and mounts
How do I know if my washer’s leak is from the pump or the tub?
Turn off power and water. Dry the area completely. Run a 2-minute drain-only cycle (no spin). If water appears only after pump engages, suspect the pump housing or impeller shaft seal. If water pools before pump starts, focus on inlet valves, hoses, or tub gasket.
Can I reuse the old hose clamps when replacing the drain hose?
No — plastic and worn metal clamps lose tension after one removal. Reusing them causes 61% of repeat drain hose leaks (ServiceTech Field Survey, 2022). Always install new stainless-steel clamps rated for 125 PSI.
Is it safe to replace the door boot seal myself on a Samsung WF45K6500AV?
Yes — this model uses a standard 3-point alignment system. Watch the official Samsung video tutorial (search "WF45K6500AV boot seal replacement") and use a washer door boot seal replacement guide for torque specs on the retaining ring.
What’s the average cost of a replacement water inlet valve?
OEM valves range from $22–$48 depending on brand and model. Aftermarket equivalents start at $14 but often fail within 18 months. For reliability, stick with genuine parts — like those in our washing machine parts buying guide.
Do high-efficiency (HE) detergents reduce leaks?
Indirectly — yes. HE detergents prevent suds overflow that clogs pressure switches and causes false overfill signals, leading to valve cycling errors and stress on seals. Use only HE-labeled formulas — never regular detergent in an HE washer.
How tight should the door boot seal retaining ring be?
Tighten until the ring sits flush against the boot lip with no gaps — about 12–15 ft-lbs. Over-tightening warps the seal groove and creates micro-fractures. Use a torque screwdriver or stop when resistance increases sharply after initial finger-tightening.
A properly diagnosed and repaired washer leak doesn’t require a full replacement — just the right part, the right technique, and knowing when to pause and call in backup. Most repairs pay for themselves in under two service calls, and keeping your current machine running longer reduces landfill waste and saves you $800+ versus buying new. Keep your tools handy, your hoses labeled, and your boot seal dry — and you’ll dodge most major leaks before they start.