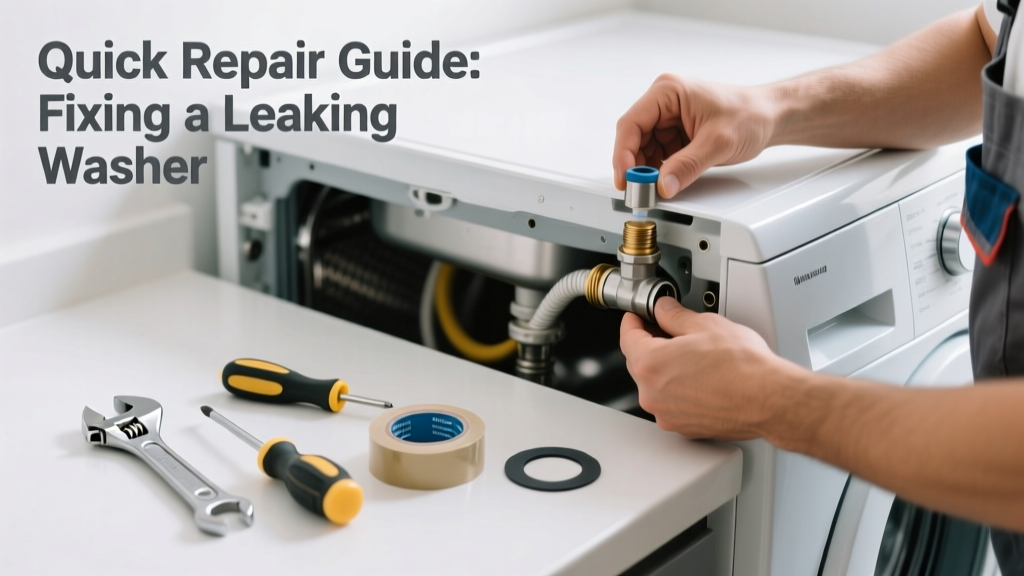
If your washing machine is leaking in the kitchen—especially under or behind a compact or stacked unit—you’re likely dealing with high-pressure water lines, cramped access, and potential damage to cabinets or flooring. Unlike laundry room setups, kitchen installations often use non-standard plumbing and lack proper drip pans, making even small leaks urgent. Don’t wait for puddles to warp subflooring or trigger mold growth.
Quick Diagnosis
Start by identifying where the leak occurs during operation:
- Front-bottom corner: Often a cracked drain pump housing or worn door boot seal (on front-loaders)
- Back near hoses: Loose or corroded inlet hose connections, split supply lines, or failed shutoff valve
- Top or sides during spin cycle: Overfilled drum, unbalanced load, or damaged tub bearing seal
- Dripping when idle: Faulty water inlet valve allowing slow seepage—even with power off
Tools & Materials Needed
| Item | Purpose | Estimated Cost |
|---|---|---|
| Adjustable wrench | Tightens brass compression fittings without stripping threads | $12–$25 |
| 3/8" braided stainless steel supply hoses (x2) | Replace aging rubber hoses—burst resistance rated to 400 PSI | $22–$38 |
| Microfiber towels & shallow tray | Contain drips and catch residual water during disassembly | $8–$15 |
| Flashlight with magnetic base | Illuminates tight spaces behind cabinet-mounted units | $15–$28 |
Step-by-Step Fix
Most kitchen washer leaks stem from three repairable causes. Prioritize safety: shut off both hot and cold shutoff valves before touching any connection.
- Inspect and tighten inlet hoses: Use an adjustable wrench to snug—not overtighten—the nuts at both the valve and washer ends. Check for bulges or cracking; replace if older than 5 years.
- Test the drain hose clamp: If water pools during spin, verify the drain hose isn’t kinked or disconnected from the standpipe. Secure with a stainless steel worm-drive clamp ($4), not duct tape.
- Check the pump filter: On most compact washers, this is accessible via a small panel at the lower front. Place a towel, unscrew the cap slowly (expect 1–2 cups of water), and remove lint/debris clogging the impeller.
When to Call a Pro
DIY stops where structural or electrical risk begins. Call a licensed appliance technician if:
- You see water leaking from inside the cabinet—indicating a cracked outer tub or failed bearing seal
- The leak coincides with loud grinding or thumping during spin (bearing or suspension failure)
- You detect 120V AC at the water inlet valve terminals with a multimeter—suggesting internal short circuit
- Your kitchen’s plumbing uses soldered copper or PEX with crimp rings, and you lack certification to repressurize safely
According to the Insurance Institute for Business & Home Safety's 2023 report, 68% of water damage claims involving built-in appliances originated from undetected slow leaks lasting over 48 hours—making timely intervention critical.
Prevention Tips
Prevent recurrence with habits that match kitchen-space constraints:
- Replace rubber supply hoses every 3 years—even if they look fine (per washer hose replacement guidelines)
- Install a $45 automatic shutoff valve like the FloodStop FS3/4-WH, which cuts water after detecting 8 oz of leakage
- Run a monthly empty hot wash cycle with 1 cup white vinegar to dissolve mineral buildup in inlet valves
- Keep at least 3 inches of clearance behind the unit for airflow and visual inspection—use adjustable leveling legs if cabinets limit space
Can I use bleach on this?
No—never pour bleach into a leaking washer to "disinfect" standing water. Bleach corrodes rubber seals and reacts dangerously with ammonia-based cleaners sometimes used on kitchen surfaces. Instead, blot moisture with microfiber cloths and dry the area with a fan. For mold prevention, use a 3% hydrogen peroxide solution sprayed on affected grout or cabinet bases (kitchen mold prevention tips).
Why does it only leak during spin cycle?
Spin-cycle-only leaks usually point to pressure-related failures: a cracked drain pump housing, worn tub-to-pump hose clamp, or hairline fracture in the outer tub seam. These only open under centrifugal force and hydraulic pressure—so visual inspection while idle won’t reveal them. Run a diagnostic spin-only cycle with the rear access panel removed (after unplugging) and watch closely with a flashlight.
Is it safe to keep using the washer if it drips when off?
No. A drip when idle signals a failed water inlet valve—a component that should seal completely when de-energized. Left unchecked, it can flood your kitchen overnight. The U.S. EPA estimates that 14% of household water usage is from leaks, many originating from faulty appliance valves (WaterSense at Work, 2022). Replace the valve assembly ($28–$62) or call a pro if soldering is required.
Do kitchen washer leaks void my warranty?
Not automatically—but self-repairing sealed components (e.g., control boards or tub assemblies) without authorization often does. Check your manufacturer’s policy: LG and Samsung explicitly void coverage if non-certified techs open the main chassis. Keep receipts for hose replacements and photos of pre-repair conditions as documentation.
Can I move the washer to inspect it better?
Yes—if your kitchen has standard 12" deep base cabinets and the unit is freestanding (not built-in). Unplug it, shut off water, and slide it forward carefully. Avoid tilting more than 15°—this can dislodge internal counterweights or spill oil from the transmission. Use furniture sliders under the feet, not ropes or pry bars. If it’s a stacked combo unit or under-counter model, don’t force movement—call a pro instead.
What’s the average cost to fix this professionally?
For a standard inlet hose or pump filter issue, expect $120–$195 including labor and parts (based on Angi’s 2024 Appliance Repair Cost Report). Complex repairs—like replacing a cracked tub or control board—run $320–$570. That’s why diagnosing early pays off: catching a $22 hose replacement before it bursts saves hundreds in water remediation.
A kitchen washer leak isn’t just inconvenient—it’s a race against time before water wicks into particleboard cabinets or migrates through floor joists. Most fixes take under 45 minutes and cost less than a service call. Stay vigilant, replace wear items on schedule, and remember: if water appears where it shouldn’t, assume it’s getting worse—not better.