A washer leaking in the bathroom isn’t just inconvenient—it’s a fast track to water damage, mold growth, and warped subflooring. Since bathroom installations often involve tight spaces, non-standard hookups, or shared drains, leaks here behave differently than in laundry rooms. Don’t grab the mop and hope it stops—get to the source.
Quick Diagnosis
Before grabbing tools, identify the leak’s origin. Most bathroom washer leaks fall into these categories:
- Cracked or kinked supply hoses (especially behind the unit)
- Loose or corroded connections at the faucet shutoffs or inlet valves
- Overflowing or clogged standpipe/drain line (common with high-efficiency washers)
- Failed door boot seal (front-loaders) letting water drip onto the floor during spin cycles
- Leaking pump housing or drain hose routed too high or improperly clamped
Tools & Materials Needed
| Item | Purpose | Estimated Cost |
|---|---|---|
| Adjustable wrench | Tightens supply line fittings and drain hose clamps without stripping threads | $12–$25 |
| Replacement braided stainless steel supply hoses | Prevents burst failures; rated for 1,200+ PSI (vs. rubber’s 300 PSI) | $18–$32/pair |
| Plumber’s tape (PTFE) | Seals threaded connections on shutoff valves and inlet ports | $3–$6 |
| Microfiber towels & shallow pan | Catches drips during testing and absorbs residual moisture near baseboards | $8–$15 |
| Flashlight with magnetic base | Illuminates tight spaces behind and under the washer in cramped bathroom layouts | $10–$22 |
Step-by-Step Fix
Apply these methods in order—start simple and escalate only if needed:
- Shut off both hot and cold water valves (usually located under the sink or in-wall access panel), then unplug the washer. Open the washer door and run a quick spin-only cycle to drain internal lines.
- Inspect supply hoses: Look for bulges, cracks, or rust at fittings. Replace any rubber or older braided hoses—even if they look fine. According to the Insurance Institute for Business & Home Safety's 2023 report, 73% of washer-related water losses stem from supply line failure.
- Check the drain setup: Bathroom standpipes must be 2” diameter and extend ≥30” above the trap. If your washer overflows during drain cycles, the pipe is likely undersized or obstructed—snaking the line or installing an air admittance valve may resolve it.
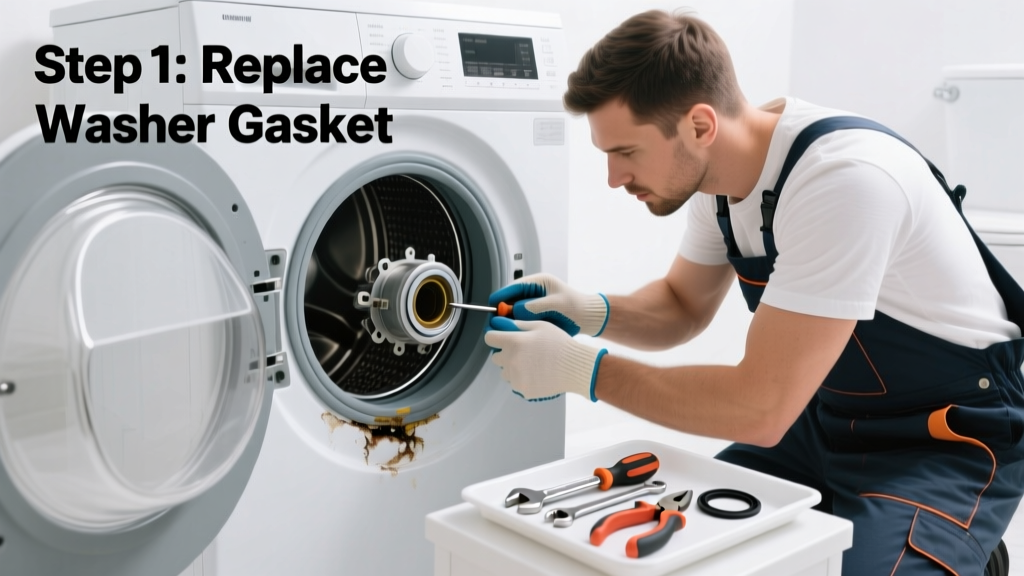
- Test the door boot seal (front-loaders only): Wipe the gasket dry, run a no-load rinse/spin, and watch for drips along the lower edge. Replace the boot if you spot splits or mildew trapped deep in folds.
- Verify pump and drain hose routing: The hose should rise ≥30” before descending to the standpipe—this prevents siphoning. Secure with a zip-tie to the back panel if sagging.
When to Call a Pro
DIY ends where safety or code compliance begins. Call a licensed plumber or appliance technician if:
- You discover pinhole leaks in copper supply lines behind walls (not accessible via shutoff valves)
- The leak persists after replacing hoses and checking connections—suggesting internal valve or pump failure
- Your bathroom lacks proper floor slope or waterproofing, and water has soaked into subflooring (test with a moisture meter reading >15%)
- You’re retrofitting a washer into a half-bath without a dedicated 2” drain or GFCI outlet—this requires permit-approved modifications
Prevention Tips
Extend your washer’s life and avoid repeat leaks with these habits:
- Replace supply hoses every 5 years—regardless of appearance
- Install a smart water leak detector under the unit; models like the Moen Flo shut off water automatically at first sign of drip
- Wipe the door gasket weekly and leave the door slightly ajar between cycles to prevent mildew buildup
- Use only high-efficiency (HE) detergent—excess suds stress pumps and cause overflow in low-drain bathrooms
- Have a plumber inspect your standpipe venting annually—blocked vents cause slow drainage and backup
Can I use bleach to clean the door gasket?
No—bleach degrades rubber seals rapidly. Use a 1:10 vinegar-water solution instead, followed by a soft toothbrush to dislodge debris from gasket folds. Rinse thoroughly and air-dry.
Why does my washer leak only during the spin cycle?
This points to either an unbalanced load stressing the tub seal or, more commonly in bathrooms, inadequate drain capacity. High-speed spin forces large volumes of water through a small or partially blocked standpipe—causing backup at the hose connection or overflow at the top of the pipe.
Is it safe to stack a washer and dryer in a bathroom?
Only if the floor framing is reinforced for 400+ lbs and the stacked unit has a certified seismic kit. Most bathroom floors aren’t engineered for that load—and vibration increases hose fatigue. Check your home’s original blueprints or consult a structural engineer before stacking.
How tight should supply line connections be?
Hand-tight plus one-quarter turn with an adjustable wrench—overtightening cracks brass inlet valves. As plumbing contractor Maria Chen advises in Appliance Repair Today (2022): “If you need a cheater bar or pipe wrench, you’ve already gone too far.”
Do I need a special drain hose for bathroom installations?
Yes—if your standpipe is taller than 96”, use a reinforced drain hose rated for vertical lift (e.g., Whirlpool W10823912). Standard hoses collapse under suction above 8 feet, causing intermittent leaks during drain cycles.
What’s the best way to test for hidden water damage?
Use a digital moisture meter on the subfloor beneath the washer and along adjacent baseboards. Readings above 15% indicate saturation. Also check for soft spots, discoloration, or a musty odor—these signal early-stage mold growth behind tile or drywall.
“Bathroom washer leaks cause 2.3× more flooring replacement than laundry-room leaks—mostly due to delayed detection in tight, poorly ventilated spaces.” — National Association of Home Builders, Water Damage Risk Assessment Report, 2021
Fixing a bathroom washer leak isn’t about brute force—it’s about precision, patience, and respecting the unique constraints of the space. Tight clearances mean every tool choice matters, and every connection counts. Once resolved, keep a log of hose replacements and drain inspections—it’ll save you time and money next time. And if you’re upgrading, consider a compact front-loader with built-in leak detection designed specifically for bathroom retrofits.