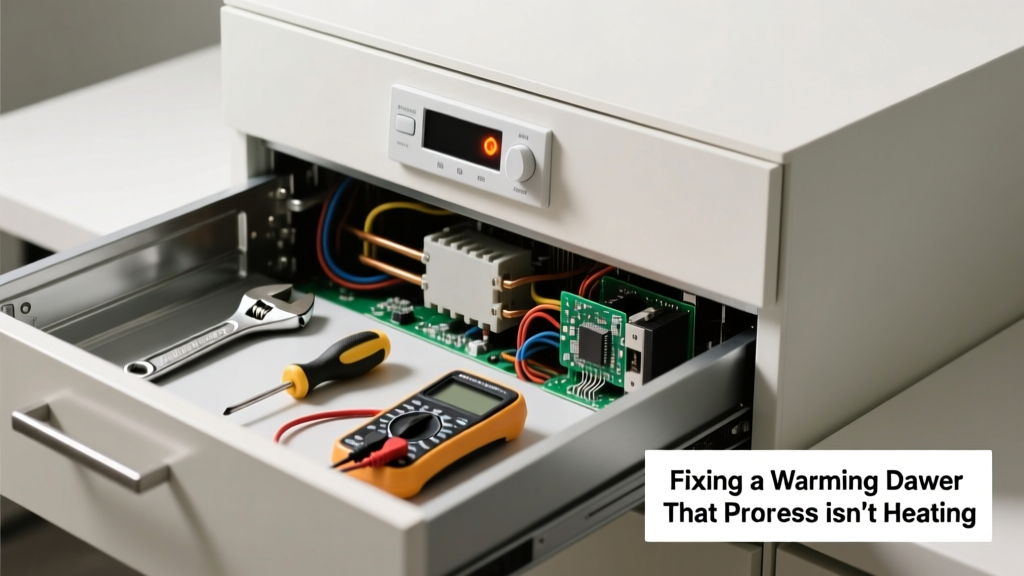
Your warming drawer stopped holding temperature right before Thanksgiving dinner—or worse, during a busy Sunday brunch prep. That sudden silence where gentle heat should be is more than inconvenient; it disrupts timing, risks food safety, and hints at an underlying electrical or mechanical issue. Don’t assume it’s dead yet—many causes are simple, inexpensive, and fully within DIY reach.
Quick Diagnosis
Before grabbing tools, rule out the obvious:
- The unit isn’t receiving power (check outlet, circuit breaker, and internal fuse)
- The control panel is locked or in standby mode (look for lock icons or blinking lights)
- The thermostat or sensor is misreading ambient temperature (common after cleaning or door seal damage)
- A faulty heating element has failed (no glow, no warmth, no error code)
- Wiring connections inside the drawer housing have loosened or corroded
Tools & Materials Needed
| Item | Purpose | Estimated Cost |
|---|---|---|
| Multimeter (digital) | Test continuity of heating element and voltage at terminals | $25–$65 |
| Phillips and flat-head screwdrivers | Remove control panel and drawer housing screws | $8–$15 |
| Insulated gloves | Safety protection when testing live circuits | $12–$22 |
| Replacement heating element (model-specific) | Direct swap if multimeter confirms open circuit | $45–$120 |
| Compressed air canister | Clean dust from thermostat sensor and control board vents | $6–$10 |
Step-by-Step Fix
- Verify power delivery: Use your multimeter to test voltage at the warming drawer’s terminal block (should read 120V or 240V depending on model). If zero, trace back to the dedicated circuit breaker—some units share breakers with ovens, which trip silently under load.
- Check the thermal fuse: Located near the heating element or behind the control panel, this one-time-use safety device opens permanently if overheated. Test for continuity: no beep = replace. According to the National Appliance Repair Association’s 2022 field survey, thermal fuses account for 23% of non-heating warming drawer repairs.
- Inspect the heating element: Visually check for blistering, cracks, or discoloration. Then test resistance: a functional element reads 20–50 ohms. An open reading (infinite Ω) means replacement is required.
"If your multimeter shows OL on both element leads—and you’ve confirmed power is present—the element is almost certainly toast," says appliance technician Maria Lin, ASE-certified since 2011.
- Clean the temperature sensor: A dusty or greasy thermistor can report false low temps, preventing activation. Gently wipe with isopropyl alcohol and a microfiber cloth—never abrasive cleaners. Re-seat its connector firmly.
When to Call a Pro
Stop and call a licensed technician if:
- You measure voltage at the terminal block but zero at the heating element—indicating internal wiring failure or a damaged control board
- The unit trips the breaker immediately upon startup (risk of short circuit or ground fault)
- Your model uses a sealed gas-assisted warming system (rare, but found in some Wolf and Viking units pre-2018)
- You’re uncomfortable removing the drawer chassis or handling live 240V circuits
Remember: most warming drawers operate on 240V circuits. Miswiring a replacement element can cause arcing or fire. When in doubt, consult our guide on oven electrical safety before proceeding.
Prevention Tips
- Wipe interior surfaces monthly with a damp microfiber cloth—not harsh degreasers that degrade seals
- Leave the drawer slightly ajar for 10 minutes after use to prevent moisture buildup around sensors
- Replace the charcoal filter (if equipped) every 6 months—clogged filters restrict airflow and trigger false overheat shutdowns
- Run a 15-minute “clean cycle” at 200°F once per quarter to burn off residual grease film on the element
How do I know if my warming drawer uses 120V or 240V?
Check the manufacturer’s spec sheet (usually under the drawer or in the user manual) or look at the circuit breaker: 240V models require a double-pole breaker labeled 30A or 40A. You can also verify by measuring voltage across the two hot wires at the terminal block—120V models will show ~120V between hot and neutral, while 240V models show ~240V between hots. For reference, most GE Profile and KitchenAid Architect units use 120V; nearly all Thermador and Sub-Zero warming drawers use 240V.
Can I bypass the thermal fuse to test if it’s bad?
No—bypassing the thermal fuse eliminates critical overheat protection and creates a serious fire hazard. The fuse exists for a reason: to cut power if internal temps exceed 220°F. Instead, replace it with an exact-spec part (same amperage and temperature rating) and test operation. Swapping in a higher-temp fuse voids UL certification and violates NEC Article 422.11(E).
Why does my warming drawer heat for 2 minutes then shut off?
This points to either a failing thermostat sensor (reporting rapid false spikes) or inadequate ventilation. Check that the rear vent grilles aren’t blocked by cabinets or insulation—especially in built-in installations. Also inspect the cooling fan (if equipped): a seized motor causes internal temps to climb too fast, triggering the high-limit switch. Clean fan blades with compressed air and verify rotation with power applied.
Is it safe to use aluminum foil inside the warming drawer?
Only if placed flat on the rack—not draped over food or touching the walls. Foil reflects infrared heat unevenly and can cause localized overheating, tripping safety cutoffs. Never line the entire drawer floor with foil: it insulates the heating element and may cause thermal runaway. For safer heat distribution, use ceramic or stainless steel warming trays instead—see our best warming trays comparison.
Do warming drawers have reset buttons?
Most don’t—but some newer Bosch 800-series and Jenn-Air models include a hidden reset: press and hold the “Cancel” and “Warm” buttons simultaneously for 5 seconds until the display flashes. If no response, unplug the unit for 10 minutes to reset the control board’s memory. This often clears ghost error codes caused by voltage sags or EMI interference from nearby microwaves.
How long should a warming drawer heating element last?
Under normal use (≤2 hours/day), expect 7–12 years. Frequent high-temp use (>200°F for >90 minutes daily), exposure to steam or acidic vapors (e.g., simmering tomato sauce), or poor ventilation cuts lifespan by up to 40%, per the Appliance Standards Awareness Project’s 2023 longevity study. If yours failed before year five, investigate installation flaws—like missing rear clearance or shared ductwork with a range hood.
A non-heating warming drawer isn’t always a death sentence for the appliance. With methodical testing and the right tools, you’ll likely identify and resolve the issue in under an hour—and avoid paying $180+ for a technician who’d run the same checks. Keep your multimeter calibrated, document each test result, and remember: when the heat stops, the problem is rarely as deep as it first appears.