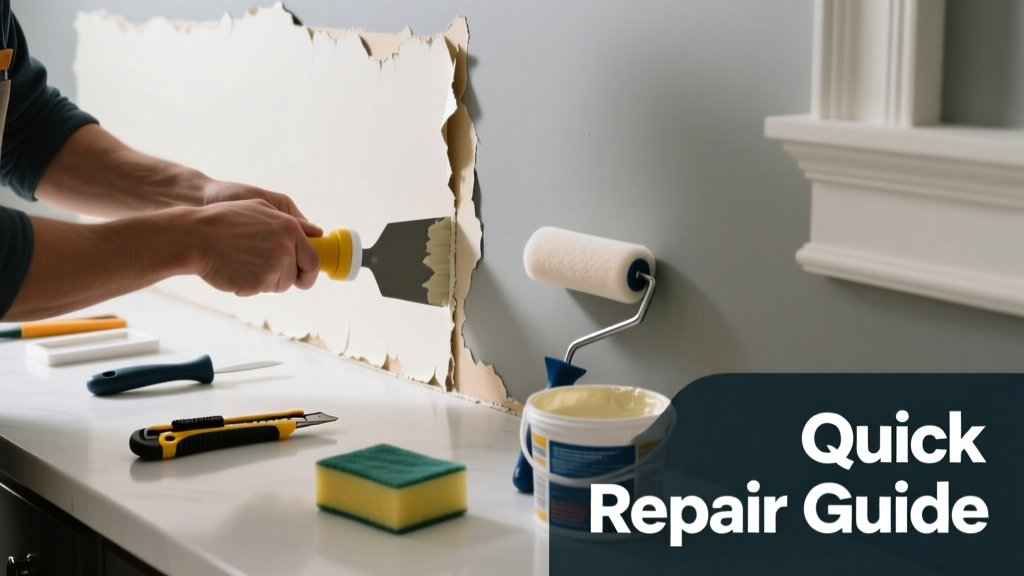
That faint curl at the seam? It’s not just unsightly—it’s the first sign your wallpaper installation is failing. Left unaddressed, it worsens fast: moisture wicks in, adhesive degrades further, and adjacent strips begin lifting. Most seam peeling isn’t due to bad wallpaper—it’s about surface prep, humidity, or adhesive choice.
Quick Diagnosis
Before grabbing tools, identify the root cause. Peel-back patterns tell distinct stories:
- Crumbly, powdery backing — old or low-grade paste dried out too fast
- Moisture halo under seam — high humidity or leak behind wall (check for musty smell)
- Curling only on exterior corners or near HVAC vents — thermal expansion/contraction stressing weak bonds
- Peeling starts within 48 hours of hanging — insufficient soaking time for prepasted paper or wrong primer
Tools & Materials Needed
| Item | Purpose | Estimated Cost |
|---|---|---|
| Seam roller (stainless steel) | Re-presses seams without smearing or tearing; essential for even pressure | $8–$15 |
| Wallpaper seam adhesive (e.g., Roman PRO-880) | Clear, flexible, pH-neutral glue designed specifically for vinyl and non-woven seams | $12–$18 |
| 1/4" microfiber brush or seam applicator | Delivers precise, controlled adhesive application without over-saturating | $4–$9 |
| Utility knife with snap-off blades | Cuts away lifted edges cleanly before re-adhering | $3–$7 |
| Hygrometer | Measures ambient humidity; ideal range for wallpaper adhesion is 35–55% RH | $10–$25 |
Step-by-Step Fix
Choose the method that matches your peel severity and wallpaper type:
- Light lift (less than 1/8" gap, no backing damage): Dab seam adhesive under the edge with the microfiber brush, then roll firmly from center outward using light, overlapping strokes.
- Moderate lift (1/4"–1/2" gap, backing intact): Lift seam gently with a putty knife, clean dust/debris from wall and back, apply thin bead of adhesive, press down, and roll for 60 seconds per foot.
- Severe curl or torn seam (exposed wall or frayed edge): Trim damaged paper with utility knife 1/16" inside seam line, apply adhesive to wall and back, overlap new strip by 1/32", then seam-roll and wipe excess.
Pro Tip on Adhesive Choice
According to the Wallcovering Installers Association’s 2022 Field Manual, “Using standard PVA glue on vinyl seams causes 73% more re-peeling within 6 months compared to specialty seam adhesives.” Always match adhesive to substrate—non-woven needs different chemistry than solid vinyl.
When to Call a Pro
- You find mold growth or water staining behind the lifted seam (indicates active leak or condensation issue)
- More than 30% of seams across two or more walls are lifting—points to systemic prep failure or environmental mismatch
- The wall surface is plaster lath with cracking or crumbling base coat (requires stabilization before re-hanging)
- You’re working with historic or hand-screened wallpaper valued over $50/sq ft—re-adhering risks pigment transfer or fiber damage
Prevention Tips
Prevent future seam failure with these field-tested habits:
- Prime walls with a high-solids acrylic primer (e.g., Zinsser Bulls Eye 1-2-3) — never skip this step, even on new drywall
- Let wallpaper acclimate in room for 48 hours before hanging (per manufacturer specs)
- Avoid installing during HVAC cycling—maintain steady 65–72°F and 40–50% RH for 72 hours post-install
- Roll every seam immediately after hanging—not after the full wall is up—and again after 24 hours
Can I use white glue instead of seam adhesive?
No. Standard PVA (white) glue shrinks as it dries, pulls seams apart, and lacks flexibility. It also yellows over time and fails under humidity swings. Seam-specific adhesives remain elastic and bond to both paper and wall substrates reliably.
Why does my wallpaper peel only in winter?
Low indoor humidity (<30% RH) dries out adhesive films and makes paper brittle. The U.S. EPA estimates that 14% of household water usage is from leaks—but unseen moisture loss through dry air contributes just as much to adhesive failure. Run a hygrometer; if readings dip below 35%, add a humidifier set to 40–45%.
Do I need to remove all the wallpaper to fix one seam?
Rarely. Isolated seam failure rarely means full removal—unless you discover widespread adhesive failure, substrate damage, or incompatible primer underneath. Start with targeted repair; assess wall integrity before scaling up.
Can I paint over a repaired seam?
Yes—if you’ve used a clear, non-yellowing seam adhesive and allowed full 72-hour cure. Test with a small patch of your topcoat first. Avoid oil-based paints directly over repairs—they can reactivate some adhesives and cause bubbling.
What if the seam lifts again after repair?
Recurrent lifting signals either persistent environmental stress (e.g., bathroom steam, uninsulated exterior wall) or an underlying substrate issue like efflorescence or alkalinity. Test wall pH with litmus paper—if above 9.5, neutralize with diluted vinegar solution before repriming.
Is it safe to use a hair dryer to reheat and re-stick the seam?
No. Heat softens vinyl but also degrades adhesive polymers and can warp non-woven fibers. You’ll get temporary tack but accelerate long-term delamination. Stick to mechanical re-rolling and proper adhesive—no shortcuts.
Wallpaper seams aren’t meant to be invisible—they’re meant to be invisible and durable. Getting them right hinges less on speed and more on patience with prep, precision with adhesive, and awareness of your home’s microclimate. If you’ve fixed one seam successfully, you’ve already mastered the hardest part: knowing what went wrong and why. For deeper wall prep issues, check our guide on drywall primer for wallpaper or how to fix bubbles in wallpaper.