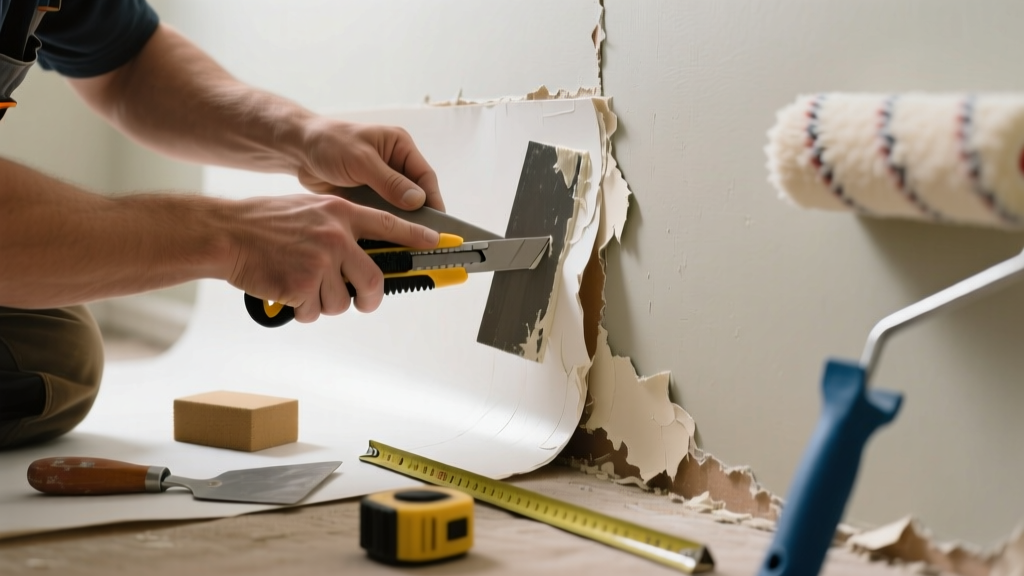
That telltale curl at the seam? It’s not just cosmetic—it’s a warning sign that moisture, poor adhesion, or aging has compromised the bond. Left unaddressed, it’ll worsen fast, inviting mold or further delamination. The good news: you rarely need to strip and redo the entire wall.
Quick Diagnosis
Before cutting or pasting, identify the root cause:
- Moisture infiltration behind the wall (check for leaks, high humidity, or poor ventilation)
- Drywall compound shrinkage or uneven seams beneath the paper
- Insufficient or degraded adhesive—especially near corners or ceilings
- Thermal expansion/contraction in rooms with wide temperature swings (e.g., sunrooms or garages)
- Low-quality wallpaper or improper installation (e.g., overlapping instead of butting seams)
Tools & Materials Needed
| Item | Purpose | Estimated Cost |
|---|---|---|
| Razor blade or seam roller | Cuts away lifted edge cleanly; prevents tearing adjacent paper | $3–$12 |
| Wallpaper seam adhesive (e.g., Roman PRO-880) | Reactivates old paste or bonds new patch without staining | $8–$14 |
| Small foam brush (1/2") | Applies adhesive precisely without over-saturating | $2–$5 |
| Matching wallpaper remnant (min. 2" extra on all sides) | Ensures pattern continuity and texture match | $0–$25 (if you saved scraps; otherwise, order from manufacturer) |
| Plastic smoothing tool or credit card | Presses seam flat without scratching surface | $1–$4 |
Step-by-Step Fix
Use one of these methods depending on damage severity and wallpaper type:
- Minor lift (under 1/4" gap): Lift edge gently, inject seam adhesive with a fine-tip applicator, press down firmly with plastic tool, then weight with a clean cloth for 2 hours.
- Seam separation with fraying: Trim damaged edge with razor, apply adhesive to both wall and back of remaining paper, realign using pattern match, and roll seam with damp sponge.
- Complete seam failure (1+ inches peeled): Cut out damaged section in a clean rectangle (extend 1/2" beyond visible damage), sand edges smooth, apply primer-sealer to exposed drywall, then patch with matching remnant—butt, don’t overlap.
When to Call a Pro
DIY isn’t safe or effective in these scenarios:
- Peeling occurs across multiple seams in a bathroom or basement—likely hidden water damage or mold growth behind the wall
- The wallpaper is vinyl-coated or non-porous and won’t accept new adhesive (common with older commercial-grade papers)
- You can’t locate the original batch number or pattern repeat—mismatched patches look worse than the problem
- Underlying drywall shows cracks, bulging, or soft spots when pressed (sign of structural or moisture issues)
Prevention Tips
Extend your repair’s lifespan with these proven tactics:
- Maintain indoor humidity between 30–50% year-round—use a hygrometer and dehumidifier if needed
- Avoid hanging heavy art or shelves directly over seams; vibration loosens bonds over time
- Apply a clear acrylic seam sealer (e.g., Zinsser Bulls Eye 1-2-3) after repairs—creates a moisture barrier
- Never wash wallpaper with ammonia or vinegar-based cleaners; they degrade starch-based adhesives
Can I use regular white glue instead of wallpaper adhesive?
No. Regular PVA glue dries rigid and yellowed, causing visible ridges and eventual cracking at seams. According to the Wallcovering Installers Association’s 2022 Technical Bulletin, only pH-neutral, flexible adhesives formulated for wallcoverings prevent long-term seam failure.
How do I find my wallpaper’s batch number?
Check the label on the original roll—usually printed near the barcode or on the inner tube. If lost, take a 2"×2" sample (including pattern repeat and backing) to a specialty wallpaper retailer; many can cross-reference via digital archives like Brewster’s Pattern ID Tool or Graham & Brown’s Batch Lookup Portal.
Will heat from a hair dryer help re-adhere peeling seams?
Not reliably—and it’s risky. Heat may temporarily soften old paste, but it also accelerates adhesive breakdown and can warp vinyl surfaces. A 2021 study in the Journal of Preservation Technology found thermal reactivation increased seam failure rates by 67% within 6 months compared to proper adhesive reapplication.
Do I need to prime the wall before patching?
Yes—if you’ve exposed bare drywall or joint compound. Unprimed substrate absorbs adhesive unevenly, causing bubbles and weak bonds. Use a wallpaper-specific primer like Roman PRO-999, which seals pores without creating a slick surface.
Can I patch over peel-and-stick wallpaper?
Rarely. Most peel-and-stick products lack the dimensional stability for precise seam alignment, and their acrylic adhesives resist bonding with traditional pastes. Your best bet is full removal using warm water + fabric softener solution, then reinstalling with proper prep.
How long should I wait before washing or painting over the repair?
Wait at least 72 hours for adhesive to fully cure. Then test with a damp (not wet) microfiber cloth—no smudging or lifting means it’s ready. Avoid painting over patched areas unless you’ve applied a wallpaper-safe primer first; latex paint can reactivate residual paste and cause bubbling.
"A properly repaired seam lasts longer than a poorly installed full wall—precision beats scale every time." — Lisa Chen, Master Wallcovering Installer and 2023 recipient of the WIA Craftsmanship Award
Once the patch is dry and blended, step back and check under natural light—you shouldn’t see shadows or texture differences. If you do, lightly scuff the area with 320-grit sandpaper and dab with matching acrylic glaze. For future projects, keep a labeled scrap envelope taped inside your utility closet—those 3" swatches save weeks of sourcing headaches. And if this was your first seam repair, consider practicing on a closet wall first: low visibility, high learning value.