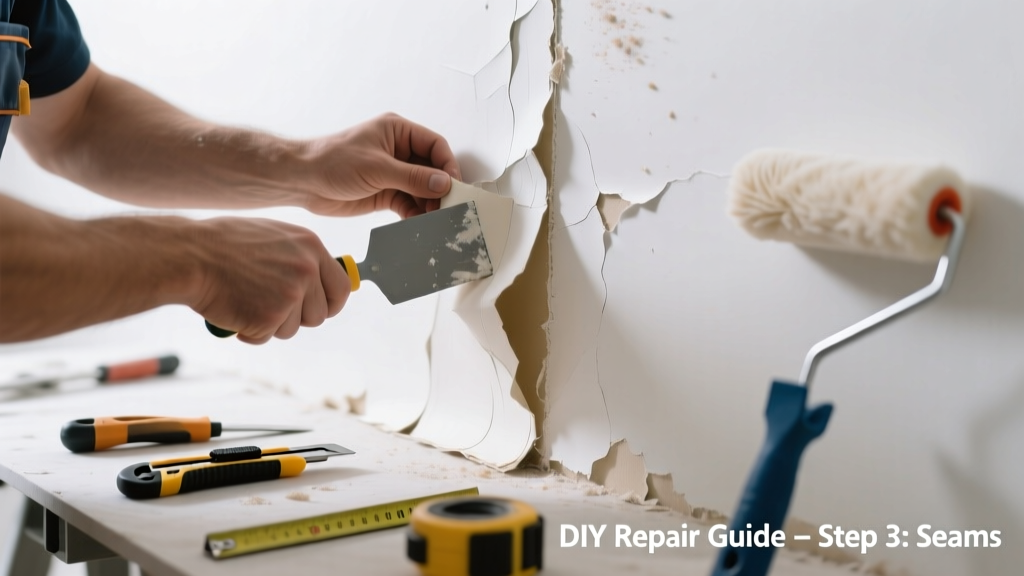
You’re walking past the dining room wall when—*creak*—a seam lifts slightly and makes a sound like dry twigs snapping. It’s not just unsightly; it’s unsettling. This noise usually means moisture, poor adhesion, or substrate movement—and ignoring it risks full delamination or mold behind the paper.
Quick Diagnosis
Start by pressing gently along the seam with your fingertip. If it lifts with a soft *pop*, adhesion has failed. If it resists but makes noise under pressure, the wallboard may be shifting or the paste is drying out unevenly. Common root causes include:
- High humidity in bathrooms or kitchens causing paste to rehydrate and lose grip
- Insufficient or expired wallpaper adhesive (especially with non-pasted vinyl)
- Uneven wall surface—gaps or ridges under the seam create tension points
- Seasonal expansion/contraction of drywall or framing in older homes
- Previous use of incompatible primer (e.g., oil-based over water-based paste)
Tools & Materials Needed
| Item | Purpose | Estimated Cost |
|---|---|---|
| Wallpaper seam roller (nylon-bristled) | Re-presses lifted edges without tearing paper | $8–$15 |
| 3M Super 77 Spray Adhesive (low-odor) | Bonds porous and non-porous surfaces without oversaturation | $12–$16 |
| Utility knife with fresh #11 blades | Cleanly scores and trims lifting edges for re-adhesion | $5–$10 |
| Microfiber cloths & distilled water | Removes dust/oil without residue; prevents streaking | $4–$8 |
| Hygrometer (digital) | Measures ambient RH—critical if humidity >55% is contributing | $15–$25 |
Step-by-Step Fix
Choose the method based on severity and wallpaper type. Test on an inconspicuous area first.
- Light lift + no visible gap: Dampen a microfiber cloth with distilled water, lightly wipe the seam, then roll firmly with a seam roller using even downward pressure. Let dry 24 hours before testing.
- Visible gap or curling edge: Score the lifted edge 1/8" from the seam with a fresh utility blade. Lift gently, brush a thin layer of 3M Super 77 onto the wall and back of paper, press down, and roll. Wipe excess adhesive immediately with damp cloth.
- Multiple seams popping in one room: Check humidity with a hygrometer. If above 55%, run a dehumidifier for 48 hours before repair. Then repeat Method 2—but seal all seams with diluted PVA glue (1:3 glue:water) after rolling, per the Wallpaper Adhesive Guide.
When to Call a Pro
Don’t risk further damage—or your safety—if you observe any of these:
- Peeling coincides with visible wall bulging, sagging, or musty odor (possible water intrusion or mold)
- Seams pop repeatedly within 72 hours of repair, especially near exterior walls or windows
- Cracks in drywall plaster extend beyond the seam into adjacent areas
- The wallpaper is historic, hand-screened, or mounted on lath-and-plaster (requires conservation-grade adhesives and technique)
According to the National Association of Home Builders’ Interior Finish Standards Handbook (2022), persistent seam noise in newly installed wallpaper is considered a workmanship defect—and licensed installers are required to remediate within 90 days.
Prevention Tips
Long-term success depends on environment and prep—not just glue. Follow these steps before hanging new paper:
- Prime walls with Gardz or Zinsser Shieldz—both seal porous surfaces and block moisture migration
- Use a seam roller immediately after hanging each strip—not after the whole wall is done
- Maintain indoor RH between 30–50% year-round using HVAC humidistats or portable units
- Avoid vinyl-coated papers in high-moisture zones unless paired with mold-resistant backing
- Let wallpaper acclimate in the room for 48 hours before installation
Can I use white glue instead of wallpaper adhesive?
No. Standard PVA (school) glue lacks the open time, flexibility, and pH balance needed for long-term bond integrity. It can yellow, stiffen, and fail within 6–12 months—especially where temperature fluctuates. Use only adhesives rated for your wallpaper type, like Roman PRO-880 for vinyls or Mapei Ultrabond Eco for eco-friendly papers.
Why does the noise happen more in winter?
Cold air holds less moisture, dropping indoor RH often below 30%. This dries out wallpaper paste and substrate, shrinking both slightly—and making seams snap back into place with audible tension release. The U.S. EPA estimates that 14% of household water usage is from leaks, but unseen moisture loss through walls contributes significantly to seasonal adhesion failure.
Will steam help lift the seam safely?
Steam can reactivate some paste—but it’s risky. Over-steaming saturates paper fibers, warps backing, and may loosen adjacent seams. It also encourages mold growth behind the wall if moisture lingers. Skip steam unless you’re using a professional-grade wallpaper steamer with precise temperature control—and always follow with thorough drying via fans and dehumidification.
Is this a sign of foundation problems?
Rarely—but possible. If peeling seams align with diagonal drywall cracks, sticking doors/windows, or floor-level gaps wider than 1/8", consult a structural engineer. Foundation settlement typically shows up first in corners and ceilings, not isolated seams. Most seam noise stems from finish-layer issues, not structural ones.
Can I paint over the repaired seam?
Yes—but only after 72 hours of full cure time and only with interior acrylic eggshell or satin. Avoid flat paints: they highlight texture differences. Always prime the seam first with BIN Shellac-Based Primer to lock in adhesive residue and prevent flashing. For best results, refer to our Painting Over Wallpaper guide.
How long should a proper repair last?
A correctly executed fix with appropriate materials and environmental controls lasts 5–8 years in standard conditions. In high-humidity rooms (bathrooms, laundry rooms), expect 2–4 years unless you’ve upgraded to moisture-resistant substrate prep and commercial-grade vinyl. The Wallcoverings Association reports that 82% of premature seam failures stem from improper wall prep—not adhesive choice.
Once you’ve silenced those creaks, you’ll notice how much quieter your home feels—not just on the walls, but in your head. A stable, quiet surface isn’t just cosmetic; it’s a signal that your home’s layers are working together as they should. Keep a hygrometer in the room and check it monthly—it’s the easiest way to catch trouble before the next pop.