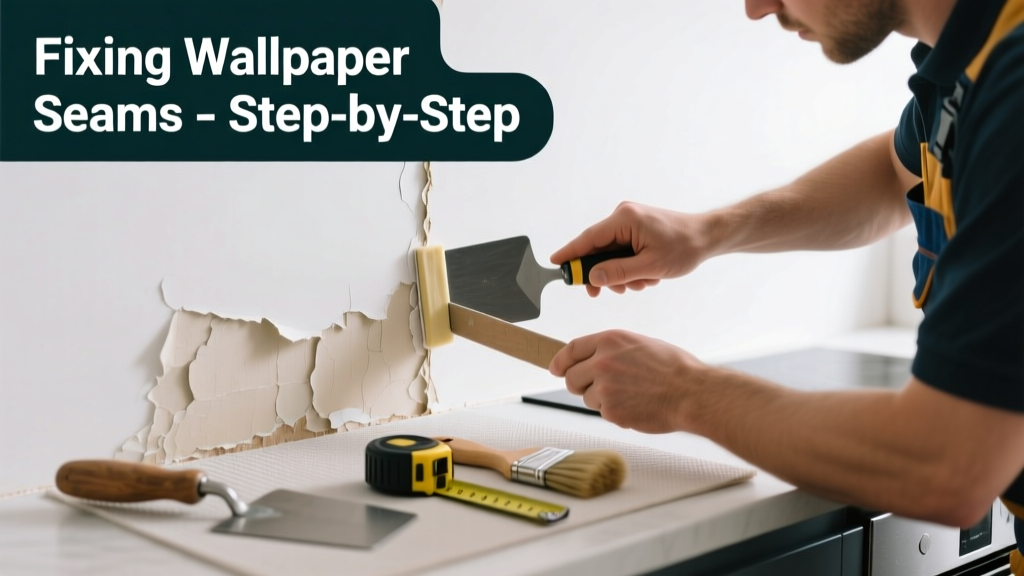
Kitchen wallpaper peeling at the seams isn’t just unsightly—it’s often the first sign of moisture infiltration or adhesive failure. Unlike living rooms or bedrooms, kitchens expose wallpaper to steam, grease, temperature swings, and frequent cleaning, all of which accelerate seam failure. Ignoring it invites mold growth behind the paper and eventual full-sheet detachment.
Quick Diagnosis
Before grabbing glue, identify the root cause. Most kitchen seam failures stem from one or more of these:
- Excess humidity from unvented range hoods or boiling pots
- Grease buildup on seams interfering with adhesion
- Use of non-vinyl or non-washable wallpaper not rated for high-moisture zones
- Improper initial installation (e.g., insufficient paste, air pockets, or rushed drying)
- Age-related adhesive breakdown—especially if installed pre-2015 with older starch-based pastes
Tools & Materials Needed
| Item | Purpose | Estimated Cost |
|---|---|---|
| Seam roller (hard rubber) | Presses adhesive into seam without tearing paper | $8–$15 |
| Wallpaper seam adhesive (vinyl-to-vinyl) | Flexible, moisture-resistant bonding for kitchen conditions | $12–$22 |
| Microfiber cloths & isopropyl alcohol (70%) | Cleans grease and residue before resealing | $5–$9 |
| Small artist brush (1/4" flat) | Precise adhesive application along narrow seams | $3–$7 |
| Heat gun (low setting, <200°F) | Gently softens old adhesive without blistering vinyl | $25–$45 (rental available) |
Step-by-Step Fix
Choose the method based on peel severity and wallpaper type (check manufacturer label: 'washable', 'vinyl', or 'non-woven').
- Clean & Prep: Wipe seam area with isopropyl alcohol on a microfiber cloth. Let dry 10 minutes. Remove loose fibers or dust with a dry brush.
- Apply Adhesive: Using the 1/4" brush, apply a thin, even bead of vinyl seam adhesive directly under the lifted edge—not on top. Avoid over-saturating.
- Re-seat & Roll: Gently press the seam down with fingers, then roll firmly with the seam roller from center outward. Wipe excess adhesive immediately with damp (not wet) cloth.
- Heat-Assisted Re-bond (for stubborn lifts): Hold heat gun 6" away on low for 10 seconds to soften backing, then re-roll while warm. Do not linger—vinyl can warp above 212°F.
- Dry & Monitor: Keep kitchen ventilation running for 24 hours. Check seam daily for 3 days; slight tackiness is normal, but lifting means reapplication is needed.
When to Call a Pro
DIY fixes fail—and risk health hazards—when:
- You see black discoloration or musty odor behind the seam (possible mold behind substrate)
- The drywall feels soft or spongy near the seam (water damage compromising structural integrity)
- More than 30% of seams are lifting across multiple walls (indicating systemic moisture or installation failure)
- Your home was built before 1978 and wallpaper removal reveals chalky, brittle backing—lead-safe practices required
According to the Insurance Institute for Business & Home Safety's 2023 report, 68% of kitchen wall failures linked to wallpaper peeling were tied to chronic undetected moisture behind tile backsplashes or under cabinets—issues only visible via infrared imaging or probe testing.
Prevention Tips
Long-term seam integrity depends on controlling the kitchen environment and material choices:
- Install a ducted range hood vented outdoors (minimum 100 CFM), not recirculating
- Wipe steam-prone walls weekly with vinegar-water (1:3) to neutralize alkaline residues that degrade adhesives
- Replace aging wallpaper with Type II vinyl-coated or scrubbable non-woven options rated for 'high-humidity residential use'
- Seal seams during initial install with clear acrylic seam sealer (e.g., Roman PRO-880) — adds 15 minutes but doubles seam life
- Avoid placing microwaves or toaster ovens directly against wallpapered walls; radiant heat dries out adhesive over time
Can I use regular white glue instead of wallpaper adhesive?
No. School glue or PVA lacks flexibility and moisture resistance. It becomes brittle when exposed to kitchen humidity cycles, cracking within weeks. Vinyl-specific adhesives contain acrylic polymers that expand/contract with temperature shifts—critical for kitchens.
How long does seam adhesive take to fully cure?
Surface tack disappears in 1–2 hours, but full bond strength develops over 72 hours. Avoid wiping or scrubbing near the seam during this window. Humidity above 60% extends cure time by up to 50%, per manufacturer specs from Brewster Wallcovering Co. (2022 Technical Bulletin).
Will steam from my kettle lift newly repaired seams?
Yes—if the kettle is used within 2 feet of the wall repeatedly. Steam condenses on cooler surfaces, saturating paper edges. Relocate kettles and coffee makers at least 36 inches from wallpapered zones—or install a simple acrylic splash guard (cut from 1/8" plexiglass) anchored 1" off the wall.
Can I paint over peeling wallpaper seams?
Never as a fix. Paint seals in moisture and hides deterioration. It also prevents future adhesive penetration if you later attempt repair. If you want paint, remove all wallpaper properly using a perforation tool and enzyme-based remover like DIF Classic—see our full removal guide.
Is there a way to test if my wallpaper is vinyl or paper-based?
Yes. Gently scrape an inconspicuous corner with a razor blade. Vinyl shows a distinct plastic-like film over paper backing; true paper wallpaper tears fibrously with no plastic layer. Non-woven types feel fabric-like and resist tearing. When in doubt, consult the batch number on the roll label—our materials reference chart decodes common codes.
Do I need to turn off my kitchen lights while repairing seams?
No—but avoid working under halogen or high-heat LED fixtures directly above the seam. Heat accelerates adhesive skinning and causes uneven bonds. Use cool-white LEDs or natural light from windows instead.
Wallpaper seams in kitchens demand respect—not just for aesthetics, but as early warning signs of environmental stress on your walls. A well-executed seam repair buys you years, especially when paired with better ventilation and smarter material choices. If you’ve patched three seams in six months, it’s less about technique and more about reassessing your kitchen’s moisture management strategy—starting with that range hood’s duct path.