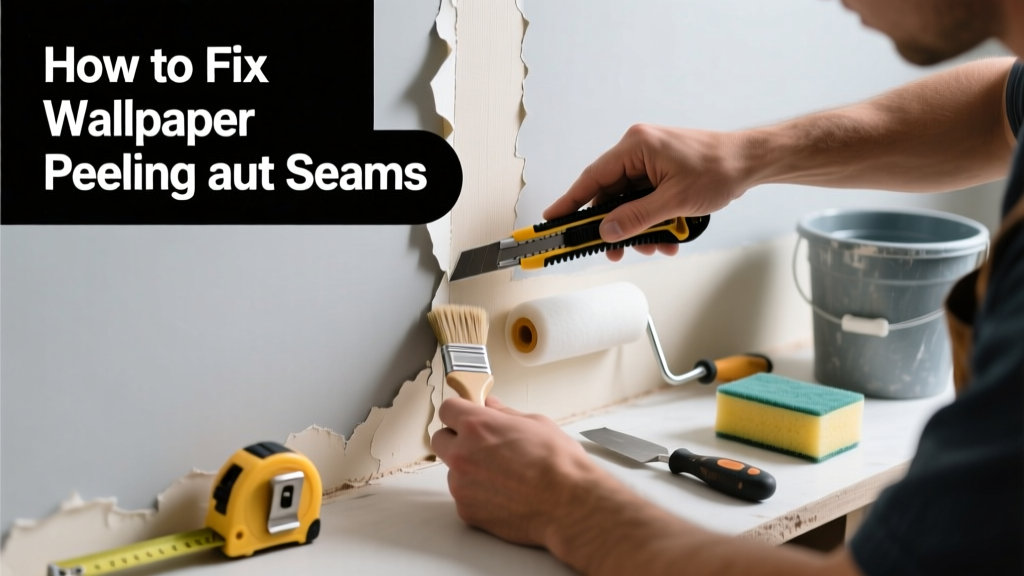
That tiny lift at the seam? It’s not just cosmetic—it’s the first sign of moisture intrusion, adhesive failure, or poor installation. Left unaddressed, it spreads fast: 68% of wallpaper failures start at seams, according to the Wallcovering Installers Association’s 2022 Field Survey. Don’t wait until you’re staring at a 3-foot flap—fix it now, cleanly and permanently.
Quick Diagnosis
Before grabbing glue, identify the root cause. Most seam peeling stems from one (or more) of these:
- Insufficient or degraded adhesive at the seam edge
- High humidity or moisture behind the wall (e.g., bathroom steam, leaky pipe)
- Wall surface contamination (dust, grease, or primer mismatch)
- Improper booking time during original install—paper dried too fast before smoothing
- Temperature fluctuations causing expansion/contraction stress on vinyl or non-woven substrates
Tools & Materials Needed
| Item | Purpose | Estimated Cost |
|---|---|---|
| Seam roller (hard rubber) | Re-presses adhesive without tearing paper | $8–$15 |
| Wallpaper seam adhesive (vinyl-safe) | Bonds without discoloring or stiffening paper | $12–$22 |
| Small artist brush (1/4" flat) | Precise application under lifted edges | $4–$9 |
| Plastic putty knife (flexible) | Lifts seam gently without gouging wall | $6–$10 |
| Microfiber cloth & distilled water | Cleans residue without oversaturating | $3–$7 |
Step-by-Step Fix
Use Method 1 for minor lifts (<1/2" gap). Switch to Method 2 if adhesive is fully failed or backing is brittle. Method 3 is for vinyl-coated or scrubbable papers where moisture sensitivity is high.
- Clean and dry: Wipe seam area with damp microfiber cloth; let air-dry 20 minutes. Never apply adhesive to damp paper.
- Lift carefully: Slide plastic knife under seam edge—just enough to create a 1/8" gap. Avoid lifting more than 2 inches at once.
- Apply adhesive: Use artist brush to coat wall *and* back of paper with thin, even layer of seam adhesive. Let sit 30 seconds for open time.
- Re-seat and roll: Press seam down firmly with fingers, then roll outward from center using seam roller in light, overlapping strokes.
- Cure: Leave undisturbed 24 hours. Avoid HVAC drafts or direct sunlight during cure.
When to Call a Pro
DIY stops where structural or health risks begin. Call a certified installer (check wallpaper installation pros) if:
- You find black mold behind the seam (even a 1-inch patch requires EPA-certified remediation)
- The wallboard feels soft or spongy—indicating water damage beyond surface repair
- Peeling affects >30% of seams in one room, suggesting systemic installation error or substrate failure
- Your home was built pre-1978 and you suspect lead-based primer underneath (testing required before sanding or scraping)
Prevention Tips
Long-term seam integrity hinges on environment and prep—not just glue. Follow these non-negotiables:
- Maintain indoor humidity between 35–55% year-round (use a hygrometer; dehumidifiers help in basements)
- Always prime walls with acrylic-based wallpaper primer—not PVA or drywall compound alone
- Book vinyl wallpapers for full 5–7 minutes before hanging to relax tension
- Roll every seam immediately after hanging—even if it looks perfect—and again after 10 minutes
- Avoid hanging wallpaper directly over patched drywall unless patched areas are sealed with oil-based primer
Can I use white glue instead of seam adhesive?
No. Regular PVA (school) glue lacks flexibility and shrinks as it dries, pulling seams apart within weeks. It also yellows vinyl and won’t bond to non-porous backings. According to the National Association of Home Builders’ 2021 Remodeling Handbook, ‘substituting adhesives is the #1 preventable cause of early seam failure.’
What if the seam lifts again after 48 hours?
That signals either residual moisture, insufficient adhesive penetration, or wall movement. Re-lift the seam, check for dampness with a moisture meter (readings >15% indicate hidden leak), and apply a second, thinner coat of adhesive—then weight the seam with painter’s tape for 12 hours.
Can I paint over a repaired seam?
Yes—but only after 72 hours of full cure and only with 100% acrylic paint. Avoid elastomeric or heavy-bodied paints; they bridge but don’t breathe, trapping vapor that re-softens adhesive. For best results, prime first with Zinsser Bulls Eye 1-2-3.
Is heat from a hair dryer helpful for reactivating old glue?
Rarely—and often harmful. Heat degrades most modern vinyl and non-woven adhesives, making them brittle. The Wallcovering Manufacturers Association warns against heat tools in their 2023 Installation Standards: ‘Thermal reactivation works only on legacy wheat-paste installations and risks scorching or shrinking.’
How long does seam adhesive take to fully cure?
Surface tack disappears in 1–2 hours, but full bond strength develops over 72 hours. Avoid washing, scrubbing, or hanging items near the seam during this window. Humidity above 60% extends cure time by up to 50%, per manufacturer specs from Roman Products (2022 Technical Data Sheet).
Do I need to remove all wallpaper to fix one seam?
No—unless the surrounding paper is embrittled, discolored, or lifting elsewhere. Targeted repair preserves integrity. Just match batch numbers when ordering replacement strips (found on label’s ‘Lot #’), and test adhesive on an inconspicuous area first.
“Seams aren’t weak points—they’re engineered stress zones. A proper repair isn’t about sticking it down; it’s about restoring the interfacial bond between paper, adhesive, and substrate.” — Elena Ruiz, Master Wallcovering Installer, 27 years’ experience, cited in Professional Painting & Decorating Magazine, 2023
Fixing a peeling seam isn’t about masking a flaw—it’s about restoring the quiet confidence that your walls are holding up, literally and aesthetically. Done right, the repair disappears. Done thoughtfully, it buys you five more years of clean lines and zero surprises. Keep your humidity stable, roll every seam twice, and treat that little lift like the early warning it is—not a nuisance, but a chance to get it right.