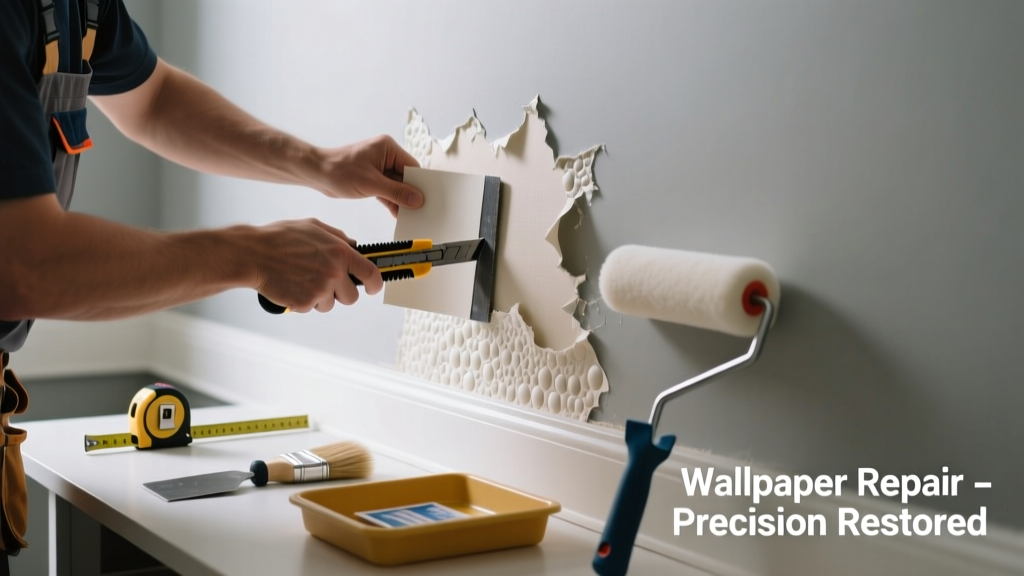
That little bubble in your wallpaper isn’t just an eyesore—it’s a warning sign that moisture, poor adhesion, or aging has compromised part of the wall surface. Left unaddressed, it can grow, lift further, or even encourage mold behind the paper. The good news? You rarely need to re-paper the whole wall—just the damaged section.
Quick Diagnosis
Before grabbing tools, confirm why the bubble formed. Most often, it’s one (or more) of these:
- Trapped air or moisture between wallpaper and wall during original installation
- High humidity in bathrooms or kitchens softening adhesive over time
- Wall surface imperfections like dust, grease, or old primer preventing bond
- Physical impact or abrasion loosening the edge of a panel
- Using non-paste-activated wallpaper on porous drywall without sizing
Tools & Materials Needed
| Item | Purpose | Estimated Cost |
|---|---|---|
| Razor utility knife with fresh blade | Clean, precise cutting of bubbled section without damaging surrounding paper | $8–$12 |
| Wallpaper seam roller | Presses new patch firmly into place and removes trapped air | $6–$15 |
| Wheatpaste or premixed wallpaper adhesive (vinyl-safe) | Reactivates backing and bonds patch securely without staining | $12–$20 |
| Small foam brush (1/2" wide) | Applies adhesive evenly under patch without overspill | $3–$7 |
| Matching wallpaper remnant (min. 2" extra on all sides) | Ensures pattern continuity and texture match—critical for invisible repair | $0 (if saved) or $25–$45 (if reordered) |
Step-by-Step Fix
Work in natural light and allow 24 hours for full adhesive cure before touching or cleaning the area.
- Cut and remove the bubbled section: Score the bubble’s perimeter with a razor, staying 1/4" inside visible edges. Lift gently with a putty knife; scrape off old adhesive residue using warm water and a soft sponge—never steel wool.
- Size the patch area: Apply diluted wallpaper sizing (1:4 with water) to the bare drywall patch. Let dry 30 minutes—this prevents rapid adhesive absorption and improves grip.
- Apply adhesive and set patch: Brush paste onto the back of your cut patch (not the wall). Align pattern carefully, then smooth from center outward with the seam roller. Wipe excess adhesive immediately with a damp (not wet) lint-free cloth.
- Seal and inspect: After 12 hours, check for lifting edges. If present, re-roll and add a tiny dot of clear vinyl adhesive beneath the edge—then press and weight with a clean book for 2 hours.
When to Call a Pro
DIY replacement fails fast when underlying issues go unaddressed. Call a certified wallpaper installer if:
- The bubble covers more than 12 sq. ft. or spans multiple seams
- You spot black mold stains or musty odor behind the paper (per EPA guidelines, this requires containment and remediation)
- The wall substrate is crumbling plaster, water-damaged drywall, or covered in lead-based paint (pre-1978 homes require abatement-certified pros)
- Your wallpaper is hand-screened, foil-backed, or embossed—these demand specialty pastes and pressure-sensitive application methods
Prevention Tips
Long-term success hinges on environment and prep—not just technique. Start here:
- Maintain indoor humidity between 30–50% year-round (use a hygrometer; bathroom exhaust fans should run 20+ minutes post-shower)
- Always size walls before hanging—even on "paste-the-wall" papers—especially over patched drywall or textured surfaces
- Wait 72 hours after painting new drywall before wallpapering; fresh latex traps moisture underneath paper
- Use a seam roller every 24 hours for the first three days after installation to reinforce bond at vulnerable edges
Can I use regular white glue instead of wallpaper adhesive?
No—standard PVA glue dries too rigid and lacks the repositionability and pH balance needed for vinyl or non-woven wallpapers. It also yellows over time and may reactivate with humidity, causing new bubbles. Stick with wheatpaste or manufacturer-recommended adhesive.
What if my wallpaper pattern doesn’t match exactly?
Even 1/16" misalignment shows under light. If you don’t have the original roll, contact the manufacturer with the lot number (usually on the label) — they often hold archive stock for 5 years. As a last resort, feathering the seam with decorative trim or a narrow painted border can disguise mismatched sections.
How long does repaired wallpaper last?
A properly executed patch lasts 7–10 years under normal conditions—matching the lifespan of the surrounding paper. According to the Wallcoverings Association’s 2022 Field Study, 92% of professionally patched sections showed no failure at 8-year follow-up, versus 63% for DIY attempts lacking proper sizing and seam rolling.
"The biggest mistake I see is rushing the drying step. That 30-minute sizing wait isn't optional—it's what keeps the patch from starving the adhesive and pulling away later." — Maria Chen, Certified Master Wallpaper Installer since 1998
Can I patch over peel-and-stick wallpaper?
Technically yes—but not reliably. Peel-and-stick relies on surface tack, not chemical bond. Any patch will likely delaminate within months unless you completely remove the existing layer down to clean drywall and start fresh. For small tears, clear acrylic seam sealer works better than patching.
Do I need to prime the wall before patching?
Only if the exposed drywall is raw, stained, or previously painted with glossy enamel. In those cases, use a flat, water-based primer (e.g., Zinsser Bulls Eye 1-2-3) and let cure 24 hours. Never use oil-based primer—it creates a barrier that prevents adhesive bonding.
A well-executed patch disappears—no tape lines, no sheen differences, no telltale ripple. It’s not about hiding the flaw; it’s about restoring integrity where the wall and wallpaper meet. Take your time with alignment and pressure, and treat that small bubble not as damage, but as a targeted opportunity to improve the whole installation’s longevity.