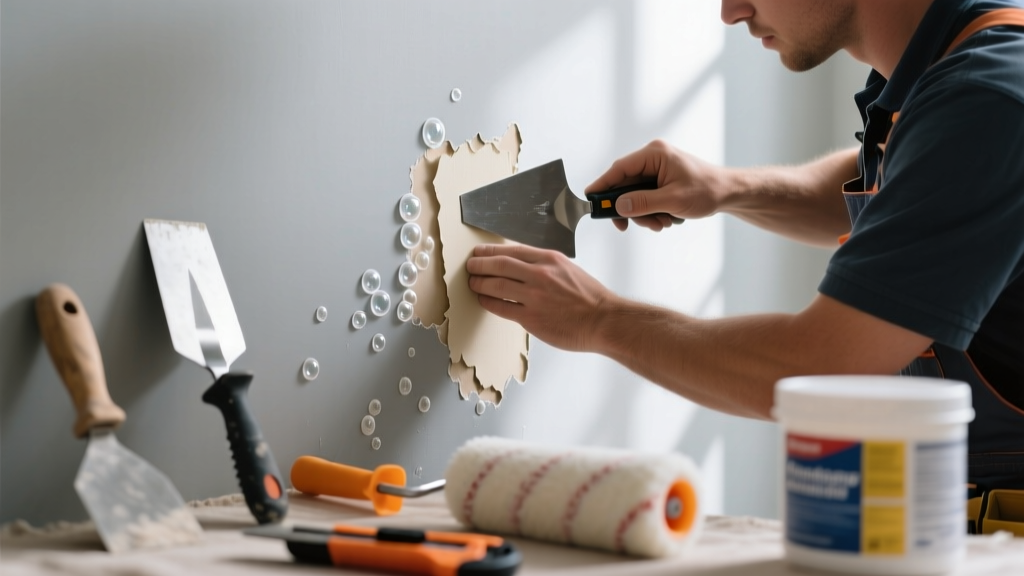
If your wallpaper is bubbling and making odd noises—like faint pops, squeaks, or crackles when you walk by—it’s not just cosmetic. That sound usually means trapped air, moisture, or adhesive breakdown behind the paper, and ignoring it can lead to mold growth or wall damage in as little as 72 hours.
Quick Diagnosis
Start here before grabbing tools. These are the top four culprits behind noisy bubbling:
- Moisture infiltration from plumbing leaks, condensation, or exterior rain penetration
- Adhesive failure due to age, low-quality paste, or improper application (especially with non-pasted vinyl)
- Trapped air pockets from rushed installation or poor smoothing technique
- Substrate movement—e.g., shifting drywall seams, settling framing, or thermal expansion in attics or sun-exposed walls
Tools & Materials Needed
| Item | Purpose | Estimated Cost |
|---|---|---|
| Utility knife with snap-off blades | Cleanly pierce bubbles without tearing paper | $5–$12 |
| Injection syringe (10 mL, blunt-tip) | Deliver adhesive precisely under lifted areas | $8–$15 |
| Wallpaper seam roller | Rebond adhesive without crushing texture or embossing | $6–$18 |
| Moisture meter (pin-type) | Confirm if substrate moisture exceeds 15% MC—a red flag for mold risk | $45–$120 |
| Proper wallpaper adhesive (e.g., Roman Heavy Duty) | Reactivates old paste or bonds new layers; avoids re-bubbling | $12–$22 |
Step-by-Step Fix
Use these methods in order of severity—start with Method 1 unless moisture is confirmed:
- Pin-and-Inject Method: Sterilize a needle or utility blade tip with rubbing alcohol. Pierce the bubble at its highest point. Load a syringe with diluted wallpaper adhesive (3:1 water-to-paste ratio). Inject slowly while gently pressing outward to displace air.
- Slit-and-Flatten Method: For larger bubbles (>3 inches), make a shallow diagonal slit with a fresh utility blade. Lift edges slightly, apply adhesive with a small brush, then roll flat with a seam roller. Wipe excess with damp sponge.
- Heat-and-Rebond Method: Use a hairdryer on low heat (no higher than 120°F) 6–8 inches from surface for 20–30 seconds. Warm adhesive softens enough to re-adhere—then immediately roll with seam roller.
- Replace Section (Last Resort): If paper tears or backing is degraded, cut out the damaged area with ½-inch margin. Patch with matching wallpaper scrap using overlap-and-trim technique. Sand edges lightly before sealing with clear acrylic sealer.
When to Call a Pro
Stop DIY if you encounter any of these signs—these indicate structural or environmental hazards beyond surface repair:
- Moisture meter readings above 18% in drywall or plaster (per ASTM D4263-22 standards)
- Bubbling concentrated near outlets, windows, or baseboards with visible staining or musty odor
- Cracking or sagging drywall behind the paper, especially with audible creaking when pressed
- Multiple bubbles appearing within 48 hours after repair—suggests ongoing moisture intrusion
According to the Insurance Institute for Business & Home Safety's 2023 report, undetected wall moisture contributes to 37% of residential mold claims filed within two years of interior finish installation.
Prevention Tips
Long-term success depends on controlling environment and installation quality:
- Maintain indoor humidity between 30–50% year-round using a hygrometer and dehumidifier if needed
- Always prime walls with a high-quality, breathable primer (e.g., Zinsser Gardz) before hanging wallpaper
- Avoid installing wallpaper in bathrooms or basements unless using certified moisture-resistant products (look for ASTM E283-21 rating)
- Let wallpaper acclimate in the room for 48 hours before hanging—temperature swings cause adhesive stress
Can I use bleach on the bubbled area?
No—bleach breaks down cellulose fibers in paper and damages adhesive polymers. It also masks mold instead of removing it. If you suspect mold, test with an EPA-registered mold test kit first, then remediate per mold remediation in walls guidelines.
Will a steam stripper fix noisy bubbling?
Steam can worsen the problem by reintroducing moisture into already compromised adhesive or substrate. It’s appropriate only for full removal—not spot repair—and risks blistering adjacent sections. Skip steam unless you’re replacing all wallpaper.
Why does my wallpaper pop when the heat turns on?
This points to thermal expansion of underlying framing or drywall. As temperatures rise, trapped air expands inside bubbles, creating pressure until the paper flexes audibly. Check attic ventilation and insulation gaps—poor airflow causes micro-shifts that telegraph through finishes.
Can I paint over bubbled wallpaper to silence it?
Painting seals the surface but doesn’t address root causes like moisture or adhesion loss. In fact, latex paint traps vapor, accelerating delamination. If you must cover temporarily, use a shellac-based primer like BIN—but plan full repair within 30 days.
How long should repaired wallpaper last?
A properly injected and rolled repair lasts 5–8 years if humidity stays stable and no new moisture enters. Repairs done over damp substrate fail within weeks. Always verify dryness with a pin-type moisture meter before finalizing—how to read a moisture meter is essential prep work.
Does wallpaper bubbling mean my wall is rotting?
Not necessarily—but persistent bubbling near the floor, ceiling, or plumbing walls warrants inspection. According to the U.S. EPA, 14% of household water usage is from undetected leaks, many of which first appear as subtle finish anomalies like noisy bubbles. Pull baseboard trim to check for soft wood or discoloration behind.
Noisy wallpaper isn’t just annoying—it’s your wall’s early warning system. Addressing it quickly preserves both aesthetics and structural integrity. Treat each bubble like a symptom, not a flaw, and you’ll avoid costlier repairs down the line—whether that’s repainting, drywall replacement, or professional moisture mapping.