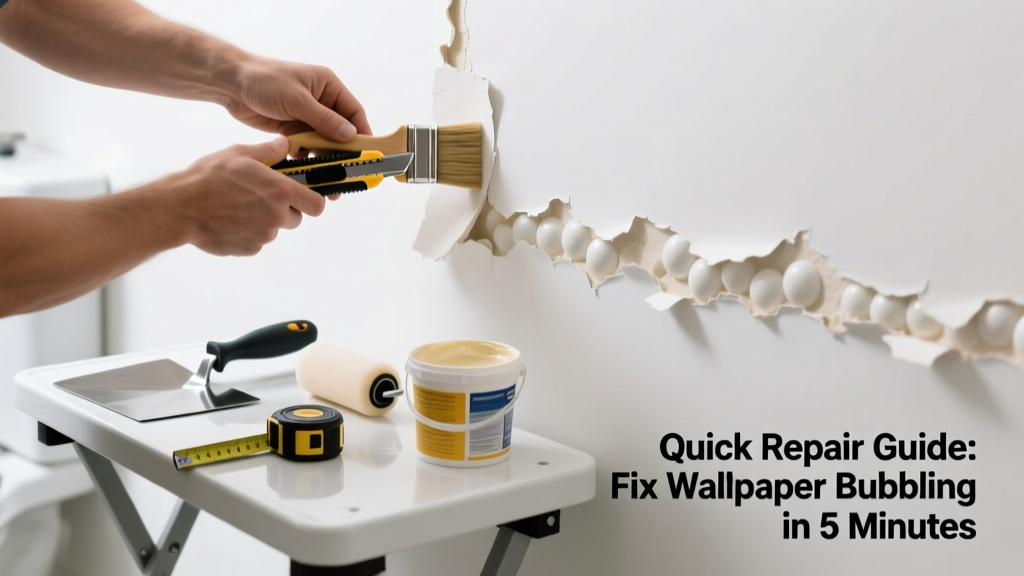
Bathroom wallpaper bubbling isn’t just unsightly—it’s a red flag for trapped moisture behind the wall. Left unaddressed, it can lead to mold growth, adhesive failure, and drywall deterioration. Most cases are fixable in under an hour with the right tools and technique.
Quick Diagnosis
Before grabbing your tools, identify the root cause. Bubbling in bathrooms almost always traces back to one or more of these:
- High humidity from showers without proper ventilation
- Water splashing directly onto walls near sinks or tubs
- Non-moisture-resistant wallpaper (e.g., standard paper-based or vinyl-coated, not vinyl-wrapped)
- Improper wall priming or sealing before installation
- Existing leaks behind tile or plumbing fixtures
Tools & Materials Needed
| Item | Purpose | Estimated Cost |
|---|---|---|
| Utility knife with fresh blade | Cuts precise slits to release trapped moisture and re-adhere paper | $3–$8 |
| Wallpaper seam roller | Smooths out air pockets and ensures even adhesive contact | $5–$12 |
| Wallpaper adhesive (vinyl-to-vinyl or clear PVA) | Reactivates old glue or bonds new sections without discoloration | $8–$15 |
| Microfiber cloths & sponge | Wipe excess adhesive and gently dry surface without abrasion | $4–$7 |
| Dehumidifier or exhaust fan (temporary use) | Lowers ambient humidity during and after repair to prevent recurrence | $20–$120 |
Step-by-Step Fix
Use these methods in order of severity—start with the least invasive:
- Pin-and-Press Method: For small bubbles (<2 inches), prick the center with a pin, inject a drop of clear PVA adhesive using a syringe or toothpick, then press flat with a seam roller and weight with a clean cloth for 15 minutes.
- Slit-and-Rebond Method: For medium bubbles (2–6 inches), make a single straight slit along the bubble’s length with a utility knife, lift the edge slightly, apply adhesive beneath, smooth outward from center, and roll firmly.
- Full Patch Replacement: For large or multiple bubbles with visible staining or peeling edges, cut out the damaged section, sand and prime the drywall patch, then install a new piece of moisture-rated wallpaper using overlap-and-trim technique.
When to Call a Pro
Don’t risk health or structural integrity—call a licensed contractor if you notice any of these:
- Discoloration or musty odor behind the wallpaper (signs of hidden mold)
- Bubbling accompanied by soft, spongy drywall or crumbling gypsum
- Recurring bubbles within 2 weeks of repair—even after ventilation upgrades
- Water stains on ceiling or adjacent walls suggesting a leak behind tile or plumbing
According to the Insurance Institute for Business & Home Safety's 2023 report, undetected moisture behind bathroom walls contributes to over 37% of residential mold claims filed in humid climates.
Prevention Tips
Stop future bubbling before it starts:
- Run your bathroom exhaust fan for at least 20 minutes after every shower (not just during)
- Install a hygrometer to monitor humidity—keep levels below 60% RH
- Choose only Type II or Type III vinyl wallpapers labeled "bathroom-safe" or "moisture-resistant"
- Prime walls with oil-based or alcohol-based primer before hanging—never skip this step
- Add silicone caulk along the top edge where wallpaper meets tile or mirror frames to block vapor migration
Can I use bleach on this?
No. Bleach degrades wallpaper backing and adhesive, especially vinyl-coated types, and won’t address the underlying moisture issue. If mold is suspected, consult a certified inspector first—mold inspection in bathroom is safer than DIY chemical treatment.
Will a hair dryer fix it?
A hair dryer may temporarily shrink a tiny bubble, but it risks overheating and warping the paper or activating mold spores. It doesn’t remove moisture—it just moves it deeper into the wall cavity. Skip it and go straight to the slit-and-rebond method instead.
How long does the adhesive take to dry?
Clear PVA adhesive sets in 10–15 minutes but needs 24 hours to fully cure. Avoid steam exposure or wiping the area during this time. For best results, run your exhaust fan continuously for the first 12 hours post-repair.
Can I paint over bubbled wallpaper?
Painting over bubbled wallpaper traps moisture and accelerates failure. It also violates most manufacturer warranties. Remove and replace the affected section—or better yet, consider bathroom wallpaper alternatives like peel-and-stick tile or moisture-resistant panels.
Does humidity affect all wallpaper equally?
No. Standard paper-based wallpaper fails fastest in high-humidity zones. According to the Wallcovering Association’s 2022 Product Standards Guide, only vinyl-wrap and non-woven wallpapers with ASTM D3273 mold resistance ratings should be used in bathrooms—and even those require proper substrate prep and ventilation.
What’s the cheapest permanent fix?
The lowest-cost lasting solution is replacing bubbled sections with moisture-rated wallpaper and upgrading your exhaust fan to a model with ≥80 CFM and humidity-sensing controls—bathroom exhaust fan installation pays for itself in reduced repair frequency within 18 months.
Fixing bubbled bathroom wallpaper isn’t about covering up—it’s about respecting how moisture behaves in tight, warm spaces. A clean slit, the right adhesive, and consistent ventilation turn a frustrating eyesore into a quiet win. And next time, choose your wallpaper like you’re choosing a roof: built for the weather it’ll face.