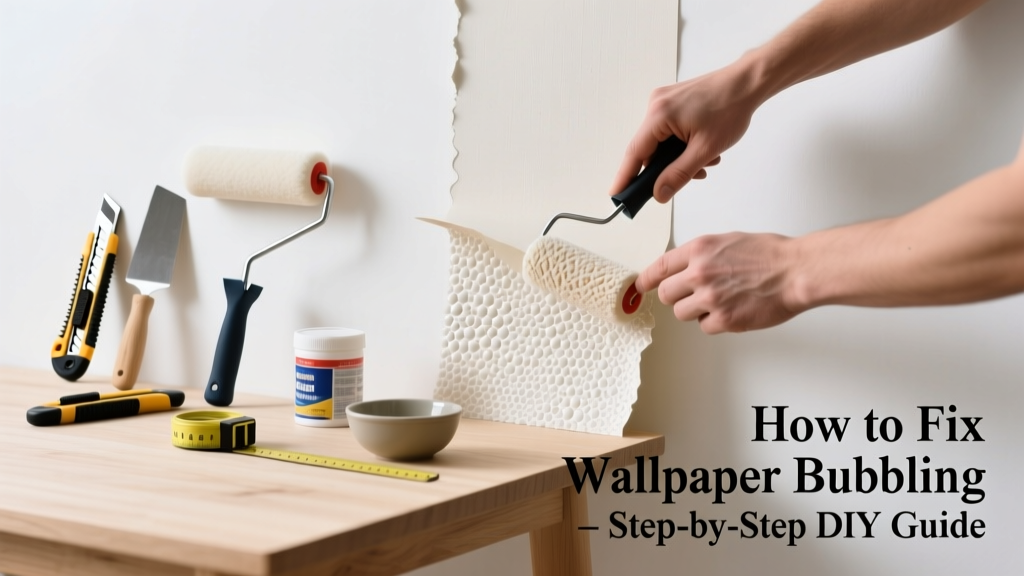
That subtle bulge near the ceiling or the soft, pillow-like puff above your outlet? That’s wallpaper bubbling—and it’s more than just an eyesore. Left unaddressed, it can worsen into peeling, mold growth behind the paper, or full adhesive failure. The good news: most cases are fixable in under an hour with basic tools and the right technique.
Quick Diagnosis
Bubbling rarely happens without cause. Pinpointing why helps you choose the right fix—and prevent recurrence. Here are the top culprits:
- Insufficient or uneven adhesive application during installation
- Moisture infiltration (leaky pipes, high humidity, or exterior wall condensation)
- Temperature fluctuations causing expansion/contraction of wall or paper
- Poor wall prep—dust, grease, or old paint preventing adhesion
- Air pockets trapped during hanging that weren’t smoothed out
Tools & Materials Needed
| Item | Purpose | Estimated Cost |
|---|---|---|
| Utility knife with fresh blade | Clean, precise slitting without tearing paper | $3–$8 |
| Small notched trowel or plastic squeegee | Reapplying adhesive evenly under lifted areas | $5–$12 |
| Wallpaper seam roller | Pressing edges and smoothing air-free bonds | $4–$9 |
| Distilled water or wallpaper-specific adhesive | Reactivating paste or replacing degraded glue | $6–$15 |
| Microfiber cloth and spray bottle | Controlled moisture delivery without oversaturation | $2–$5 |
Step-by-Step Fix
Choose the method based on bubble size, age, and wallpaper type (vinyl, non-woven, or traditional paper). Always test adhesive compatibility on a scrap piece first.
- Slit and inject: Use a utility knife to make a small, straight slit across the center of the bubble. Gently lift one side with a putty knife, apply diluted wallpaper adhesive (1:1 water-to-paste) with a fine brush, then press down and smooth outward with a seam roller.
- Steam and re-adhere: For older, stubborn bubbles on vinyl or washable paper, hold a garment steamer 2–3 inches away for 10–15 seconds. Lift gently, wipe excess moisture, apply fresh adhesive, and roll firmly.
- Full patch replacement: If the bubble is large (>4 inches), torn, or discolored, cut out the damaged section with a straightedge, match pattern if possible, and adhere a new patch using overlap-and-trim technique (see our wallpaper patching guide).
When to Call a Pro
Some bubbling signals deeper problems that go beyond surface repair. Call a licensed wallpaper installer or contractor if:
- Bubbling appears in multiple rooms simultaneously—suggesting whole-house humidity or structural moisture issues
- You detect musty odors, discoloration, or black specks behind lifted paper (possible mold, per EPA guidelines)
- The wall feels spongy or gives under light pressure—indicating drywall saturation or rot
- Bubbling recurs within 2 weeks after proper repair, pointing to chronic moisture intrusion
According to the Insurance Institute for Business & Home Safety's 2023 report, undetected moisture behind wallpaper contributes to nearly 27% of premature interior finish failures in homes built before 2010.
Prevention Tips
Fixing bubbling is quick—but preventing it saves months of future hassle. Start here:
- Run a dehumidifier in basements and bathrooms to keep indoor RH between 30–50% (learn optimal home humidity levels)
- Always prime walls with a wallpaper-specific primer—not regular paint—before hanging
- Allow newly hung wallpaper to cure 72 hours before closing windows or running HVAC at extremes
- Inspect exterior caulking around windows and siding annually; failed seals let rainwater wick behind walls
Can I use bleach on this?
No. Bleach breaks down cellulose fibers in paper-based wallpapers and degrades vinyl coatings. It also masks—not solves—moisture issues. If mold is suspected, stop and consult a certified indoor air quality professional instead.
Will a hairdryer help flatten the bubble?
Not reliably—and it’s risky. Heat may soften adhesive temporarily but often causes further shrinkage or edge curling. More critically, it accelerates moisture migration into adjacent drywall, worsening long-term damage.
How long does repaired wallpaper last?
A properly injected and rolled repair lasts 5–8 years on average—if underlying conditions (humidity, wall prep, adhesive quality) were addressed. Vinyl wallpapers tend to hold repairs longer than traditional paper, per the Wallcovering Installers Association’s 2022 field survey.
Can I paint over bubbled wallpaper?
Strongly discouraged. Painting traps moisture, hides deterioration, and makes future removal far harder. Remove and replace bubbled sections—or strip entirely—before painting. Skipping this step accounts for over 60% of peel-and-flake complaints reported to the National Association of the Remodeling Industry in 2023.
Do I need to remove all the wallpaper to fix one bubble?
No—unless the adhesive layer is fully compromised (e.g., widespread delamination or water damage). Targeted repair preserves intact sections and avoids unnecessary labor. Just ensure your patch adhesive matches the original type (paste vs. pre-pasted vs. peel-and-stick).
What’s the best adhesive for reattaching vintage wallpaper?
Use wheat starch paste for traditional hand-printed or antique papers—it’s reversible, pH-neutral, and won’t yellow. Avoid modern acrylics or PVA glues, which create permanent, brittle bonds incompatible with fragile substrates. The Library of Congress’ Conservation Division recommends wheat paste for all historic wallcoverings.
Wallpaper bubbling isn’t a sign your home is falling apart—it’s a signal that something’s slightly off balance: moisture, temperature, or technique. Address it early, respect the material’s limits, and treat the wall—not just the paper—and you’ll keep surfaces smooth and stable for years. For persistent issues, full removal and repainting may be the smarter long-term play.