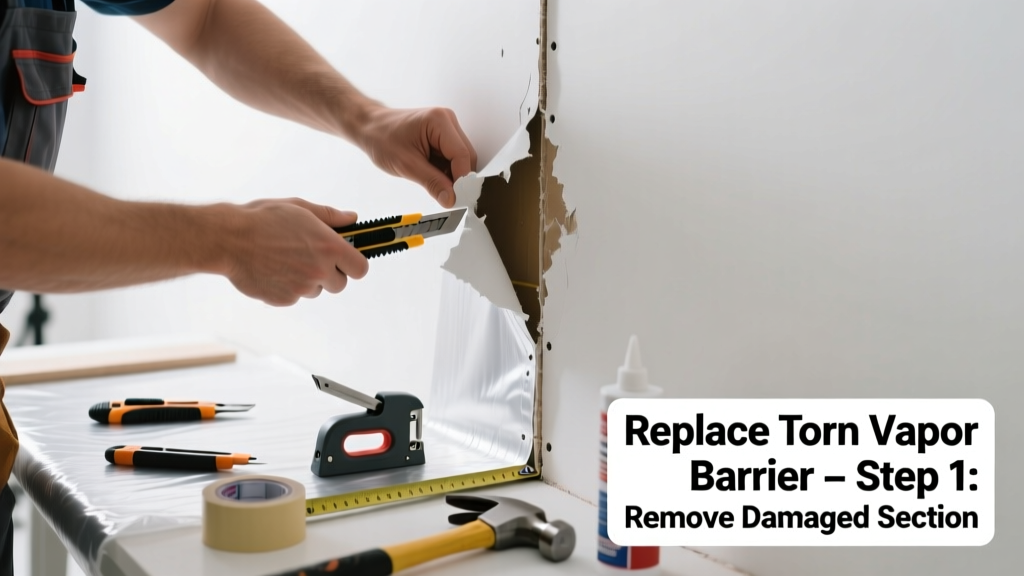
A torn vapor barrier behind drywall isn’t just an eyesore—it’s a hidden invitation for moisture buildup, mold growth, and higher heating bills. Even a small 4-inch rip can let humid indoor air condense inside wall cavities, especially in cold climates. Fixing it promptly avoids long-term structural damage and health risks.
Quick Diagnosis
Before cutting into drywall, confirm the tear is actually in the vapor barrier—and not just insulation or housewrap. Common causes include:
- Accidental puncture during electrical or plumbing rough-in
- Shrinkage or brittleness from aging (especially polyethylene older than 10 years)
- Poor initial installation—over-stretched, stapled too tightly, or overlapped incorrectly
- Settling or framing movement pulling seams apart
Tools & Materials Needed
| Item | Purpose | Estimated Cost |
|---|---|---|
| Utility knife with fresh blades | Cuts clean openings in drywall and trims new barrier | $5–$12 |
| 15-lb. rosin paper or 6-mil polyethylene sheeting | Replacement barrier material (rosin paper for retrofit; poly for new builds) | $25–$45 per 100 sq ft |
| Acoustical sealant (e.g., OSI SC-175) | Creates airtight, vapor-tight seal at seams and edges | $8–$14 per tube |
| Staple gun + 3/8" galvanized staples | Secures barrier without tearing; corrosion-resistant for damp zones | $20–$35 |
| Fiberglass mesh tape + joint compound | Reinforces drywall repair over patched area | $12–$18 |
Step-by-Step Fix
Choose the method based on tear size and access:
- Small tear (<6 inches): Cut out drywall around the damage (minimum 12" x 12" opening), remove damaged barrier, overlap new 6-mil poly by 6" on all sides, seal seams with acoustical sealant, then staple every 6" along edges.
- Seam separation (not a hole): Clean dust/debris from seam, apply 4"-wide fiberglass-reinforced butyl tape (e.g., SikaFlex Pro 11FC) over the gap, press firmly, and seal both edges with sealant.
- Large tear or missing section (>12 inches): Remove drywall down to nearest studs, install full-height replacement barrier (stapled to stud faces—not bridging gaps), lap over floor plate by 2", and seal top edge to bottom of top plate with continuous bead of sealant.
When to Call a Pro
DIY isn’t safe or effective in these cases:
- The tear is behind load-bearing walls where removing drywall risks structural integrity
- You discover mold growth, water staining, or rot behind the barrier—requires containment and remediation
- Your home uses interior-applied vapor retarders (e.g., kraft-faced batts + latex paint) and you’re unsure of perm ratings
- The wall is part of a conditioned crawl space or basement with active moisture intrusion
According to the Building Science Corporation’s 2022 Retrofit Guide, improper vapor barrier repair accounts for nearly 22% of post-renovation moisture failures in mixed-humid climates.
Prevention Tips
Extend the life of your vapor barrier with these habits:
- Always use 6-mil or thicker polyethylene—thinner films degrade faster under UV exposure during construction
- Staple only to stud faces—not insulation—and leave ½" slack to accommodate seasonal wood movement
- Label vapor barrier locations on framing with chalk before drywall goes up (e.g., "VB: 24" OC")
- Inspect accessible sections annually in attics or basements for cracks or shrinkage
Can I use duct tape to fix a vapor barrier tear?
No—standard duct tape fails within months in wall cavities due to off-gassing, adhesive breakdown, and temperature swings. Use only ASTM E1990-compliant butyl or acrylic tapes rated for vapor barriers, like 3M 8067 or Sika 11FC.
Do I need to remove all drywall to replace the barrier?
Not always. For tears under 8 inches, a localized 16" x 16" drywall patch is usually sufficient. Larger damage or multiple adjacent tears warrant full stud-to-stud access. Always verify stud spacing first with a magnetic stud finder.
Is rosin paper an acceptable vapor barrier replacement?
Rosin paper (15-lb. building paper) has a permeance of ~30 perms—far too high to function as a true vapor barrier (which must be ≤1 perm). It’s a temporary weather barrier, not a vapor retarder. Use only 6-mil poly or approved membrane like CertainTeed MemBrain for retrofits.
What’s the right overlap for vapor barrier seams?
Minimum 6-inch overlap is required by the International Residential Code (IRC R702.7, 2021 edition), sealed continuously with vapor-rated sealant—not caulk or spray foam. Gaps wider than 1/16" compromise performance.
Can I install vapor barrier over existing insulation?
Only if the insulation is completely dry and undamaged. Wet or compressed insulation traps moisture against the new barrier. Pull back insulation, inspect for mold or dampness, and replace any compromised batts before reinstalling the barrier.
Does climate zone affect vapor barrier placement?
Yes—critical. In Climate Zones 1–3 (hot-humid), vapor barriers belong on the exterior side. In Zones 5–8 (cold), they go on the interior. Mixed zones (4A/4B) often require variable-perm membranes like MemBrain. Consult your local building department’s adopted code version.
Replacing a torn vapor barrier isn’t glamorous work—but it’s one of the most cost-effective ways to protect your home’s envelope, improve HVAC efficiency, and avoid costly mold remediation later. If you’ve patched a small tear using sealant and proper overlap, test it with a blower door or smoke pencil to verify continuity. For deeper guidance on whole-house air sealing, see our air sealing basics guide and common insulation mistakes.