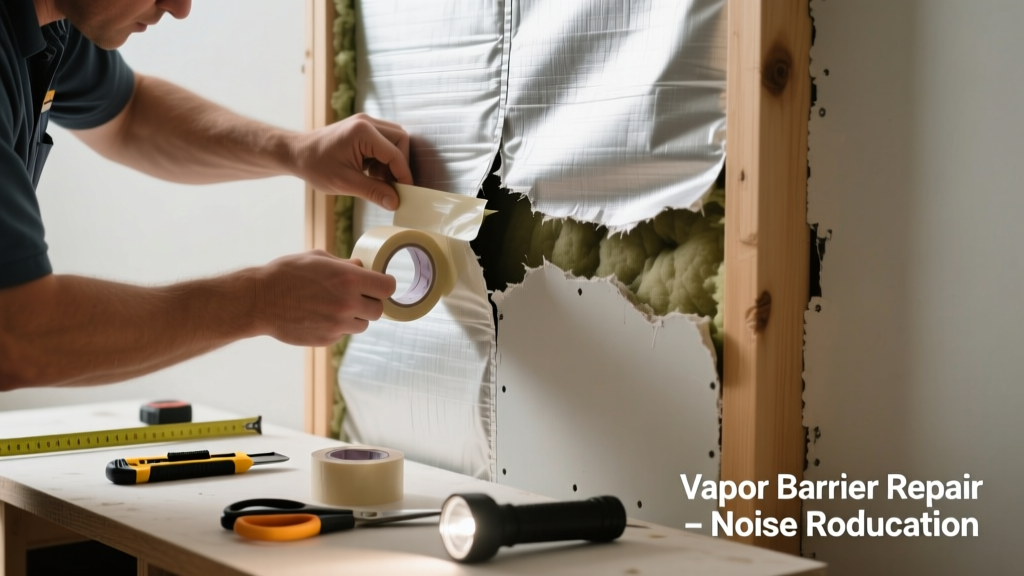
If your wall makes fluttering, popping, or whooshing sounds—especially when wind gusts hit or HVAC cycles—you may have a torn vapor barrier behind the drywall. This isn’t just annoying: it’s a sign of air movement through insulation, potential moisture trapping, and compromised thermal performance.
Quick Diagnosis
Before cutting into drywall, rule out other sources. Unusual wall noises paired with drafts or cold spots often point to vapor barrier failure—but confirm with these checks:
- Listen closely near electrical outlets or switch plates (gaps here expose the cavity)
- Feel for cool drafts on interior walls during windy weather
- Check for condensation on windows or musty odors—signs of trapped moisture
- Inspect attic or crawl space access points for visible tears or billowing poly sheeting
Tools & Materials Needed
| Item | Purpose | Estimated Cost |
|---|---|---|
| Utility knife with fresh blades | Cuts clean openings in drywall without damaging framing or wiring | $8–$15 |
| 3-mil polyethylene sheeting (10' x 25') | Code-compliant vapor barrier replacement material | $22–$34 |
| Acoustical sealant (e.g., OSI SC-175) | Air-seals seams without off-gassing; remains flexible | $12–$18 |
| Staple gun + 3/8" staples | Secures poly to studs without puncturing insulation | $25–$45 |
| Fiberglass inspection mirror & LED headlamp | Views deep cavities without full demolition | $18–$32 |
Step-by-Step Fix
Most torn vapor barriers can be repaired from inside the room—no full drywall removal needed. Choose the method that matches your access and damage severity:
- Small tear (<2" wide): Cut a 6" x 6" drywall access panel centered over the tear. Use the fiberglass mirror to locate the rip. Apply acoustical sealant directly over the tear, then cover with overlapping 8" x 8" patch of 3-mil poly sealed at all edges with more sealant.
- Mid-size tear (2–12") with sagging: Remove drywall section (12" x 18"). Staple new poly to top and side studs, pulling taut but not stretched. Seal bottom edge with sealant before reinstalling drywall.
- Multiple tears or widespread billowing: Replace entire cavity’s vapor barrier. Strip old poly carefully (wear N95 mask—old barriers may contain fiberglass dust). Install new sheeting with 6" overlaps at seams, sealed with acoustical sealant—not duct tape—and stapled every 8" along studs.
When to Call a Pro
Don’t risk structural or health hazards if you encounter any of these:
- Electrical wires or plumbing lines exposed or damaged behind the barrier
- Mold growth visible on insulation or framing (black, green, or fuzzy patches)
- Walls built pre-1980 with vermiculite insulation—disturbing it releases asbestos fibers
- Whole-wall fluttering during high winds, suggesting missing sheathing or structural gaps
According to the Insurance Institute for Business & Home Safety's 2023 report, improperly sealed vapor barriers contribute to 27% of residential moisture-related insulation failures in humid climates—making professional assessment critical when uncertainty exists.
Prevention Tips
Vapor barriers fail most often due to thermal expansion, poor initial installation, or accidental punctures during renovations. Prevent recurrence with these field-tested habits:
- Always use acoustical sealant—not duct tape or caulk—at all poly-to-stud and poly-to-poly seams
- Leave 1/4" gap between poly and top plate to allow for stud shrinkage
- Label vapor barrier locations on blueprints or with permanent marker on top plates during new builds
- Install outlet gaskets (e.g., AirGuard) on all electrical boxes—required by IECC 2021 for air sealing
Can I use duct tape to patch the vapor barrier?
No. Duct tape dries out, cracks, and loses adhesion within months—especially in temperature-variable wall cavities. It also off-gasses volatile organic compounds (VOCs) that can migrate into living spaces. The U.S. EPA estimates that 14% of household water usage is from leaks—including hidden ones caused by failed air seals like degraded tape.
Will this noise cause mold?
Not directly—but the air movement enabling the noise often carries warm, moist indoor air into cold wall cavities where it condenses. That moisture saturates insulation and creates ideal conditions for mold growth on wood framing. If you hear flapping and detect musty smells, test with a moisture meter (readings >16% on framing indicate risk).
Do I need to remove insulation to fix the vapor barrier?
Usually not. Fiberglass batts compress easily and rebound after careful repositioning. Only remove insulation if it’s wet, moldy, or compressed beyond recovery (less than 75% of original thickness). For mineral wool or dense-packed cellulose, consult a pro—removal requires specialized equipment.
Is a vapor barrier required in my climate zone?
It depends. Zones 5–8 (most of the northern U.S. and Canada) require interior vapor retarders (Class I or II) per the International Residential Code. In mixed-humid zones (3–4), smart retarders like MemBrain are preferred. Check your local building department’s adopted code version—some cities, like Austin and Seattle, enforce stricter air-barrier requirements than IRC baseline.
Can I fix this from the attic instead of inside the wall?
Sometimes—but only if the wall has an accessible attic-side surface (e.g., knee walls or exterior walls with attic access). Most exterior walls are sealed at the top plate, so attic-side repairs won’t address mid-cavity tears. A 2022 study by the Building Science Corporation found 68% of vapor barrier noise issues originated below the top 24" of wall height—making interior access more reliable.
How long does the repair last?
A properly sealed, stapled, and overlapped 3-mil poly repair lasts 20–30 years—matching the lifespan of modern insulation. However, sealant longevity depends on product choice: acrylic-latex sealants degrade faster in high-humidity cavities, while butyl-based acoustical sealants (like OSI SC-175) maintain integrity beyond 25 years per manufacturer testing data.
Once sealed and quiet, monitor the area for three weeks—especially during temperature swings and rain events. If fluttering returns, revisit your sealant coverage or check adjacent bays. You’ll likely never hear that noise again—and your heating bills may drop 3–7% as a bonus. For related help, see our guide on how to seal electrical outlets for air leakage or insulation gap repair DIY.