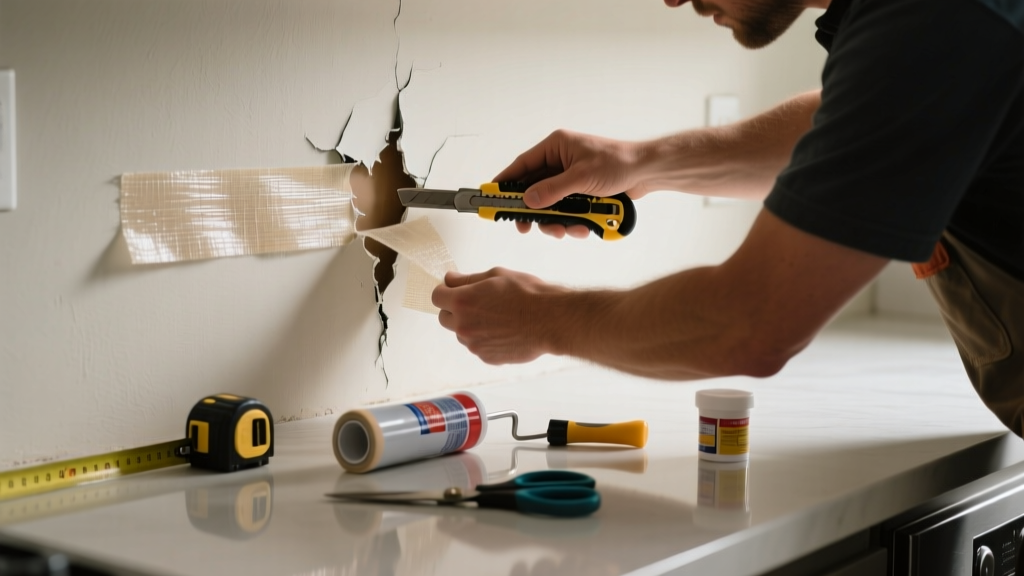
A torn vapor barrier behind your kitchen wall isn’t just an eyesore—it’s a moisture management failure waiting to invite mold, rot, or insulation degradation. Kitchens generate more humidity than almost any other room, and a compromised barrier lets that moisture sneak into wall cavities where it condenses on cold sheathing or framing. Left unaddressed, even a small tear can lead to costly structural damage within months.
Quick Diagnosis
Before grabbing tools, identify what caused the tear—this informs whether you’re patching or rebuilding:
- Accidental puncture during cabinet or appliance installation (most common)
- Shrinkage or brittleness from age or temperature swings (especially older polyethylene sheets)
- Moisture swelling of adjacent OSB or plywood, causing friction tears
- Improper stapling during original install—staples pulled through or rusted out
- Expansion/contraction stress near plumbing penetrations or electrical boxes
Tools & Materials Needed
| Item | Purpose | Estimated Cost |
|---|---|---|
| 15-mil polyethylene sheeting (6-mil minimum) | Replacement barrier material rated for interior use; thicker prevents future tears | $28–$42 |
| Acrylic-latex caulk (vapor-permeable) | Seals seams without trapping moisture; avoids off-gassing near food prep areas | $5–$9 |
| Staple gun + 3/8" galvanized staples | Secures barrier without rusting or pulling; stainless or galvanized only | $22–$38 |
| Utility knife with fresh blades | Clean cuts around damaged area; prevents fraying or further tearing | $3–$7 |
| Flashlight + inspection mirror | Reveals hidden damage behind cabinets or tight corners | $8–$15 |
Step-by-Step Fix
Choose the method based on tear size, location, and access. Always shut off power to nearby outlets before working near wiring.
- Small tear (<2"): Clean area with isopropyl alcohol, then apply 3" wide strip of polyethylene vapor barrier tape over both sides of the tear. Press firmly and seal edges with acrylic-latex caulk.
- Moderate tear (2–12") or multiple rips: Cut out damaged section using straight-edge guide. Overlap new 15-mil sheeting by at least 6" on all sides. Staple every 6" along perimeter, then caulk all seams—including overlaps and staple lines.
- Tear behind base cabinets: Remove toe-kick panel first. If studs are accessible, install full-height barrier strip (not just patch). Use flexible flashing tape at cabinet back edge to bridge gap between barrier and cabinet frame.
- Behind range hood or sink: Replace entire barrier section from stud to stud. Seal top edge to bottom plate with caulk, and wrap carefully around plumbing/electrical penetrations using flashing tape for pipes.
When to Call a Pro
Don’t risk health or structural integrity—call a licensed contractor if:
- You see black mold growth (>1 sq ft) or musty odor behind the wall
- The tear coincides with water staining, warped drywall, or soft framing (possible hidden leak)
- It’s behind a gas range or built-in microwave requiring electrical or gas line disconnection
- Your home was built before 1980 and may contain asbestos-wrapped ductwork or insulation near the tear
According to the U.S. EPA’s 2022 Indoor Air Quality Guide, "Vapor barriers installed incorrectly—or repaired with non-permeable tapes—can trap moisture inside walls, accelerating wood decay and doubling mold risk in high-humidity zones like kitchens."
Prevention Tips
Kitchen vapor barriers fail most often due to thermal cycling and physical stress—not poor materials. Prevent recurrence with these field-tested habits:
- Always drill pilot holes before screwing cabinets into walls—never rely on stud finders alone
- Use plastic grommets around all wires and pipes penetrating the barrier
- Install rigid foam insulation (R-5 minimum) over exterior sheathing before adding interior barrier—reduces condensation risk
- Run exhaust fans for at least 20 minutes after cooking; maintain relative humidity below 50% with a hygrometer
Can I use duct tape to fix the tear?
No. Standard duct tape dries out, loses adhesion in humid environments, and its rubber-based adhesive off-gasses VOCs near food prep areas. It also fails ASTM E96 vapor transmission testing. Use only ASTM E1745-compliant vapor barrier tape.
Do I need to remove drywall to fix this?
Not always. For tears behind accessible areas (toe-kicks, open soffits, or removable backsplashes), you can work from the front. But if the tear is behind full-height drywall above countertops, cutting a 12"x12" access panel is safer and faster than trying to fish tools blindly.
Is my kitchen’s vapor barrier supposed to be on the warm side?
Yes—in cold climates (DOE Climate Zones 5–8), the vapor barrier belongs on the interior (warm-in-winter) side of insulation. In hot-humid zones (Zones 1–3), vapor retarders are often omitted or placed on the exterior. Check your local building code—DOE’s climate zone map helps determine correct placement.
What if the tear is near a water line?
Shut off the main water supply and drain the line before proceeding. Inspect pipe insulation for gaps—condensation from uninsulated copper lines is a leading cause of vapor barrier deterioration in kitchens. Wrap lines with closed-cell neoprene pipe insulation (R-2.5 minimum).
Can I paint over the repaired barrier?
No. Paint creates an unintended Class I vapor retarder (≤0.1 perm) that may trap moisture if applied over polyethylene. If aesthetics matter, cover repairs with drywall or cement board—not paint or primer.
How long does a proper repair last?
A correctly overlapped, caulked, and stapled 15-mil polyethylene repair lasts 20+ years in kitchen conditions—if humidity stays under 55% RH and no physical stress is reapplied. Monitor with a $12 digital hygrometer; replace if readings consistently exceed 60%.
A torn vapor barrier in the kitchen isn’t a minor detail—it’s the first sign your moisture defense system is failing. Patching it right means buying time for your insulation, framing, and indoor air quality. Treat it like the critical layer it is: invisible, essential, and worth doing once—correctly.