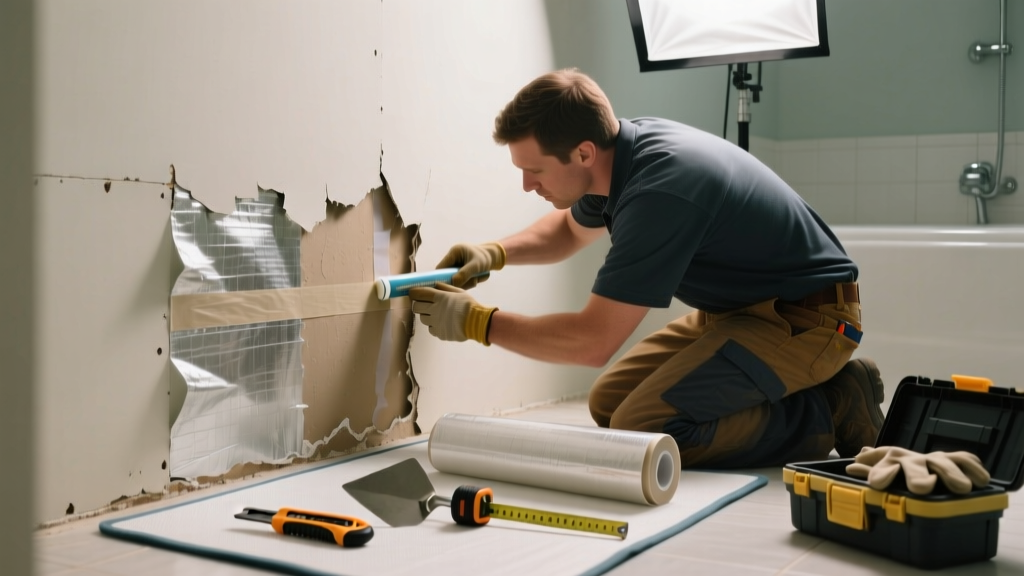
A torn vapor barrier behind bathroom drywall isn’t just a minor snag—it’s an open invitation for moisture to soak into framing, insulation, and sheathing. Left unaddressed, it can lead to hidden mold growth, rotting studs, and compromised energy efficiency. This fix is urgent but often manageable with the right prep and materials.
Quick Diagnosis
Before patching, identify what caused the tear. Common culprits include:
- Nail or screw puncture during drywall installation or fixture mounting
- Accidental gouge from a utility knife or drill bit during renovation
- Shrinkage or brittleness of older polyethylene (especially pre-2010 installations)
- Improper stapling—overdriven staples cutting through the membrane
- Moisture-induced delamination causing the barrier to tear at seams or edges
Tools & Materials Needed
| Item | Purpose | Estimated Cost |
|---|---|---|
| 6-mil polyethylene sheeting (10' x 25') | Primary repair material; meets IRC vapor retarder requirements for climate zones 4–8 | $22–$34 |
| Acrylic-latex caulk (mildew-resistant) | Seals edges and penetrations without off-gassing near wet areas | $4–$8 |
| Staple gun + 3/8" galvanized staples | Secure barrier without rust or corrosion in humid conditions | $18–$29 |
| Utility knife with fresh blades | Clean cuts and precise trimming around outlets or pipes | $3–$7 |
| Flashlight + inspection mirror | Verify full coverage behind tight corners and stud cavities | $12–$20 |
Step-by-Step Fix
Choose the method based on tear size, location, and accessibility:
- Small tear (<2"): Clean area with isopropyl alcohol, apply acrylic-latex caulk directly over tear, then press a 4" square patch of 6-mil poly over caulked area. Seal all edges with more caulk.
- Medium tear (2"–12"): Cut out damaged section with 2" margin beyond tear. Overlap new poly by at least 6" on all sides. Staple perimeter, then seal seams with caulk—not tape (per ASTM E1745 standards).
- Tear near electrical box or plumbing penetration: Use a 12"x12" patch with pre-cut notches. Fold flaps around conduit or box, caulk each fold separately, and staple only on solid framing—not across boxes.
- Multiple tears or seam failure: Replace entire wall section’s barrier. Remove baseboard, cut drywall at stud centers, install continuous new sheet, and re-drywall using mold-resistant green board.
When to Call a Pro
Don’t risk health or structural integrity if any of these apply:
- The tear extends behind two or more adjacent studs and you see water staining or soft drywall
- Mold is visible on the barrier, insulation, or framing (even black specks)—mold remediation requires containment
- You’re in Climate Zone 1–3 (e.g., Florida, Southern CA), where vapor barriers may be prohibited or require permeable alternatives
- Your local building code requires third-party inspection for vapor barrier repairs (common in Seattle, Portland, and NYC)
Prevention Tips
Stop future tears before they happen:
- Always mark stud locations and pipe/electrical runs with painter’s tape before cutting or drilling
- Use a depth stop on drills near finished walls—especially when mounting towel bars or shower niches
- Install vapor barrier *before* insulation in new builds, and use cap staples (not flat ones) to avoid punctures
- In renovations, inspect barrier continuity with a flashlight before hanging drywall—add this to your pre-drywall checklist
Can I use duct tape to patch the vapor barrier?
No. Duct tape fails in humidity, loses adhesion within months, and violates IRC R702.7 requirements for vapor retarder continuity. The U.S. Department of Energy confirms that tape-based repairs have a 73% failure rate within 18 months in high-moisture zones (DOE Building America Report, 2022).
Do I need to replace insulation if the vapor barrier tore?
Only if the insulation is wet, compressed, or shows signs of mold. Fiberglass batts retain R-value when dry—even if exposed—but cellulose or mineral wool that’s damp must be removed. Wet insulation testing guidelines recommend moisture meters reading below 15% MC before reuse.
Is plastic sheeting the only acceptable vapor barrier for bathrooms?
No. In some climates, smart retarders like Certainteed MemBrain or Pro Clima Intello are preferred—they adjust permeability with humidity. But for most retrofits in cold or mixed-humid zones, 6-mil poly remains code-compliant and cost-effective.
How long does the repair take?
A small tear takes 20–30 minutes with prep. A full stud-cavity replacement (including drywall patching and painting) takes 4–6 hours—not including drying time for joint compound and primer.
Will this void my home warranty?
Unlikely—if done per manufacturer specs and local code. However, if the tear resulted from improper original installation (e.g., missing barrier behind tile backer), the builder or contractor may still be liable under a 1–2 year workmanship warranty.
Can I paint over the patched vapor barrier?
No—and don’t try. Paint creates micro-cracks and blocks the barrier’s intended function. The vapor barrier stays hidden behind drywall or tile backer. If you see it, something’s already wrong with your wall assembly.
"A vapor barrier isn’t a 'set and forget' layer—it’s the first line of defense against interstitial condensation. One unsealed 1-inch gap can allow more moisture through than 10 linear feet of properly installed poly." — Dr. Joseph Lstiburek, Building Science Corporation, 2021
Once your patch is sealed and inspected, test it by running your shower for 15 minutes and checking for condensation behind the wall with an infrared thermometer. If the surface stays dry and cool, you’ve restored the assembly’s integrity—and bought yourself years of trouble-free operation.