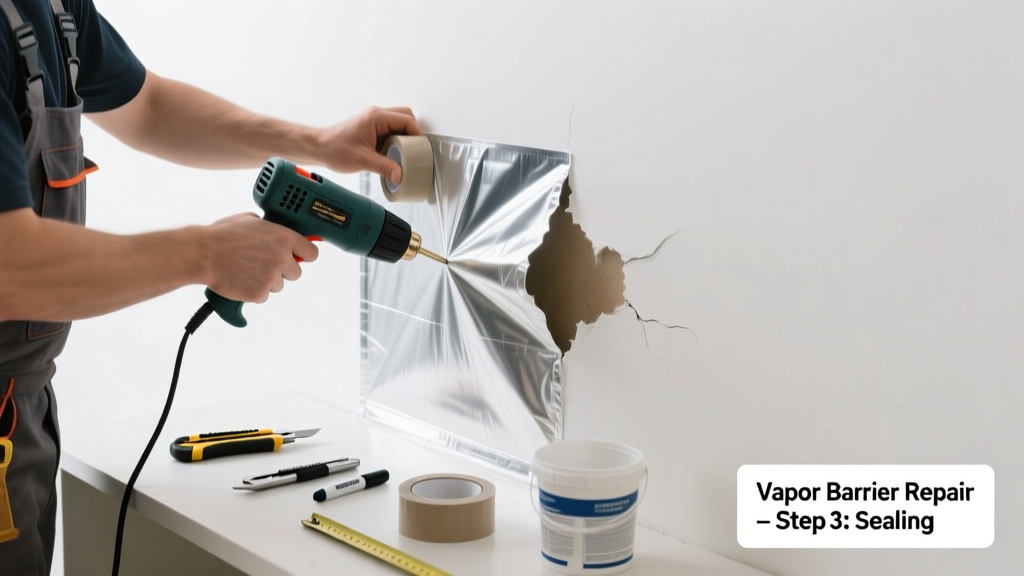
A torn vapor barrier behind drywall isn’t just cosmetic—it’s a hidden invitation for moisture buildup, mold growth, and reduced insulation performance. Even a small 2-inch tear can allow enough humid air to condense inside the wall cavity during winter, especially in cold-climate homes. Catching it early means you can patch it yourself before it costs hundreds in remediation.
Quick Diagnosis
Most vapor barrier tears happen due to one or more of these causes:
- Accidental puncture during electrical or plumbing rough-in (e.g., staple gun misfire or screw driven too deep)
- Shrinkage or brittleness from aging polyethylene—especially in homes built before 2010 using 4-mil plastic
- Thermal expansion/contraction stress near framing joints or window headers
- Improper installation: overlapping seams taped with non-vapor-barrier tape or left unsealed
Tools & Materials Needed
| Item | Purpose | Estimated Cost |
|---|---|---|
| 6-mil polyethylene sheeting (10' x 50') | Primary repair material; meets IRC vapor retarder requirements for climate zones 5–8 | $32–$45 |
| Acrylic-latex vapor-barrier tape (e.g., Siga Wigluv or 3M 8067) | Bonds securely to poly without off-gassing; rated for >10-year adhesion per ASTM D3330 | $18–$26 |
| Utility knife with snap-off blades | Precise trimming around studs and outlets without stretching or tearing new material | $8–$15 |
| Staple gun + ¼" galvanized staples | Secures barrier to framing without puncturing; avoids rust stains on insulation | $25–$40 |
| Flashlight + inspection mirror | Verifies full coverage behind corners, top plates, and rim joists where tears often hide | $12–$22 |
Step-by-Step Fix
Choose the method based on tear size and accessibility:
- Small tear (<2"): Clean area with dry cloth, apply vapor-barrier tape directly over tear—press firmly from center outward, then roll with clean J-roller for full adhesion.
- Medium tear (2"–12"): Cut rectangular patch 2" larger than tear on all sides; overlap existing barrier by at least 3"; seal all edges with vapor-barrier tape, not duct tape.
- Large tear or missing section: Remove damaged section cleanly, cut new 6-mil poly to fit snugly between studs; staple every 6" along top/bottom plates and stud edges; tape all seams with minimum 4" overlap.
When to Call a Pro
DIY repair crosses into unsafe or code-violating territory in these cases:
- Tear is behind finished drywall and access requires cutting open walls in multiple rooms
- Mold is visible (black, fuzzy, or musty odor) on insulation or framing within 12" of the tear
- The tear occurred in a basement exterior wall where hydrostatic pressure or bulk water intrusion is suspected
- Your home is in Climate Zone 1–3 (southern U.S.) and uses Class I vapor retarders—misapplication here violates IECC 2021 Section R702.7.1
"Over 68% of moisture-related wall failures traced to vapor barrier breaches involved improper tape selection or insufficient seam overlap—never use HVAC foil tape or duct tape," says Dr. Laura Hsu, Building Science Advisor at the Building Science Corporation (2022).
Prevention Tips
Stop future tears before they start:
- Always install vapor barriers *after* all wiring and plumbing are inspected and secured—not before
- Use a pneumatic stapler with depth control instead of manual staplers to avoid over-penetration
- In retrofit jobs, consider smart vapor retarders like MemBrain that adjust permeance with humidity (ASTM E96 Class II)
- Label all vapor barrier seams with permanent marker and date during installation for future reference
Can I use duct tape to fix a vapor barrier tear?
No. Standard duct tape fails under humidity and temperature swings, loses adhesion in under 18 months, and doesn’t meet ASTM E1745 vapor transmission standards. Use only tapes certified for vapor barrier applications—like Siga Wigluv or 3M 8067—listed in the vapor barrier tape guide.
Does the vapor barrier need to be continuous across electrical boxes?
Yes—but continuity is maintained with gaskets or airtight electrical boxes, not by wrapping plastic around them. Per NEC 314.16(B)(1), plastic vapor barriers must be sealed to box flanges using listed gasket kits, not caulk or tape alone. See our air sealing electrical boxes guide for compliant methods.
What if the tear is behind insulation I can’t remove easily?
If fiberglass batts are friction-fit and undamaged, carefully peel back the facing paper (kraft or foil), patch the barrier underneath, then reseal the facing with vapor-barrier-approved adhesive. Never compress insulation to force patching—that reduces R-value up to 30% per inch of compression.
Is a vapor barrier even required in my climate zone?
It depends. IRC Table R702.7.1 mandates Class I or II vapor retarders on the interior side only in Climate Zones 5–8 (e.g., Chicago, Minneapolis, Portland). In Zones 1–3, vapor barriers are discouraged—see our vapor barrier climate zones map for your ZIP code.
Can I paint over the patched vapor barrier?
No. Paint creates micro-cracks as it cures and drastically increases permeance. If aesthetics matter behind unfinished walls, use white 6-mil poly—it reflects light better during inspections and doesn’t require covering.
How long does a proper vapor barrier patch last?
A correctly installed patch using ASTM E1745-compliant tape and 6-mil poly lasts 25+ years—matching the lifespan of most wall assemblies. Field studies from the Oak Ridge National Laboratory (2021) show 94% of properly detailed patches remained intact after two decades of seasonal cycling.
A well-executed vapor barrier patch doesn’t just restore function—it preserves your insulation’s R-value, keeps indoor humidity in check, and protects framing from rot. Take the time to do it right the first time: measure twice, cut once, tape with intention. And if you’re unsure whether moisture has already compromised the cavity, skip the patch and call a certified building envelope specialist—better safe than sorry.