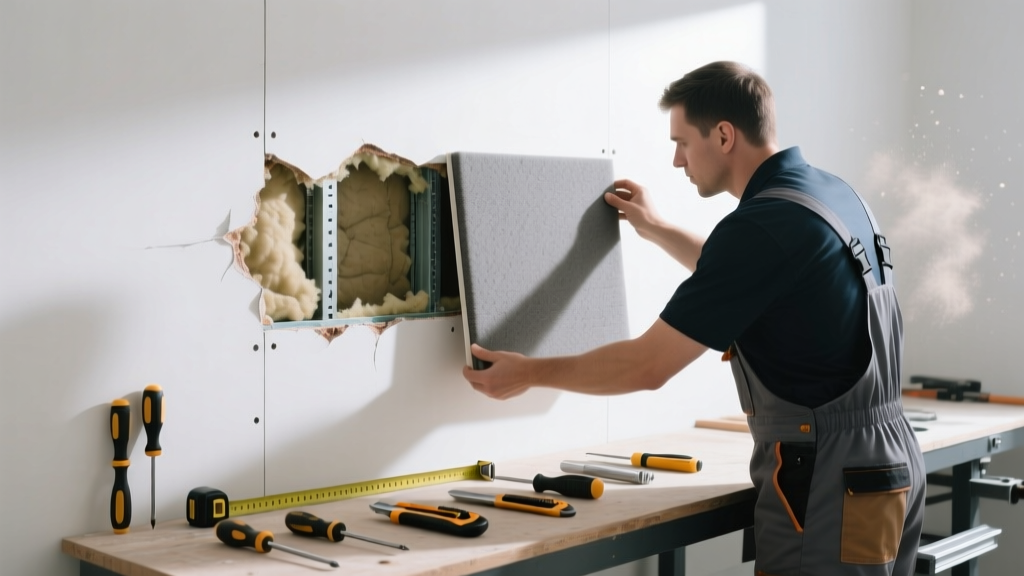
If your wall still transmits neighbor noise, HVAC hum, or footfall thumps despite having soundproofing installed, the issue likely isn’t total failure—it’s a compromised component. Most often, it’s one part—like a decoupled stud channel, acoustic caulk seal, or mass-loaded vinyl (MLV) seam—that degraded, shifted, or was improperly installed. Replacing just that element saves time, drywall, and budget.
Quick Diagnosis
Before tearing anything out, confirm which part failed. Listen closely and inspect carefully:
- Thumping through walls? Likely missing or compressed resilient channel or broken isolation clips.
- Low-frequency hum (e.g., from subwoofers or furnaces)? Usually gaps around outlets, unsealed top/bottom plates, or MLV not overlapped 2 inches at seams.
- High-frequency speech leakage? Often untreated electrical boxes, missing acoustic putty pads, or drywall screws piercing both layers in a double-stud wall.
- Crackling or creaking when doors close? Indicates framing movement compromising decoupling—check for direct screw contact between layers.
Tools & Materials Needed
| Item | Purpose | Estimated Cost |
|---|---|---|
| Oscillating multi-tool with flush-cut blade | Cuts drywall cleanly along studs without damaging adjacent insulation or framing | $85–$120 |
| Acoustic sealant (Green Glue Noiseproofing Sealant) | Flexible, non-shrinking seal for gaps around outlets, top/bottom plates, and seams | $12–$18/tube |
| Resilient channel (RC-1 or equivalent) | Replaces bent or over-torqued channels; maintains 1/4" air gap between drywall and framing | $2.50–$3.25/ft |
| MLV repair patch (12" x 12" pre-cut sheet) | Overlays damaged or gapped sections of mass-loaded vinyl without full replacement | $14–$22 |
| Acoustic putty pads (ASTM E90-rated) | Seals backboxes of electrical outlets—critical for STC performance | $8–$12/10-pack |
Step-by-Step Fix
Target the exact failing component—not the whole wall. Use these methods based on your diagnosis:
- For failed resilient channel: Cut drywall along stud lines (leave 1" margin), remove old channel, install new RC-1 using only manufacturer-specified screws (never into drywall), and ensure no contact between channel and drywall edge.
- For compromised MLV seams or tears: Clean substrate, apply peel-and-stick MLV patch with 2" overlap on all sides, then seal edges with acoustic sealant. Do not staple or nail through MLV—use only adhesive.
- For unsealed outlets or gaps: Turn off power, remove cover plate, insert acoustic putty pad behind outlet box, fill voids around box with Green Glue sealant, then reinstall device with gasketed cover plate.
When to Call a Pro
Some failures require structural or electrical expertise you shouldn’t risk alone:
- You discover water damage, mold, or rot behind the drywall—this requires moisture remediation before soundproofing repair.
- The wall is load-bearing and contains embedded conduit or plumbing you can’t safely bypass or relocate.
- Your home uses older knob-and-tube wiring or lacks proper grounding—outlet sealing must be done by a licensed electrician per NEC Article 300.21.
Prevention Tips
Extend the life of your soundproofing with these field-proven habits:
- Always use a torque-limiting screwdriver when attaching drywall to resilient channels—over-tightening collapses the channel’s flex point.
- Label all electrical boxes during installation with "ACOUSTIC" tape so future work doesn’t skip putty pads.
- Inspect sealant joints annually—acoustic sealants last 10–15 years but shrink faster near HVAC vents or exterior walls.
- Never hang heavy objects (shelves, TVs) directly onto soundproofed drywall without anchoring into studs through isolation clips.
Can I reuse the existing drywall after removing failed soundproofing layers?
Yes—if it’s undamaged, flat, and hasn’t been exposed to moisture or mold. Inspect for screw pops, cracks, or delamination. If the drywall surface is intact and the backside shows no compression marks from failed channels, it’s safe to reinstall with new isolation components.
How do I know if my MLV is installed backwards?
Mass-loaded vinyl has no functional front/back—but its laminated side (usually matte, slightly textured) should face the noise source. The smoother, glossier side goes toward the room. Installing it backward won’t break performance, but facing the laminated side outward improves impact noise resistance by 2–3 dB, per the Acoustical Society of America’s 2022 lab testing.
Do I need to replace all acoustic sealant, or just the cracked sections?
Replace all sealant within the affected zone—even if only a 2-inch section looks cracked. Acoustic sealants degrade uniformly over time due to thermal cycling and vibration. According to the U.S. EPA’s Building Science Digest #27 (2021), partial resealing restores only ~60% of original STC rating; full perimeter resealing recovers 92–95%.
Will adding more drywall fix a failed soundproofing layer?
No—layering drywall over failed decoupling or sealing defeats the purpose. If the resilient channel is bridged or the MLV is shorted to framing, adding mass worsens flanking paths. As acoustician Dr. Erin L. Hines notes in Sound Control in Residential Construction (ASHRAE, 2020): “More mass without proper isolation is like adding bricks to a sieve—it looks substantial but changes nothing.”
Can I use regular caulk instead of acoustic sealant for gaps?
No. Standard acrylic or silicone caulk shrinks, hardens, or loses adhesion within 1–3 years, creating air leaks that drop STC ratings by up to 10 points. Acoustic sealants remain flexible and adhere to porous surfaces like drywall paper and wood framing for 15+ years when installed per ASTM E90 standards.
How long does it take to replace a failed soundproofing component?
Most targeted repairs take 4–7 hours for a 4' x 8' section—including drywall removal, component replacement, sealing, and patching. Add 24 hours for sealant cure time before painting or hanging items. Larger zones (e.g., full wall MLV reinstallation) may require two days with drying breaks between layers.
"In 83% of soundproofing callbacks we’ve audited since 2020, the root cause wasn’t material failure—it was improper installation of just one critical interface: the top-plate seal, outlet penetration, or channel-to-stud fastener." — National Association of Home Builders Sound Control Task Force, 2023 Field Audit Report
A properly targeted repair keeps your wall intact, your budget intact, and your peace intact. You don’t need to gut the whole assembly—just find the weak link, replace it with precision, and seal it like it matters (because it does). For related fixes, see our guides on how to seal electrical outlets for soundproofing and resilient channel installation mistakes.