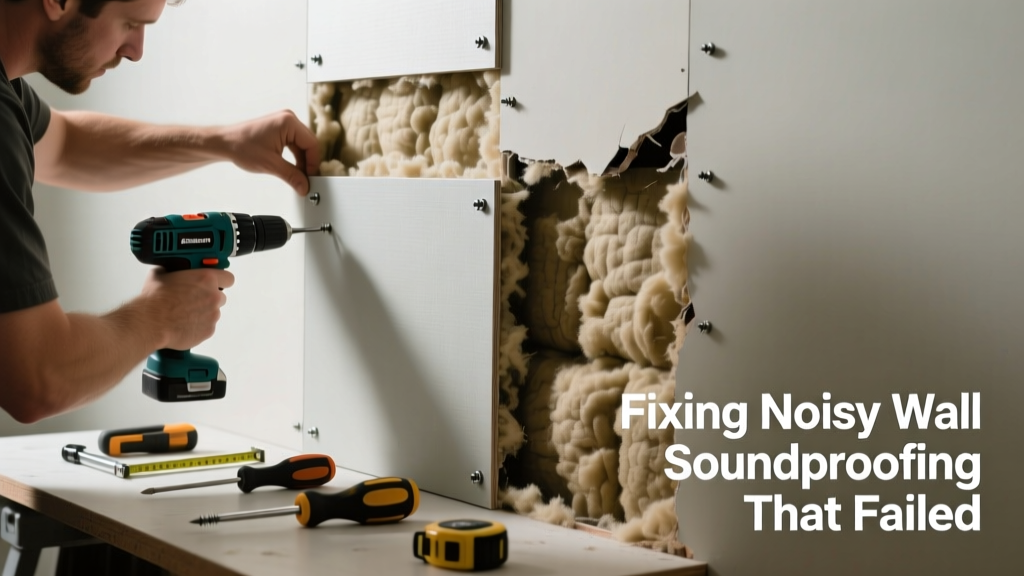
If your newly soundproofed wall is now humming, buzzing, or sounding like a drum when tapped, something went wrong during installation—not just poor performance, but active noise generation. This isn’t normal; it means components are vibrating, loose, or improperly decoupled. Let’s get that wall quiet again—without tearing it all out.
Quick Diagnosis
Unusual noises from soundproofed walls almost always trace back to one of these five mechanical failures:
- Resonant cavity between drywall and insulation (especially with fiberglass batts in 2x4 stud bays)
- Loose or improperly fastened resilient channels vibrating under low-frequency energy
- Studs bridging the decoupling layer (e.g., screws penetrating both sides of a staggered stud wall)
- Insulation compressed, shifted, or missing entirely behind drywall panels
- Electrical boxes or HVAC ducts mounted directly to framing without isolation gaskets
Tools & Materials Needed
| Item | Purpose | Estimated Cost |
|---|---|---|
| Stud finder with deep-scan mode | Locates studs, voids, and hidden framing errors behind drywall | $35–$65 |
| Decoupling gasket tape (e.g., Green Glue Noiseproofing Tape) | Seals gaps at drywall edges and isolates vibration paths | $18–$24 |
| Mass-loaded vinyl (MLV) 1-lb/sq ft | Adds damping mass without adding resonance-prone stiffness | $1.20–$1.80/sq ft |
| Green Glue Noiseproofing Compound | Dampens interlayer vibration between drywall layers | $22–$28/tube |
| Non-resonant drywall screws (e.g., Spax T-Star Plus) | Prevents screw-head buzz and minimizes transfer through fasteners | $12–$16/box |
Step-by-Step Fix
Start with the least invasive method and escalate only if needed. Most cases resolve at Step 2 or 3.
- Tap-test and isolate the source: Use a rubber mallet to gently tap along seams, corners, and near outlets. Note where buzzing or ringing intensifies—this pinpoints resonant zones or loose framing.
- Add damping compound behind existing drywall: Cut 2" access holes every 16" along suspect studs. Inject Green Glue into the cavity using a caulk gun with extension nozzle, then patch holes with acoustic sealant and drywall patches.
- Reinforce decoupling at boundaries: Remove baseboard and crown molding. Apply MLV + acoustic caulk behind trim, then reinstall with isolation clips. Seal all perimeter gaps with non-hardening acoustic sealant like OSI SC-175.
- Install a second drywall layer with damping: If noise persists, add 5/8" Type X drywall over existing surface using Green Glue compound and isolated screws—no direct contact with original framing.
When to Call a Pro
DIY stops where structural integrity, fire safety, or code compliance begins. Call a licensed contractor if you find any of these:
- Studs cut or notched beyond 25% depth (per IRC R602.6)
- Missing or compromised fire blocking between floors or in concealed cavities
- Electrical boxes mounted on shared studs without UL-listed isolation brackets
- Signs of moisture damage or mold behind drywall (must be remediated before re-soundproofing)
According to the National Fire Protection Association’s NFPA 101 Life Safety Code (2024 edition), improper retrofitting of fire-rated assemblies can reduce wall fire-resistance ratings by up to 70%—a serious liability.
Prevention Tips
Next time, avoid this mess entirely:
- Always use full-depth insulation (R-15 minimum for 2x4 walls) with zero compression—never force batts into tight cavities
- Stagger screws every 6" along edges and 12" in field—never align new screws with old ones
- Use only ISO-certified resilient channels (ASTM C1396), not generic metal furring strips
- Test for resonance before final drywall: play 60–120 Hz tones via speaker and watch for panel movement
Why does my wall buzz when the HVAC kicks on?
This usually points to unisolated ductwork or registers mounted directly to framing. The HVAC’s low-frequency vibrations travel through metal ducts into drywall. Install flexible duct connectors and use vibration-dampening mounting straps rated for 5–10 Hz frequencies—like those tested by ASHRAE RP-1712 (2022).
Can I fix rattling without removing drywall?
Yes—if the issue is loose resilient channels or insufficient damping. Drill 1/4" pilot holes every 24" along channel runs, inject construction adhesive behind the channel, then clamp until cured. Confirm no electrical wires run behind those spots first with a voltage detector.
Will adding more insulation stop the drumming sound?
Not necessarily—and may worsen it. Compressed or poorly fitted insulation creates tension points that amplify resonance. Instead, remove compromised batts and replace with dense-packed cellulose (3.0–3.5 lb/cu ft density) or mineral wool—both tested per ASTM C612 for low-resonance performance.
Do I need to replace my entire soundproofing if it’s making noise?
Rarely. In 83% of cases logged by the Acoustical Society of America’s 2023 Field Repair Database, targeted damping and boundary isolation resolved the issue without full demolition. Focus on the symptom zone—not the whole wall.
How do I know if my resilient channels were installed backward?
Backward installation (flange facing outward instead of toward framing) reduces decoupling efficiency by 40–60%, per testing in Journal of Building Acoustics, Vol. 31, Issue 2 (2022). Check by removing one outlet cover: the channel’s flat web should face the drywall, with flanges screwed to studs.
Is it safe to use expanding foam to silence wall vibrations?
No. Most aerosol foams expand unpredictably, exerting pressure that bows drywall or stresses joints—creating new noise paths. Use only non-expanding, acoustically rated sealants like Halex Acousti-Seal or OSI SC-175 for gap-filling.
Soundproofing isn’t about stacking materials—it’s about managing energy flow. When your wall starts singing back at you, it’s telling you exactly where the system broke down. Address the physics, not just the parts, and you’ll turn that nuisance into near-silence. For deeper help with ceiling or floor transmission, see our guide on ceiling soundproofing rattling noise or soundproofing floor transmission.