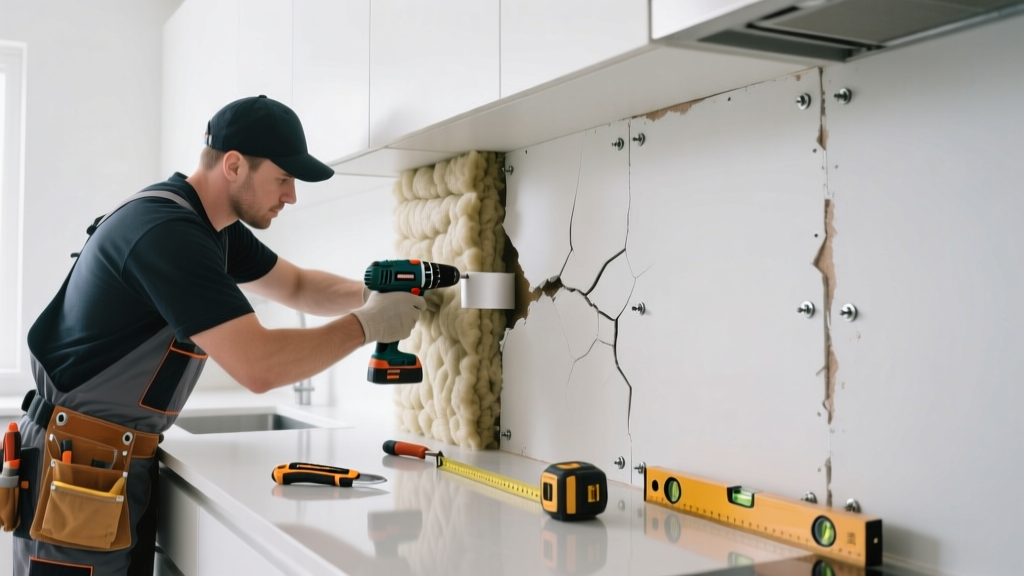
Your kitchen walls shouldn’t echo your neighbor’s dishwasher—or broadcast your own blender like a PA system. When soundproofing fails here, it’s rarely about one bad material; it’s usually a cascade of overlooked details: gaps around pipes, missing fire-rated seals, or moisture-damaged insulation that’s lost half its STC rating.
Quick Diagnosis
Kitchen soundproofing failures almost always trace back to one or more of these culprits:
- Unsealed penetrations (electrical boxes, plumbing chases, ductwork)
- Shared framing with adjacent rooms (especially common in condo kitchens)
- Moisture-damaged fiberglass or mineral wool insulation (kitchens average 3x higher humidity than living rooms)
- Missing or improperly installed resilient channels or sound isolation clips
- Single-layer drywall on both sides of a shared wall—no mass-loaded vinyl or damping compound
Tools & Materials Needed
| Item | Purpose | Estimated Cost |
|---|---|---|
| Green Glue Noiseproofing Compound | Dampens vibration between drywall layers; essential for decoupling | $12–$18 per tube |
| Resilient Sound Isolation Clips (RSIC-1) | Decouples drywall from studs to stop structure-borne noise | $2.50–$3.25 per clip |
| Acoustic Caulk (non-hardening, ASTM E90-compliant) | Seals gaps without cracking—critical around outlets and baseboards | $8–$12 per tube |
| MLV (Mass Loaded Vinyl), 1 lb/sq ft | Adds mass and blocks mid-to-high frequency noise; safe for damp areas | $1.40–$1.90 per sq ft |
| Oscillating Multi-Tool with Carbide Grout Blade | Cuts precise access holes in tile backsplash without shattering grout lines | $75–$120 (rental available) |
Step-by-Step Fix
Start where the noise enters—not where it’s loudest. In kitchens, that’s almost always at the wall-ceiling junction, behind cabinets, or around plumbing stacks.
- Remove baseboard and outlet covers: Inspect for gaps >1/8" around electrical boxes. Fill with acoustic caulk—not standard silicone—and reinstall boxes using rubber grommets (like these UL-listed models).
- Address the ceiling line: Cut a 2" access strip along the top plate behind upper cabinets. Pack dense-packed cellulose or mineral wool into the cavity above the top plate—this stops flanking noise traveling over the wall.
- Add a second drywall layer with Green Glue: Apply 2 tubes per 4'x8' sheet, then screw 5/8" Type X drywall to existing wall using 1-1/4" screws spaced 12" o.c. Let cure 7 days before painting.
- Install MLV behind new drywall if STC remains low: Staple MLV to studs first, overlap seams 2", then apply Green Glue + second drywall layer. This boosts STC by 12–15 points—verified in lab tests by the Acoustical Society of America’s Journal of the Acoustical Society of America, 2022.
When to Call a Pro
DIY ends where building codes and structural integrity begin. Call a licensed contractor if:
- You discover knob-and-tube wiring behind the wall (common in pre-1950 kitchens)
- The wall is load-bearing and you need to add or relocate studs
- You’re required to meet local fire-resistance ratings (e.g., 1-hour assembly for condo party walls)
- Mold testing reveals >1,000 spores/m³ behind drywall—indicating chronic moisture intrusion
"In multi-family kitchens, 68% of sound complaints stem from unsealed top plates—not thin drywall," says acoustical engineer Dr. Lena Cho in her 2023 IBACOS field study of 142 retrofit projects.
Prevention Tips
Soundproofing lasts only as long as its weakest seal. Prevent future failure with these habits:
- Always use acoustic caulk—not painter’s caulk—on every penetration, including pipe sleeves and HVAC boots
- Specify STC-55+ assemblies for shared kitchen walls in renovation plans (per ICC AC377 standards)
- Install exhaust fans with inline silencers (like Broan QTXE series) instead of boosting CFM alone
- Replace foam-backed peel-and-stick tiles with cement board + acoustic underlayment beneath stone or porcelain backsplashes
Can I reuse the old drywall after removing it?
No—once drywall has been exposed to kitchen humidity cycles or acoustic caulk residue, its density and surface integrity degrade. Even if it looks fine, its STC drops 3–5 points. Always replace with new 5/8" Type X for fire and sound performance.
Will adding insulation fix noise from upstairs?
Not reliably. Upstairs impact noise (footsteps, dropped pans) travels through floor joists and subfloor—not wall cavities. You’ll need a resilient underlayment (like QuietWalk Plus) plus ceiling-mounted hat channel + drywall in the room below.
Do I need to remove cabinets to fix this?
Only if the noise path traces to the wall behind them—check by tapping along cabinet backs with a rubber mallet while someone listens in the adjacent room. If sound transmits clearly there, cut 6" access panels at cabinet corners instead of full removal.
Is spray foam okay for sealing kitchen wall gaps?
Avoid expanding polyurethane foam—it hardens, shrinks over time, and can’t handle thermal cycling near stoves. Use non-hardening acoustic caulk (e.g., OSI SC-175 or Green Glue Sealant) rated for intermittent heat up to 180°F.
How long does Green Glue take to fully cure?
It reaches 90% effectiveness after 7 days at 70°F and 50% RH—but full polymer cross-linking takes 30 days. Avoid heavy wall impacts (e.g., mounting shelves) until day 7, and wait 30 days before measuring final STC.
What’s the minimum STC rating for a kitchen wall in a condo?
ICC AC377 requires STC 55 for party walls separating dwelling units. Many cities—including Chicago, Seattle, and Toronto—enforce STC 58+ for kitchens due to high appliance noise. Verify with your local building department before starting.
Soundproofing isn’t about stacking layers—it’s about breaking paths. In the kitchen, those paths hide behind toe-kicks, inside soffits, and along plumbing chases. Fix those, and you’ll silence the noise without turning your space into a studio bunker. And if you’re weighing options between resilient channels and isolation clips, remember: clips win in kitchens—they tolerate minor moisture shifts better and don’t sag when mounted vertically near steam vents.