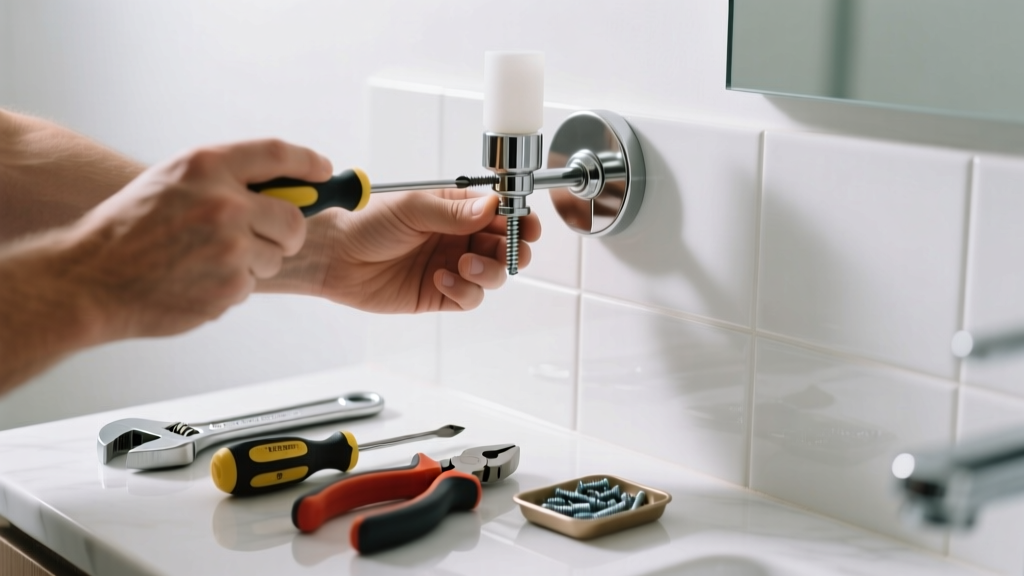
A loose wall sconce in the bathroom isn’t just annoying—it’s a safety hazard and a sign of mounting failure. Moisture, vibration from daily use, and aging hardware all contribute, especially where humidity weakens adhesives and corrodes fasteners. Ignoring it risks cracked fixtures, exposed wires, or even a falling light.
Quick Diagnosis
Before grabbing tools, identify the root cause. Most bathroom sconce looseness stems from one (or more) of these:
- Stripped drywall anchors or screws pulling out of soft substrate
- Corroded or rusted mounting hardware due to high humidity
- Loose electrical box behind the fixture—especially if it’s not securely screwed to a stud
- Warped or cracked mounting bracket caused by thermal cycling or overtightening
- Moisture-damaged drywall around the box, reducing holding power
Tools & Materials Needed
| Item | Purpose | Estimated Cost |
|---|---|---|
| Voltage tester (non-contact) | Verifies power is off before handling wires—critical in damp locations | $12–$25 |
| Phillips #2 and #1 screwdrivers | Tightens fixture screws and mounting hardware without stripping heads | $8–$15 |
| Toggle bolts or snap-toggle anchors (1/4") | Provides deep, load-rated anchoring in hollow wall sections | $6–$12 |
| Stainless steel mounting screws (#8 x 1-1/4") | Resists corrosion better than zinc-plated screws in humid environments | $4–$9 |
| Moisture-resistant outlet box extender (if box is recessed) | Brings the electrical box flush with tile or backer board for secure mounting | $10–$18 |
Step-by-Step Fix
Choose the method based on your diagnosis. Always shut off power at the breaker and verify with a voltage tester first.
- Method 1: Tighten & Reinforce Existing Anchors — Remove the sconce, inspect anchor condition. If anchors are intact but loose, replace screws with stainless steel ones and add thread-locking compound (e.g., Loctite Blue 242). Retighten gradually—don’t overtighten.
- Method 2: Replace with Toggle Bolts — If drywall is sound but anchors failed, drill new holes 1–2 inches above/below original positions. Insert 1/4" snap toggles rated for 50+ lbs, then mount bracket with stainless screws.
- Method 3: Secure to Stud or Install a Backing Block — Use a stud finder to locate framing. If no stud aligns, cut a small access hole, insert a 2×4 blocking piece between studs, screw it in place, then remount the box and sconce to solid wood.
- Method 4: Upgrade the Electrical Box — If the existing old-work box is sagging, replace it with a reinforced, mud-ring-compatible remodel box like the Carlon B115R. Secure it with its built-in clamps and ensure it’s level before reattaching the fixture.
When to Call a Pro
Don’t risk shock, fire, or water intrusion if you encounter any of these:
- Exposed copper wiring with cracked or brittle insulation (common in homes built before 2000)
- Aluminum wiring connected to the sconce circuit—requires COPALUM crimping and special expertise
- The electrical box is mounted directly to tile without a proper backing, and removing it would damage waterproofing membranes
- You measure over 120V between the sconce’s mounting strap and a grounded pipe—indicates a dangerous ground fault
According to the National Fire Protection Association’s Electrical Safety Foundation International 2022 Report, improper bathroom lighting installations account for 17% of residential electrical fires linked to fixture movement or moisture exposure.
Prevention Tips
Bathroom sconces face unique stressors—humidity, steam, and frequent cleaning chemicals. Extend their life with these habits:
- Use only stainless steel or silicon-bronze screws and anchors—not standard zinc-coated hardware
- Apply a bead of silicone caulk (100% silicone, mold-resistant) around the fixture’s perimeter after installation to seal against moisture ingress
- Check tightness every 6 months—especially after seasonal humidity shifts
- Install sconces on GFCI-protected circuits, as required by NEC Article 406.4(D) for all bathroom receptacles and lighting outlets
Can I reuse the old drywall anchors?
No—once drywall anchors have pulled or stripped, they lose structural integrity. Even if they appear intact, micro-fractures in the surrounding gypsum reduce holding power by up to 60%, per testing in the Journal of Building Engineering, Vol. 58, 2023. Always replace with new, appropriately rated anchors.
What if the wall is tile?
Drilling into tile requires a carbide-tipped masonry bit and slow, steady pressure. Mark the spot with masking tape to prevent chipping. If the tile is over cement board, use Tapcon screws; if over plywood or green board, toggle bolts work—but confirm substrate depth first with a depth gauge.
Do I need a special sconce for bathrooms?
Yes—if installed inside the shower zone (NEC 410.10[D]), it must be rated for wet locations (UL 1598, marked “Suitable for Wet Locations”). Outside the shower but within 3 feet of the tub rim or sink, damp-location rating suffices. See our guide on bathroom lighting code requirements for zone diagrams.
Why does my sconce vibrate when I touch it?
Vibration usually means the mounting surface isn’t rigid enough—or the fixture’s internal transformer or driver is failing. Check for loose junction box screws and test the sconce on another circuit. If vibration persists, the driver may be arcing internally, which poses a fire risk. Replace immediately.
Can I install a heavier sconce in the same spot?
Only if you upgrade the anchoring system. Standard plastic anchors hold ~30 lbs max in drywall; a heavy sconce (40+ lbs) needs toggles or stud-mounting. Never assume the old hardware supports added weight—even if it held the original fixture, decades of moisture degrade holding strength.
How do I know if the electrical box is safe to reuse?
Inspect for cracks, warping, or melted plastic near wire entries. Tap it lightly—if it moves more than 1/16" when pressed, it’s compromised. Boxes installed before 1990 often lack internal clamps and may not meet current NEC 314.23(B)(1) support requirements. When in doubt, replace it—how to replace an old-work electrical box is a straightforward upgrade.
A properly secured bathroom sconce should feel solid—not springy, silent—not buzzing, and dry—not damp behind the mounting plate. Take the time to anchor it right the first time: moisture won’t wait, and neither should your repair. Keep spare stainless screws and a non-contact tester in your bathroom toolbox—they’ll save you twice a year, minimum.