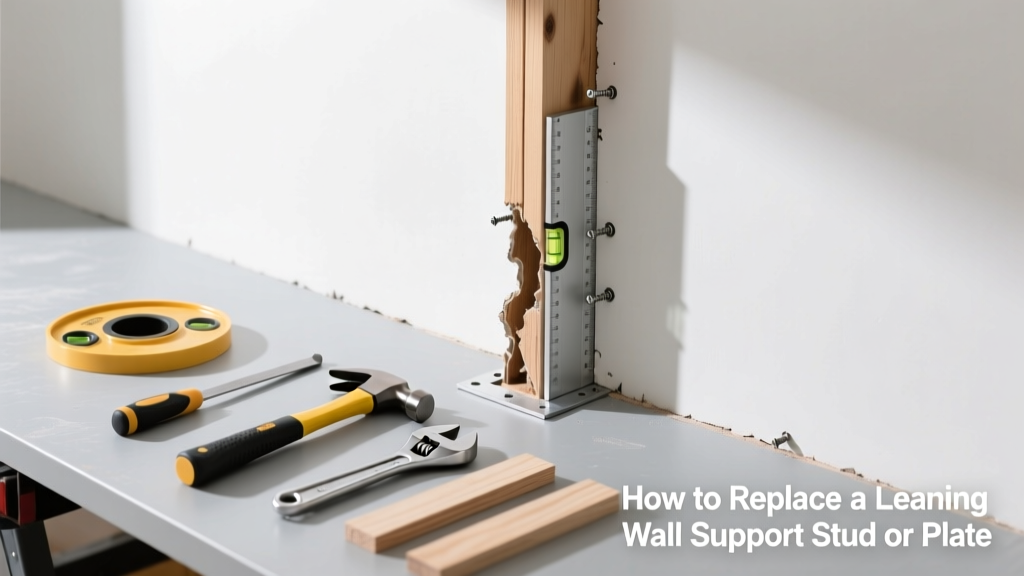
If your interior wall feels spongy, shows diagonal cracks near corners, or has baseboards pulling away from the floor, you’re likely dealing with a compromised structural component—not just drywall damage. A leaning wall rarely means the whole wall needs replacement; more often, it’s one failed part: a rotted sill plate, bowed stud, or crushed cripple stud beneath a window or door. Fixing that single element can restore plumb and prevent further movement.
Quick Diagnosis
Before grabbing tools, confirm which part is failing. Most leaning walls trace back to one of these culprits:
- Rotted or insect-damaged bottom sill plate (especially in basements or crawl spaces)
- Crushed or buckled cripple stud under a header (common above windows/doors)
- Twisted or split king stud where lateral bracing failed
- Settled or cracked concrete foundation beneath the wall’s base
- Missing or improperly installed blocking between studs
Tools & Materials Needed
| Item | Purpose | Estimated Cost |
|---|---|---|
| 4-ft level | Verify plumb before and after repair; detect stud bow | $12–$25 |
| Reciprocating saw with demolition blade | Cut damaged studs or plates without damaging adjacent framing | $45–$85 |
| 2×4 pressure-treated lumber (for sill replacement) | Resists moisture and decay at base contact points | $3.20–$4.80 per 8-ft board |
| Construction adhesive (PL Premium) | Bonds new wood to concrete or existing framing; adds shear strength | $11–$15 per tube |
| 16d galvanized sinker nails or 3-in structural screws | Secure new members without splitting wood or loosening over time | $8–$12 per box |
Step-by-Step Fix
Target the exact failing component—don’t guess. Use a stud finder and tap test to locate hollow spots or soft wood. Then choose the method that matches your diagnosis:
- Replace a rotted sill plate: Cut out damaged section (minimum 12" beyond rot), shim and level new PT 2×4, secure with Tapcon screws into concrete and construction adhesive.
- Swap a crushed cripple stud: Temporarily brace header with a 2×6 post, remove damaged stud, install new 2×4 cut to exact height, toenail top/bottom with two 3-in screws each.
- Reinforce a bowed king stud: Sister a new 2×4 alongside using PL Premium and 3-in screws every 12", clamp until adhesive sets (2 hours minimum).
When to Call a Pro
Some wall leans signal deeper structural danger—and DIY here risks collapse or code violations. Call a licensed structural engineer or contractor if:
- The wall tilt exceeds 1/2 inch per 8 feet (measured with level + straightedge)
- You spot horizontal cracks in brick veneer or masonry above the leaning section
- The floor slopes toward the wall or doors bind on multiple levels
- There’s visible foundation movement: stair-step cracks in basement walls, gaps >1/4" at slab-to-wall joints
According to the Insurance Institute for Business & Home Safety's 2023 report, 68% of wall lean cases linked to foundation issues worsened by 40% or more within 12 months when left unassessed by a professional.
Prevention Tips
Stop recurrence before it starts. Moisture is the #1 enemy of wall framing—especially at the base. Here’s how to protect it long-term:
- Install a 6-mil poly vapor barrier under crawl space dirt floors, overlapped and taped at seams
- Extend downspouts at least 5 feet from the foundation; grade soil away at 1 inch per foot for 6 feet
- Inspect sill plates annually with a screwdriver—probe for softness at exterior wall bases
- Use only pressure-treated lumber for any wood contacting concrete or masonry
- Add rigid foam insulation (R-5 minimum) between sill plate and foundation to reduce condensation
Can I reuse the old nails or screws when replacing a stud?
No—reusing fasteners compromises holding power. Corrosion, thread wear, and bent shanks reduce grip by up to 70%, per ASTM D1761-22 testing. Always use new hot-dipped galvanized or structural screws rated for load-bearing applications.
Do I need a building permit to replace a wall stud?
Yes—if the wall is load-bearing or part of the home’s lateral bracing system (e.g., shear walls in seismic zones). Most municipalities require permits for any structural framing repair. Check your local IRC adoption year—2021 IRC Section R602.3 mandates permits for stud replacement in exterior or bearing walls.
How long does adhesive take to fully cure before loading the wall?
PL Premium reaches 80% strength in 2 hours, but full bond develops over 7 days. Avoid hanging cabinets, shelves, or heavy artwork on repaired sections for at least 72 hours—and wait the full week before adding lateral loads like shelving brackets anchored into new studs.
What’s the difference between a cripple stud and a jack stud?
A jack stud supports the header’s end vertically; a cripple stud fills the gap between the header and the top or bottom plate. Jack studs transfer load downward—they’re critical for door/window openings. Cripple studs provide nailing surfaces and stability but don’t carry primary load. Confusing them leads to undersized repairs.
Can I sister a stud instead of replacing it entirely?
Yes—if the original stud is sound but bowed or twisted. Sistering adds stiffness and redistributes load. But if the wood is cracked, insect-riddled, or rotten—even partially—it must be removed. The U.S. Forest Service’s Wood Handbook (2021) states that localized decay reducing cross-section by >20% requires full replacement, not reinforcement.
Is spray foam okay to fill gaps around the new sill plate?
No—standard expanding foam degrades under sustained compression and lacks structural adhesion. Use non-expanding, low-viscosity polyurethane adhesive (like PL Premium) or closed-cell foam tape rated for structural gaps ≤1/4". Expanding foam can actually lift or distort framing over time.
A properly repaired wall shouldn’t wobble, creak, or develop new cracks within six months. If it does, revisit your diagnosis—you may have missed secondary damage in adjacent framing or overlooked moisture intrusion upstream. For related guidance, see our how to find a stud behind drywall guide and repair cracked drywall joint techniques to finish the job cleanly.