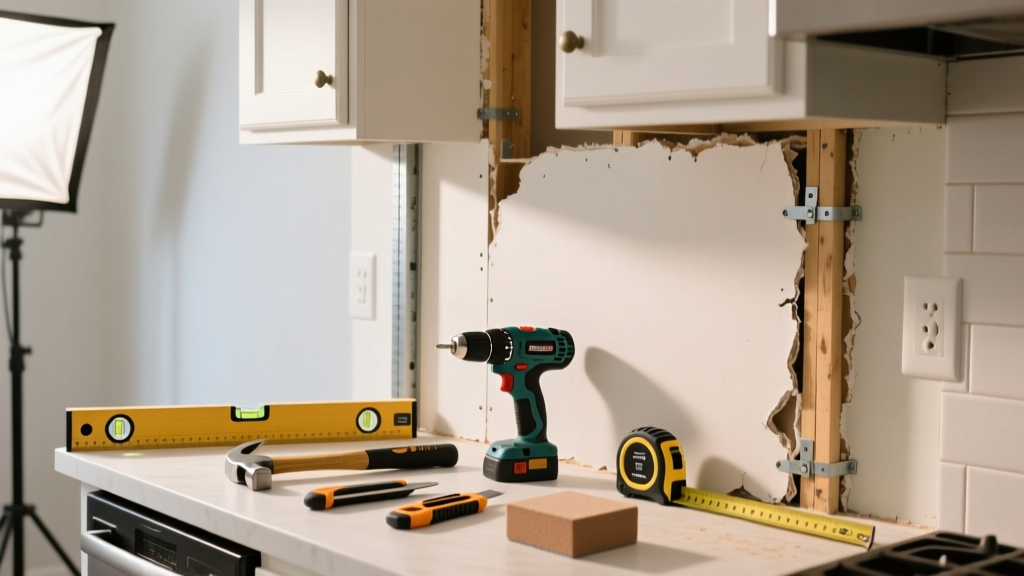
If your kitchen wall is visibly tilting—even by 1/4 inch—it’s not just unsightly; it’s a red flag for underlying structural stress. Unlike cosmetic cracks, a leaning wall often signals foundation movement, rotten framing, or overloaded cabinets pulling the structure out of plumb. Ignoring it risks cabinet detachment, plumbing leaks, or worse.
Quick Diagnosis
Before grabbing tools, identify the root cause. Most kitchen wall leans trace back to one or more of these issues:
- Rot or insect damage in bottom plate or floor joists beneath the wall
- Overloaded upper cabinets anchored into weak drywall or single studs
- Foundation settlement near exterior kitchen walls (especially slab-on-grade homes built pre-2000)
- Water damage from leaking sink or dishwasher softening subfloor or sill plate
- Improperly braced wall during prior remodel—missing diagonal blocking or inadequate top/bottom plates
Tools & Materials Needed
| Item | Purpose | Estimated Cost |
|---|---|---|
| Laser level or 4-ft bubble level | Measures exact deviation (critical before and after correction) | $25–$65 |
| Jack post (adjustable steel) | Temporarily lifts and stabilizes wall while repairs are made | $85–$140 |
| 1/2" plywood (3/4" if load-bearing) | Reinforces weakened bottom plate or adds shear resistance | $22–$38 per sheet |
| Galvanized 3" structural screws | Secures new framing without splitting damp or aged lumber | $12–$20 per box |
| Moisture meter | Confirms dryness of sill plate and subfloor before re-anchoring | $45–$95 |
Step-by-Step Fix
Choose the method based on severity and cause. Always start with temporary stabilization:
- Shore up the wall: Position an adjustable jack post 6–12 inches from the most bowed section, resting on solid concrete or a 2×12 pressure-treated base plate. Tighten slowly—no more than 1/8" per 24 hours—to avoid cracking drywall or breaking plumbing lines.
- Inspect and replace compromised framing: Cut a 12"×12" access panel at the baseboard level. If the bottom plate is spongy or crumbles under thumb pressure, cut it out and sister a new 2×4 pressure-treated plate using construction adhesive and 3" galvanized screws every 6".
- Add lateral support: Install diagonal 2×4 bracing from floor to top plate inside the wall cavity (if accessible) or mount 3/4" plywood shear panels to the interior side—screwed every 4" along edges and 6" in field. According to the International Residential Code (IRC R602.10.5), shear panels must cover ≥25% of wall length for kitchens with exterior exposure.
- Re-anchor cabinets properly: Remove all upper cabinets. Drill through drywall into studs, then into the top and bottom plates. Use 3.5" GRK RSS screws—not drywall anchors—and stagger fasteners vertically to distribute pull force.
When to Call a Pro
Stop and consult a licensed structural engineer or foundation contractor if any of these apply:
- The wall leans more than 3/8" over 8 feet (measured with laser level)
- You see horizontal cracks in brick veneer or stucco outside the kitchen wall
- There’s persistent musty odor or visible mold behind baseboards—indicating chronic moisture intrusion
- Your home was built on expansive clay soil (common in Texas, Arizona, and parts of California) and you’ve had recent heavy rainfall
"A wall that shifts more than 1/4 inch per 10 feet is no longer a 'cosmetic issue'—it's evidence of active movement requiring engineering evaluation." — ASCE 41-17 Seismic Evaluation Guidelines, American Society of Civil Engineers, 2017
Prevention Tips
Kitchen walls bear unique loads: heavy cabinets, plumbing vibrations, and frequent humidity swings. Prevent recurrence with these targeted habits:
- Check cabinet mounting screws every 18 months—tighten or replace any stripped or corroded fasteners
- Install a dehumidifier if relative humidity consistently exceeds 60% (use a hygrometer to verify)
- Route dishwasher and sink supply lines with flexible braided stainless hoses—not rigid copper—to reduce vibration transfer to framing
- Keep exterior downspouts directed ≥5 feet from kitchen foundation walls, especially on slab homes
How long does a temporary jack post stay in place?
A jack post is strictly a short-term solution—never leave it installed longer than 72 hours without professional assessment. Prolonged use can compress subfloor sheathing unevenly and mask worsening movement. If the wall doesn’t hold plumb after shoring and repair, the issue is deeper than framing.
Can I sister a stud without removing drywall?
Yes—but only if the lean is minor (<1/4") and the existing stud isn’t rotted. Cut a vertical slot (max 12" tall × 2" wide) beside the damaged stud, insert a new 2×4, and secure with 3" structural screws every 8" through both studs. Patch drywall afterward. For severe leans or wet rot, full drywall removal is safer and more effective.
Will adding plywood to the wall fix the lean permanently?
No—plywood shear panels resist future racking but won’t correct existing movement. They’re a critical reinforcement step *after* leveling and repairing damaged members. Think of them like braces on a healing bone: supportive, not corrective.
Is this covered by homeowners insurance?
Rarely. Most policies exclude gradual deterioration, including foundation settlement or wood rot from long-term moisture. However, sudden collapse due to a covered peril (e.g., burst pipe flooding the sill plate) may trigger a claim. Document everything with dated photos and get a written cause-of-damage assessment from a contractor before filing.
Can I reuse the same cabinet screws after removing them?
Only if they’re structural-grade (GRK, Spax, or similar), undamaged, and came from solid wood or engineered studs—not drywall or particleboard. Inspect threads under magnification; any galling or bending means replacement is mandatory. Over-torqued screws lose up to 40% of their holding power after one removal (per Wood Handbook, USDA Forest Products Laboratory, 2010).
What’s the fastest way to check if the lean is getting worse?
Mark the highest point of the wall’s bow with a pencil on the floor and ceiling. Measure the distance between marks weekly with a tape measure and record values. A change of ≥1/16" in 7 days warrants immediate professional inspection.
Wall movement in the kitchen isn’t something you can patch and forget. It’s your home quietly signaling that something foundational needs attention—whether it’s moisture control, load redistribution, or soil stability. Address it methodically, prioritize safety over speed, and don’t hesitate to bring in expertise when the numbers or symptoms cross clear thresholds. A stable kitchen wall keeps your meals safe—and your home standing true for decades to come. For related guidance, see our articles on fixing sagging cabinets and repairing water-damaged drywall.