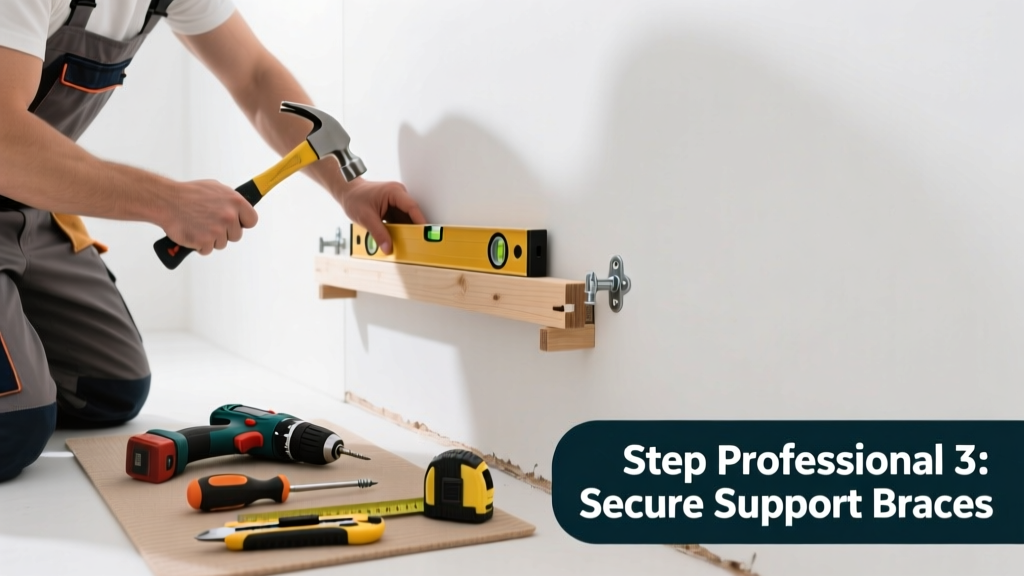
If your bathroom wall feels spongy, bows inward near the shower, or shows widening gaps at corners or baseboards, it’s not just cosmetic—it’s a warning sign. Moisture intrusion, rotting framing, or inadequate support can compromise structural integrity fast in high-humidity spaces. Ignoring it risks tile cracking, plumbing leaks, or even partial wall collapse.
Quick Diagnosis
Before grabbing tools, identify the root cause. A leaning wall rarely happens in isolation—here’s what’s most often behind it:
- Water-damaged or rotted bottom plate (especially where drywall meets tub/shower)
- Missing or undersized wall studs (common in older homes with 24" on-center spacing)
- Failed or corroded metal framing anchors (in steel-framed bathrooms)
- Settling foundation shifting load-bearing walls adjacent to the bathroom
- Over-torqued drywall screws pulling framing out of plumb during prior repairs
Tools & Materials Needed
| Item | Purpose | Estimated Cost |
|---|---|---|
| Stud finder with AC detection | Locates live wires and stud centers safely before drilling | $25–$60 |
| 1/4" plywood or OSB (1/2" thick) | Reinforces compromised bottom plate or adds lateral bracing | $18–$24 per sheet |
| Galvanized 3" deck screws | Secure new backing without rusting in humid conditions | $8–$12 per box |
| Hygrometer + moisture meter | Measures ambient humidity and subsurface wood moisture (critical for confirming rot) | $35–$95 |
| Shim kit (composite or stainless steel) | Temporarily stabilizes wall while permanent fix is installed | $12–$22 |
Step-by-Step Fix
Choose the method based on your diagnosis. Always shut off water and power to the bathroom first—and confirm no live wires are in your work zone using a non-contact voltage tester.
- Assess moisture and rot: Drill a 1/8" exploratory hole 2" above the tub flange. Insert a screwdriver—if it sinks >1/4" into the bottom plate, replace it. According to the U.S. EPA, 14% of household water usage is from undetected leaks—many originating behind bathroom walls.
- Reinforce the bottom plate: Cut out damaged 2×4 section. Sister a new pressure-treated 2×4 alongside it, securing with 3" galvanized screws every 6". Use construction adhesive between layers.
- Add lateral bracing: Install a 1/2" plywood panel (cut to fit between studs from floor to height of vanity or shower curb). Screw into each stud with 2" screws every 8". This resists inward bowing from tile weight or steam pressure.
- Re-plumb and re-fasten drywall: Remove loose drywall, shim any bowed studs with stainless shims, then refasten with fresh screws spaced 7" apart in the field and 4" at edges.
When to Call a Pro
Don’t risk injury or code violations if you see any of these red flags:
- Leaning exceeds 1/2" over 8 feet (per International Residential Code Section R602.3)
- Cracks in ceiling drywall above the wall or diagonal sheetrock cracks at corners
- Visible sagging floor joists beneath the bathroom or sloping floors (>1/4" per 6 feet)
- The wall is load-bearing and supports a second-story bedroom or attic storage
- Mold growth covering >10 sq ft or penetrating beyond surface drywall (EPA guidelines require certified remediation)
"A wall that leans more than 3/8 inch in 8 feet isn’t just ‘out of plumb’—it’s signaling structural distress. Don’t assume patching will hold. Get an engineer’s evaluation before adding tile or stone." — John M. O’Connor, P.E., Home Structural Safety Council, 2022
Prevention Tips
Bathroom walls fail predictably—not randomly. Prevention starts with controlling the environment and maintaining structure:
- Run your exhaust fan for 20 minutes after every shower (not just during) to reduce relative humidity below 60%
- Inspect caulk around tubs, showers, and sinks every 6 months; replace cracked or discolored sealant immediately
- Install a smart hygrometer like the ThermoPro TP50 to get alerts when humidity exceeds 55% for >2 hours
- Use only mold-resistant drywall (e.g., USG Mold Tough or National Gypsum Gold Bond XP) for all bathroom walls and ceilings
- Ensure floor drains in wet rooms slope at minimum 1/4" per foot toward the drain—check with a laser level annually
Can I use expanding foam to stabilize a leaning wall?
No—expanding polyurethane foam creates uneven pressure and can warp studs or crack tile. It also traps moisture, accelerating rot. Use mechanical bracing or sistered framing instead. For air sealing, stick to low-expansion window-and-door foam (how to seal bathroom gaps).
Will repainting hide the lean?
Paint won’t correct geometry—and may make cracks reappear faster. If you see hairline cracks widening after painting, it means movement is ongoing. Address the structure first, then finish.
How long does a proper repair take?
Most homeowners complete the full repair—including moisture testing, framing reinforcement, drywall replacement, and taping—within 2–3 days. Allow 72 hours for joint compound to fully cure before priming. Rushing this step leads to visible seams (bathroom drywall finishing tips).
Is this covered by homeowner’s insurance?
Rarely—if the lean results from long-term neglect (e.g., ignoring recurring leaks), insurers deny claims. But sudden water damage from a burst supply line causing immediate wall distortion may be covered. Document everything with dated photos and moisture readings before filing.
Can I add tile over a repaired but slightly uneven wall?
You can—but only if deviation is under 1/8" over 3 feet (per ANSI A108.02). Use a 1/4" notched trowel and back-butter large-format tiles. For greater variance, skim-coat with polymer-modified thinset first. Never rely on thick mortar beds to compensate for structural issues.
What’s the average cost to fix this professionally?
According to HomeAdvisor’s 2023 Remodeling Report, median cost for bathroom wall structural repair ranges from $1,200–$3,800, depending on extent of framing replacement and whether waterproofing membranes must be reinstalled. DIY saves 55–70%, but only if moisture is fully resolved first.
A leaning bathroom wall isn’t something to monitor ‘for now.’ Humidity, tile weight, and daily use accelerate failure once movement begins. Fix the cause—not just the symptom—and pair it with better ventilation and routine checks. Your next shower should feel solid underfoot and steady against your back—not like stepping into a slowly collapsing room.