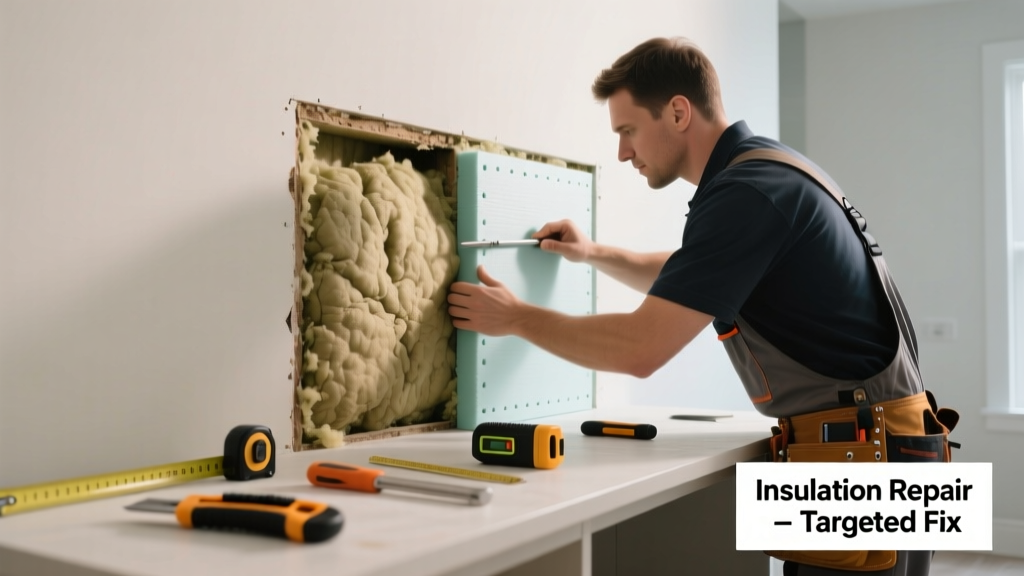
Wall insulation that’s settled—sagging, thinning, or leaving gaps near the top of a stud bay—creates cold spots, higher heating bills, and potential moisture traps. You don’t always need to gut the entire wall; often, just the affected section can be safely replaced. This fix targets exactly where the problem is, using accessible techniques and common tools.
Quick Diagnosis
Before reaching for tools, confirm it’s truly settling—not missing, damaged, or improperly installed insulation. Look for these telltale signs:
- Visible gaps (½ inch or more) between insulation batt and top plate or drywall
- Cold drafts localized near outlets or baseboards on that wall
- Thermal imaging or infrared thermometer readings showing >10°F delta across adjacent studs
- Insulation that feels loose, crumbly, or compressed below R-value markings (e.g., R-13 batt now measuring <2.5” thick)
Tools & Materials Needed
| Item | Purpose | Estimated Cost |
|---|---|---|
| Utility knife with snap-off blades | Cuts drywall cleanly for access panel without damaging wiring | $8–$15 |
| Fiberglass insulation batts (R-13 or R-15, 15" or 23" width) | Matches existing cavity depth and thermal performance | $12–$22 per 8-ft roll |
| Staple gun + ¼" staples | Secures new batts to stud faces without compressing fibers | $25–$40 (staples: $5) |
| LED work light + extension cord | Illuminates dark cavities behind drywall during insertion | $18–$35 |
| Protective gear (N95 mask, goggles, long sleeves) | Blocks fiberglass particles and dust inhalation | $10–$20 |
Step-by-Step Fix
Work from inside the room—no exterior siding removal needed. Focus only on the bays showing visible settling (typically top 12–18" of cavity). Follow these steps in order:
- Cut a 16" × 16" access panel centered over the worst-affected stud bay, staying clear of electrical boxes and horizontal blocking. Use a utility knife guided by a straightedge—cut just deep enough to score drywall paper without gouging wood.
- Remove the old batt section by gently pulling down the settled portion. If it’s fiberglass, fold it inward before extraction to minimize airborne fibers. Discard—do not reuse.
- Measure cavity height from bottom of top plate to ceiling drywall. Cut new batt to length, then compress *just enough* to slide in snugly—never force it, which degrades R-value.
- Insert and staple: Push batt up until fully seated at top plate, then staple flanges every 8" along stud edges. Avoid over-stapling—fiberglass shouldn’t bulge or gap.
- Seal and patch: Apply acoustic caulk behind drywall edges before reattaching panel. Use mesh tape + joint compound for seamless finish. Let dry 24 hrs before painting.
When to Call a Pro
DIY replacement isn’t safe or effective in these cases:
- Settling spans >3 consecutive bays—or occurs on exterior walls with brick veneer or stucco cladding
- Signs of mold, rodent nesting, or water staining behind insulation (indicates deeper moisture intrusion)
- Wiring runs horizontally through the cavity (common in older homes), making safe access impossible without licensed electrician review
- Insulation is loose-fill cellulose or spray foam—neither can be spot-replaced without specialized equipment
Prevention Tips
Proper installation prevents future settling. Anchor batts correctly from day one:
- Always use friction-fit batts sized for your stud spacing—never stuff oversized material
- Staple flanges at the *center* of each stud face—not top or bottom—to avoid sagging under gravity
- In attics or walls prone to vibration (e.g., near HVAC ducts), add 1×2 furring strips across tops of studs to block downward migration
- Inspect insulation during annual home maintenance—especially after major temperature swings or attic ventilation changes
Can I reuse the settled insulation if I fluff it back up?
No. Once fiberglass or mineral wool settles, its air pockets collapse permanently. Compressed insulation loses up to 40% of its rated R-value—even if it looks full again. According to the U.S. Department of Energy’s 2022 Building Technologies Office report, settled batts retain only 60–65% of original thermal resistance.
Do I need to remove the entire drywall sheet?
No. A small, precisely cut access panel (16" × 16") is sufficient for most single-bay repairs. Larger panels increase risk of cracking at seams and require more finishing work. Keep cuts aligned with stud centers—this avoids cutting into wiring or plumbing.
What if the wall has knob-and-tube wiring?
Stop immediately. Knob-and-tube systems lack grounding and generate heat; covering them with insulation violates NEC code and creates fire hazards. Contact a licensed electrician to assess rewiring options before proceeding. The National Fire Protection Association’s NFPA 70-2023 explicitly prohibits insulation contact with K&T circuits.
Is blown-in insulation better for preventing settling?
Yes—when properly dense-packed (≥3.5 lbs/ft³), cellulose or fiberglass blow-in resists settling far better than batts. But retrofitting requires drilling holes and specialized equipment. For targeted fixes, batts remain the most practical choice. The Oak Ridge National Laboratory’s 2021 insulation field study found dense-packed cellulose had <2% settlement over 10 years versus 18% for standard fiberglass batts.
Can I add rigid foam over the repaired area instead?
Not as a standalone fix. Rigid foam adds R-value but doesn’t address the air infiltration path created by the gap. It also risks creating a moisture trap if layered directly over fiberglass without a vapor retarder. Instead, consider adding ½" foil-faced polyiso *behind* the drywall during full renovation—as detailed in our rigid foam guide.
How long does the repair take from start to finish?
For one affected bay, plan for 2–3 hours of active work—including drywall patching and sanding. Let joint compound cure fully (24 hrs) before priming. Rushing this step leads to visible seams. For multiple bays, add 45 minutes per additional cavity—and factor in extra drying time if humidity exceeds 60%.
"Most insulation settling repairs fail not from poor insulation choice—but from rushed drywall patching. A hairline crack at the access panel edge defeats all thermal gains." — Sarah Lin, Building Science Technician, Building Performance Institute, 2023
Once patched and painted, the repaired section performs identically to the rest of the wall—if installed correctly. Monitor indoor temps and energy bills for 2–3 heating cycles to verify improvement. If cold spots persist, check for hidden bypasses like unsealed top plates or recessed lighting housings—our air leak detection guide walks through those diagnostics. And remember: insulation works best when paired with proper air sealing—never treat one without the other.