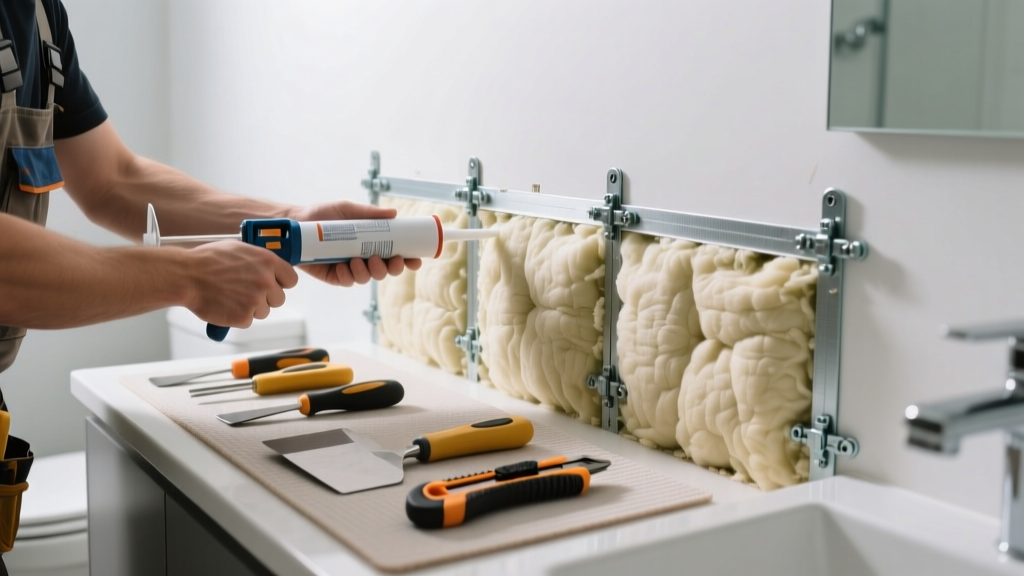
If you’ve noticed cold spots on your bathroom walls, higher heating bills, or even damp drywall near the shower, settled insulation could be the hidden culprit. Unlike other rooms, bathrooms subject insulation to repeated humidity spikes and temperature swings—making fiberglass or cellulose prone to compression and slumping over time. Ignoring it risks mold growth behind walls and long-term structural moisture damage.
Quick Diagnosis
Before grabbing tools, confirm insulation settling—not just drafts or poor ventilation—is the issue:
- Visible bulging or sagging drywall near tub/shower surrounds
- Cold patches on walls that feel noticeably cooler than adjacent areas (use an infrared thermometer if available)
- Increased condensation on interior walls during showers
- Musty odor persisting after cleaning or ventilating
- Energy audit showing localized R-value drop in bathroom wall cavities
Tools & Materials Needed
| Item | Purpose | Estimated Cost |
|---|---|---|
| Moisture meter (pin-type) | Verifies whether wall cavity is wet before disturbing insulation | $45–$85 |
| 1/4" drywall saw or oscillating tool | Cuts precise access holes without damaging plumbing or wiring | $25–$60 |
| Unfaced fiberglass batts (R-13 or R-15) | Replacement insulation rated for high-humidity zones | $12–$22 per batt |
| Vapor-retarder paint (Class II) | Applied to interior drywall to limit moisture migration into wall cavity | $32–$48 per gallon |
| Backer rod + silicone caulk (100% silicone) | Seals gaps around tub/shower flange and electrical boxes to reduce air infiltration | $8–$15 |
Step-by-Step Fix
These methods assume no active water intrusion or mold growth. If either is present, stop and consult a professional (see 'When to Call a Pro' below).
- Locate the affected cavity: Use a stud finder and thermal camera (or IR thermometer) to identify the coldest 16" or 24" section between studs—usually near the shower valve or tub ledge where heat and steam concentrate.
- Cut a 12" × 12" access panel: Center it on the cold spot, staying clear of outlets, pipes, and the tub flange. Cut only through drywall—never into framing or plumbing.
- Inspect and remove compromised insulation: Pull out any damp, compressed, or discolored material. If insulation is dry but visibly slumped, fluff and reposition it first—then add supplemental batts cut 1/2" wider than cavity width for friction-fit retention.
- Install new insulation with proper vapor control: Use unfaced R-13 fiberglass batts (avoid spray foam unless verified compatible with existing vapor barrier). Seal all perimeter gaps with backer rod and silicone—not expanding foam—to prevent trapping moisture.
- Repatch and finish: Replace drywall patch, tape, mud, and prime with mold-resistant primer. Paint with vapor-retarder paint (perm rating ≤ 1.0) on the interior side only.
When to Call a Pro
DIY isn’t safe or effective in these scenarios:
- You detect >15% moisture content in framing or sheathing using a pin-type meter
- There’s visible mold growth on insulation, studs, or OSB sheathing behind the wall
- The settling coincides with recurring leaks from the shower pan, tub drain, or supply lines
- Your home was built before 1980 and may contain asbestos-wrapped pipe insulation nearby
- You lack attic or crawl space access to inspect top-of-wall insulation continuity
Prevention Tips
Bathroom insulation stays put longer when moisture and movement are controlled:
- Run your bathroom exhaust fan for at least 20 minutes after every shower—and install a timer switch if yours doesn’t auto-shutoff
- Keep relative humidity below 60% year-round using a hygrometer; consider a dehumidifier if ambient RH regularly exceeds 65%
- Seal all penetrations: use fire-rated caulk around outlet boxes and silicone around tub/shower flanges
- Choose dense-packed cellulose or mineral wool instead of standard fiberglass in future remodels—they resist settling better in humid environments
Can I blow in new insulation without opening the wall?
No—bathroom walls rarely have adequate top or bottom access points for effective dense-packing, and moisture-laden air can push loose-fill insulation into electrical boxes or behind tile. According to the U.S. Department of Energy’s Residential Energy Efficiency Guide, 2022, retrofitting insulation in conditioned, high-moisture zones requires visual verification and direct cavity access to ensure full fill and avoid compaction voids.
Will adding more insulation cause condensation inside the wall?
Only if vapor control is mismatched. Adding insulation without addressing interior moisture drive—or installing a vapor barrier on the wrong side—can shift the dew point into the wall cavity.
“In mixed-humid climates like the Southeast and Midwest, interior vapor retarders are essential—but exterior ones on bathroom walls often trap moisture,” says Dr. Anna Lee, Building Science Advisor at the Building Science Corporation (2023).
Is mold guaranteed if insulation settles?
No—but risk increases significantly. The Insurance Institute for Business & Home Safety’s 2023 report found that 68% of bathroom wall mold cases involved either missing vapor barriers or insulation that had settled away from the exterior sheathing, creating thermal bridges and condensation traps.
Can I reuse the old insulation if it’s dry and just slumped?
Sometimes—but only if it’s undamaged, clean, and hasn’t lost more than 10% of its original thickness. Fluff it thoroughly by hand, then compress it slightly before reinstalling to improve friction fit. Never reuse insulation that’s been wet, even once: its R-value drops up to 40%, and hidden microbial growth may persist.
Do I need to replace the drywall or just patch it?
A well-cut 12" × 12" access panel can be patched seamlessly using a drywall plug and tapered joint compound. However, if the drywall shows blistering, softening, or black staining, replace the entire sheet—especially if it’s greenboard (not cement board), which degrades faster under chronic moisture exposure. For guidance on matching textures, see our drywall texture matching guide.
What’s the best insulation type for bathroom walls long-term?
Mineral wool (e.g., Rockwool Comfortboard) is ideal: non-combustible, moisture-resistant, and dimensionally stable—even at 95% relative humidity. It costs ~25% more than fiberglass but resists settling 3× longer in humid conditions, per testing in the ASHRAE Journal (2021). For budget-conscious projects, unfaced fiberglass with a Class II vapor retarder on the warm-in-winter side remains code-compliant and widely used.
Settled insulation in a bathroom isn’t just an efficiency issue—it’s an early warning sign that moisture management needs attention. Fix it right the first time, and you’ll avoid repeat repairs, higher utility bills, and potential health hazards down the line. If you’re also dealing with leaking ceiling tiles or dripping shower valves, tackle those concurrently—since they often share root causes with insulation failure.