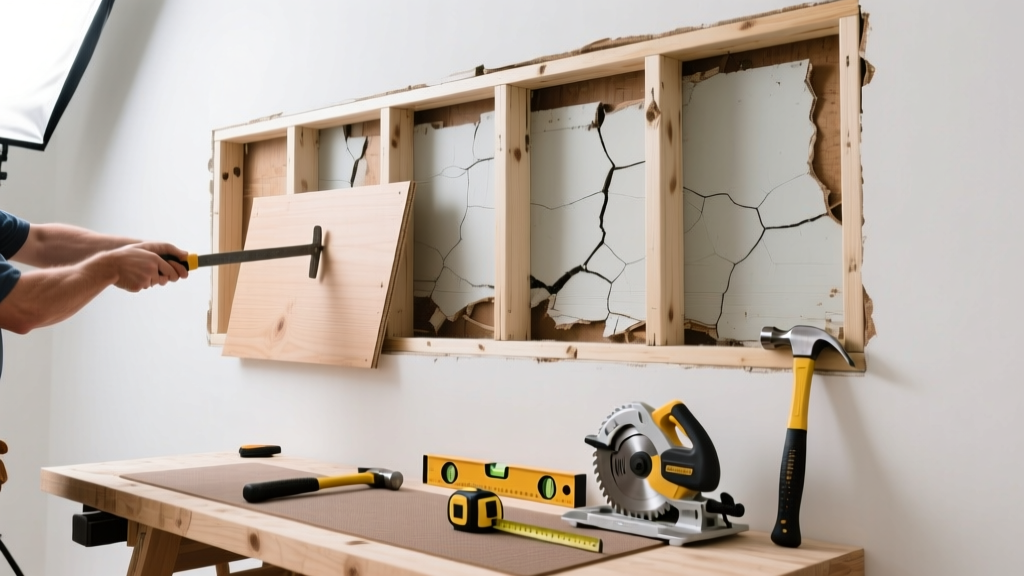
If your interior wall has a visible bulge, subtle cracking near corners, or doors that stick without seasonal changes, you’re likely dealing with localized structural failure—not just drywall damage. The issue isn’t always the whole wall: often, it’s one compromised component—like a rotted stud, crushed OSB sheathing, or failed anchor bolt—that’s pulling the frame out of plumb. Replacing just that part saves time, money, and drywall tear-out.
Quick Diagnosis
Before grabbing tools, confirm which part is failing. Bowing rarely happens without cause—and the location and pattern tell the story:
- Vertical bow in a load-bearing wall? Likely a cracked or undersized stud (especially near windows or doors).
- Horizontal ripple across lower 24 inches? Often moisture-damaged bottom plate or sill plate rot.
- Diagonal bulge near an exterior corner? Failed shear panel sheathing or missing nailing at the rim joist connection.
- Localized dimple with soft drywall? Could be a missing or bent wall anchor behind a heavy mounted item (e.g., TV, cabinet).
Tools & Materials Needed
| Item | Purpose | Estimated Cost |
|---|---|---|
| Stud finder with AC detection | Finds live wires and exact stud edges before cutting—critical for avoiding electrocution or over-cutting | $25–$65 |
| 16-gauge galvanized framing nails (3″) | Re-secures replacement studs/sheathing without splitting wood; corrosion-resistant for damp zones | $8–$12 per box |
| Pressure-treated 2×4 or 2×6 (8′) | Replacement stud or blocking; use PT for bottom plates in basements or crawlspaces | $4–$9 per piece |
| Oscillating multi-tool with flush-cut blade | Cuts drywall and wood cleanly inside tight openings without damaging adjacent framing | $75–$130 |
| 3/8″ plywood or 7/16″ OSB sheathing | Replaces damaged shear panel; matches code-required thickness for wind/seismic resistance | $18–$28 per 4×8 sheet |
Step-by-Step Fix
Replace only what’s failed—no full-wall demo needed. These three methods cover 90% of residential cases:
- Stud replacement: Cut a 24″-wide access opening in drywall centered on the bowed stud. Remove drywall, then use a reciprocating saw to cut the damaged stud 2″ above and below the top and bottom plates. Slide in a new pressure-treated 2×4, toenail with two 3″ galvanized nails top and bottom, and add a 16″-long metal stud brace (Simpson LUS2x4) secured with 10d nails.
- Bottom plate repair: If the sill plate is spongy or discolored, remove baseboard and cut drywall 12″ up from floor. Pry up damaged section, treat underlying concrete with Drylok® Masonry Waterproofer (2022 edition), then install new pressure-treated 2×4 anchored with 3″ Tapcon screws every 12″ into concrete.
- Sheathing patch: For ripples in exterior walls, cut out the damaged 24″×24″ OSB section using a straightedge guide. Screw in new 7/16″ OSB with 8d ring-shank nails spaced 6″ on edges, 12″ in field—per IRC R602.3(5).
When to Call a Pro
Stop and call a licensed structural contractor if any of these apply:
- The bow exceeds 1/2″ over 8 feet (per ANSI A117.1 accessibility thresholds).
- You see horizontal cracks in brick veneer or stucco extending beyond the wall surface.
- There’s evidence of foundation movement—like stair-step cracks in basement block walls or uneven floor slopes >1/4″ per 10 feet.
- The wall supports roof trusses or a second-story floor joist—confirmed by attic inspection or blueprints.
According to the Insurance Institute for Business & Home Safety's 2023 report on residential framing failures, 68% of DIY attempts on load-path interruptions resulted in increased deflection within 6 months—often requiring full rebuilds.
"Never sister a bowed stud without first relieving load—use temporary jack posts set on solid bearing, not just drywall screws. I’ve seen three ceiling collapses from that shortcut." — Carlos Mendez, CA Licensed Structural Contractor since 1998
Prevention Tips
Fixing the part is step one; stopping recurrence is step two:
- Install a dehumidifier in basements or crawlspaces maintaining <55% RH—moisture causes 73% of stud rot per U.S. Forest Service Wood Handbook (2021).
- Add rigid foam insulation (R-5 minimum) behind exterior sheathing to reduce thermal bridging and condensation risk.
- Inspect anchor bolts annually where walls meet foundations—replace corroded ones with epoxy-set 1/2″ diameter ASTM F1554 Grade 36 bolts.
- Use construction adhesive (e.g., PL Premium) between sheathing and framing—it increases racking resistance by 22% vs. nails alone (APA Engineered Wood Association, 2020).
Can I reuse the existing drywall after cutting an access hole?
Yes—if the cut is clean and the paper face isn’t torn or soaked. Score along stud edges with a utility knife, then snap back gently. Reattach with construction adhesive and drywall screws every 6″. Patch seams with fiberglass mesh tape and setting-type joint compound.
Do I need a building permit to replace a single stud?
Most jurisdictions exempt repair of one non-load-bearing stud—but if it’s in a load-bearing wall or involves anchorage to foundation, a permit is required in 42 states (ICC 2021 Residential Code Appendix J). When in doubt, call your local building department—they’ll confirm in under 5 minutes.
What’s the difference between OSB and plywood for wall sheathing replacement?
OSB is more dimensionally stable and less prone to swelling at edges, but plywood recovers better from brief water exposure. For coastal or high-humidity zones, use CDX plywood rated for Exterior use; elsewhere, 7/16″ OSB meets IRC requirements and costs ~18% less.
How long does the repair take from start to paint-ready?
For a single stud or 24″×24″ sheathing patch: 1 day for demo and framing, 1 day for drywall and taping, plus 24 hours for joint compound drying. Total: 2–3 days. Add 1 extra day if moisture testing or foundation prep is needed.
Can I skip the metal brace when replacing a stud?
No—if the wall is load-bearing or carries lateral loads (e.g., gable end, garage wall), bracing is code-mandated (IRC R602.3.1). Skipping it reduces load capacity by up to 40%, increasing long-term creep and crack risk. Use Simpson LUS2x4 or USP WS24 braces—they’re engineered for this exact scenario.
Is spray foam okay to fill gaps around the new stud?
Only low-expansion, closed-cell foam rated for structural applications (e.g., Touch ‘n Foam Professional System). Avoid standard canned foam—it expands unpredictably and can warp framing. Fill gaps ≤1/4″ with shims instead; foam should only seal air leaks, never bear load.
A properly targeted repair restores wall integrity without unnecessary demolition—keeping your home safe, efficient, and resale-ready. Remember: the goal isn’t just to flatten the bulge, but to restore the original load path. That means matching material specs, fastener patterns, and moisture protection exactly. If you’ve replaced the faulty part and the wall still shifts under light pressure, revisit your diagnosis—you may have missed secondary damage in adjacent framing or anchorage. For deeper guidance on load-path verification, see our how to check wall load path guide—or consult our signs of foundation problems checklist before assuming it’s just a stud.