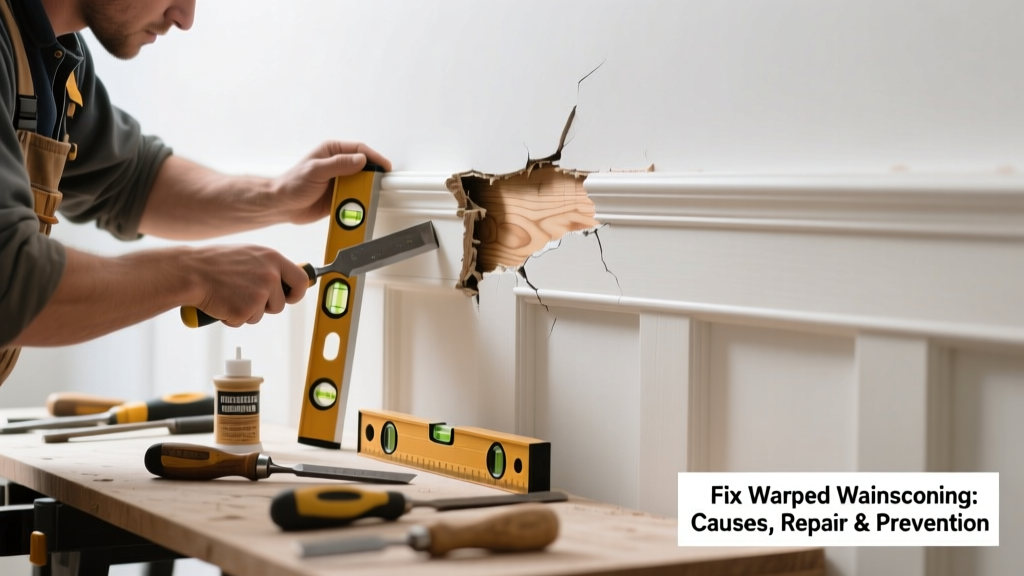
That subtle bulge near your dining room chair rail? The gap where the panel pulls away from the wall? Warped wainscoting isn’t just unsightly—it’s a red flag for moisture, poor installation, or aging materials. Left unaddressed, it can worsen, loosen fasteners, and even compromise underlying drywall.
Quick Diagnosis
Before grabbing tools, identify the root cause. Most warping stems from one (or more) of these issues:
- Excess humidity or water exposure behind or beneath panels (e.g., leaky baseboard heater, unvented bathroom)
- Improper acclimation—wood installed before reaching equilibrium with indoor RH (35–55%)
- Missing or inadequate fastening—especially at top/bottom edges or over stud locations
- Use of non-moisture-resistant MDF or particleboard in high-humidity zones like kitchens or basements
- Direct sunlight or radiant heat causing uneven expansion on one side
Tools & Materials Needed
| Item | Purpose | Estimated Cost |
|---|---|---|
| Moisture meter (pin-type) | Measure wood moisture content; >12% indicates active moisture issue | $45–$85 |
| 16-gauge finish nails + nail set | Secure loose panels without visible heads; countersink for filler | $8–$12 |
| Construction adhesive (polyurethane-based) | Bonds panel to wall while allowing slight movement; resists moisture better than PVA | $10–$18 |
| Clamps (bar or spring) | Hold warped sections flat while adhesive cures or nails set | $12–$35 |
| 1/4" plywood backing strips | Reinforce sagging panels; attach vertically between studs for support | $15–$22 per 4'x8' sheet |
Step-by-Step Fix
Choose the method based on severity and cause. Start with the least invasive:
- Surface re-securing (mild warp, <1/8" bow): Locate studs with a magnetic stud finder, pre-drill pilot holes through panel into studs, then drive 2" 16-gauge finish nails every 12" along top rail and bottom plate. Set nails and fill with wood putty matching stain.
- Adhesive reinforcement (moderate warp, no moisture present): Remove base cap or rail trim. Apply zigzag beads of polyurethane adhesive to wall surface behind warped area. Press panel firmly into place, clamp for 24 hours, then re-nail at stud lines.
- Backing strip retrofit (severe sag or recurring warp): Cut 1"-wide x 1/4"-thick plywood strips to match panel height. Screw strips vertically to studs every 16" behind the warped zone. Attach panel to strips using screws with washers—this bridges gaps and redistributes load.
- Panel replacement (delaminated MDF or >1/4" distortion): Carefully remove damaged panel by cutting caulk and prying gently from bottom up. Replace with solid-core poplar or moisture-resistant HDF; acclimate 72+ hours at site before installing.
When to Call a Pro
Don’t risk structural integrity or hidden damage:
- You detect >19% moisture content in framing or subfloor behind panels (per ASTM D4442 testing)
- Warped wainscoting coincides with buckling hardwood floors or peeling paint on adjacent walls
- The wall itself feels spongy or shows signs of mold—especially black or green discoloration behind baseboards
- Your home has plaster-and-lath walls, where improper nailing risks cracking or plaster detachment
According to the Insurance Institute for Business & Home Safety's 2023 report, 68% of interior wood failures linked to warping involved undetected plumbing leaks behind finished walls—making professional moisture mapping essential before repair.
Prevention Tips
Long-term stability starts with smart habits and material choices:
- Maintain indoor relative humidity between 35–55% year-round using a hygrometer and dehumidifier/humidifier as needed
- Seal all cut edges of MDF or particleboard panels with oil-based primer before painting—this blocks moisture absorption
- Always leave a 1/8" expansion gap between panels and floor/baseboard; cover with shoe molding, not caulk
- Avoid installing wood wainscoting directly over concrete slabs without a vapor barrier and pressure-treated furring strips
Can I use a heat gun to flatten warped wood panels?
No—applying direct heat risks scorching, glue failure, and further dimensional instability. Wood expands unpredictably under thermal stress, and most panel adhesives soften above 140°F. Instead, use controlled clamping with moisture equalization (see how to acclimate wood panels).
Will painting over warped wainscoting hide the problem?
Paint may temporarily mask minor ripples, but it won’t stop ongoing movement. In fact, thick latex paint layers can restrict natural wood expansion, worsening stress fractures. Always fix the structural issue first—then prime and paint.
How long does polyurethane adhesive take to cure behind wainscoting?
Full bond strength develops in 24–48 hours, but initial grab occurs in 1–2 hours. Avoid clamping removal or re-trimming before 24 hours, especially in rooms below 60°F or above 60% RH. Check manufacturer specs—e.g., PL Premium requires 72 hours for full moisture resistance (Sika, 2022).
Is beadboard more prone to warping than flat-panel wainscoting?
Yes—beadboard’s thinner profile (often 1/4"–3/8") and repetitive grooves create more surface area for moisture absorption and less cross-grain stability. Solid 3/4" flat panels resist cupping better, but both require proper sealing and fastening. For damp areas, choose PVC beadboard like PVC wainscoting for bathrooms.
Do I need to remove all baseboard trim to fix warped panels?
Not always. If warping is isolated to upper rails or middle sections, you can often access fasteners through existing nail holes or by removing only the chair rail or cap molding. Reserve full baseboard removal for cases requiring adhesive application or backing strip installation.
Can warped wainscoting affect my home’s resale value?
Yes—inspectors and buyers notice inconsistencies. A 2022 National Association of Home Builders survey found that 73% of buyers flagged visible wall finish defects (including warped millwork) as ‘concerning,’ often triggering requests for repairs or price concessions—even if cosmetic.
Warping rarely happens overnight—and it rarely stays small. Addressing it early preserves both aesthetics and structural confidence in your walls. Whether you reinforce, replace, or retrofit, the goal is consistent contact, stable moisture, and secure attachment. And if you spot that telltale shadow line creeping across your dining room wall, don’t wait until it’s pulling away at the corners—act now, while the fix stays simple and affordable.