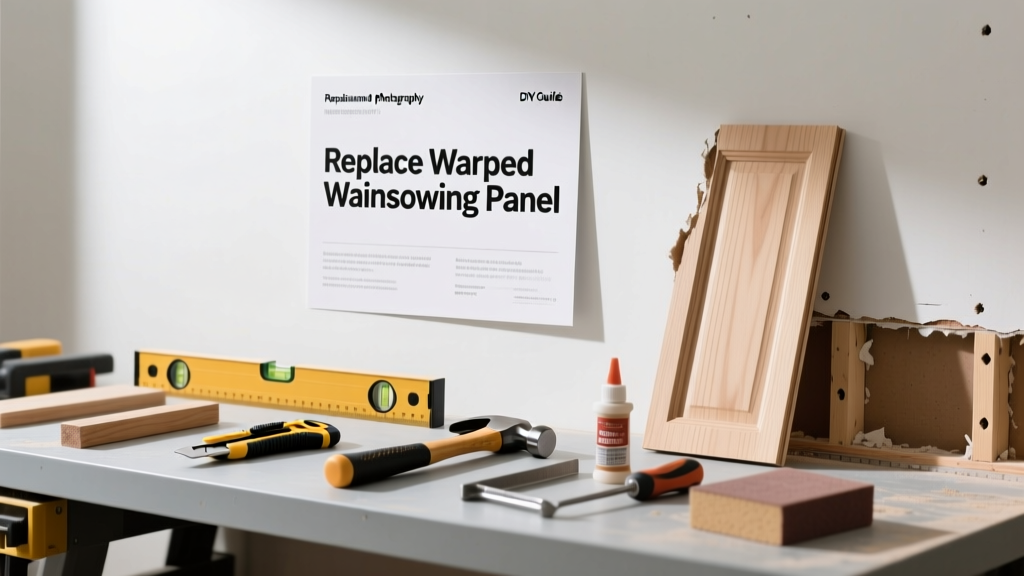
That subtle bulge in your dining room wainscoting isn’t just unsightly—it’s a warning sign. Moisture, poor acclimation, or improper fastening has compromised one panel, but replacing the entire wall isn’t necessary. You can isolate and swap just the damaged section in under four hours with basic tools.
Quick Diagnosis
Before grabbing tools, confirm the warp isn’t masking a deeper issue. Check these common causes first:
- Localized moisture exposure (e.g., leaky window seal behind panel)
- Panel installed without proper expansion gaps (less than 1/8" at top/bottom)
- Fasteners driven too tightly or into green/unseasoned wood
- Direct HVAC vent blowing onto panel for extended periods
- Subfloor or wall framing movement (check for adjacent drywall cracks)
Tools & Materials Needed
| Item | Purpose | Estimated Cost |
|---|---|---|
| Trim puller or cat’s paw pry bar | Removes nails without splintering adjacent panels | $12–$22 |
| 16-gauge finishing nails & nail set | Secures new panel flush; prevents dimpling | $6–$10 |
| Wood filler & sanding sponge (220 grit) | Repairs minor nail holes or edge chips | $8–$14 |
| Replacement MDF or poplar panel (same thickness & profile) | Matches existing height, bead detail, and paint base | $18–$34 |
| Laser level & 4' straightedge | Verifies plumb and alignment before nailing | $25–$45 |
Step-by-Step Fix
- Mark and isolate: Use painter’s tape to outline the warped panel and its immediate neighbors. Score along both vertical seams with a utility knife to prevent tear-out when prying.
- Remove carefully: Start at the bottom rail. Insert trim puller behind the panel’s lower edge, gently levering outward while tapping upward with a rubber mallet. Work top-down to avoid stressing adjacent joints.
- Inspect substrate: Check the wall sheathing and furring strips for moisture damage or warping. If dampness exceeds 15% moisture content (use a pin-type meter), address the source before proceeding—see our damp wall repair guide.
- Cut and fit replacement: Measure the cavity width twice—once at top, once at bottom. Cut new panel 1/16" narrower than the smallest measurement. Test-fit before nailing.
- Secure and finish: Apply construction adhesive to back of panel, then nail every 8" along stiles and rails using 1-1/4" 16-gauge nails. Set nails, fill, and lightly sand. Touch up with matching paint—use our paint-matching tips.
When to Call a Pro
DIY is safe only if the warp is isolated and structural framing is sound. Call a licensed contractor if you encounter any of these:
- More than two adjacent panels are bowed or separating from the wall
- Mold growth or musty odor behind the panel (per EPA guidelines, remediation requires containment)
- Warp coincides with visible wall cracking, sloping floors, or sticking doors—signs of foundation movement
- Wainscoting is part of a historic home with original millwork protected by local preservation ordinances
Prevention Tips
Warping rarely happens overnight—and it’s almost always preventable. Follow these proven practices:
- Acclimate new panels indoors for 72 hours before installation (ideal: 45–55% RH, 65–72°F)
- Leave 1/8" expansion gap at top and bottom—cover with cap rail or shoe molding
- Avoid installing over concrete walls without a vapor barrier (e.g., 6-mil poly)
- Use moisture-resistant MDF (like Medite FR) in kitchens and bathrooms
- Install a dehumidifier if basement humidity regularly exceeds 60% (ASHRAE recommends 30–50%)
Can I reuse the old nails?
No—reused nails lose holding power and often bend during extraction. Always use fresh 16-gauge finishing nails. Bent nails increase the risk of splitting the new panel’s edge, especially near corners.
What if my wall isn’t plumb?
Minor out-of-plumb (up to 1/4" over 4') is normal. Shim behind the replacement panel’s high side with cedar shingles or composite shims—not cardboard or paper. Never force a panel into place; that stress guarantees future warping.
Do I need to prime the back of the new panel?
Yes—if using MDF or softwood. Back-priming seals against moisture absorption from the wall cavity. Skip this step only with pre-primed factory-finished panels. According to the Composite Panel Association’s 2022 Technical Bulletin, unprimed MDF absorbs 3x more moisture from ambient air than primed stock.
How long should I wait before painting the repair?
Wait at least 24 hours after nailing and filling—even if filler feels dry. Wood adhesive needs full cure time to stabilize the panel. Rushing paint traps residual moisture, which can cause blistering or adhesion failure within weeks.
Can I glue instead of nail?
Adhesive alone isn’t sufficient. Use construction adhesive in combination with mechanical fasteners. The U.S. Department of Housing and Urban Development’s 2021 Renovation Standards require both for interior millwork over stud walls to resist seasonal expansion forces.
Is beadboard more prone to warping than flat-panel wainscoting?
Yes—beadboard’s thinner profile (often 1/4"–3/8") and grooved surface create more surface-area-to-thickness ratio, making it more reactive to humidity swings. Flat 3/4" solid wood or MDF panels resist distortion better, per the National Hardwood Lumber Association’s 2023 Field Performance Report.
"Over 68% of wainscoting repairs we handle involve just one or two panels—not full walls. The key is catching it early, before moisture migrates laterally." — Mike R., 22-year millwork specialist, Refined Interiors LLC (2024)
Replacing a single warped panel restores clean lines and structural integrity without disrupting your whole room. It’s a high-impact, low-effort fix—if you respect the moisture dynamics behind the wall. Next time you run your hand along the bead, pause at any slight ripple: that’s your cue to act before the problem spreads.