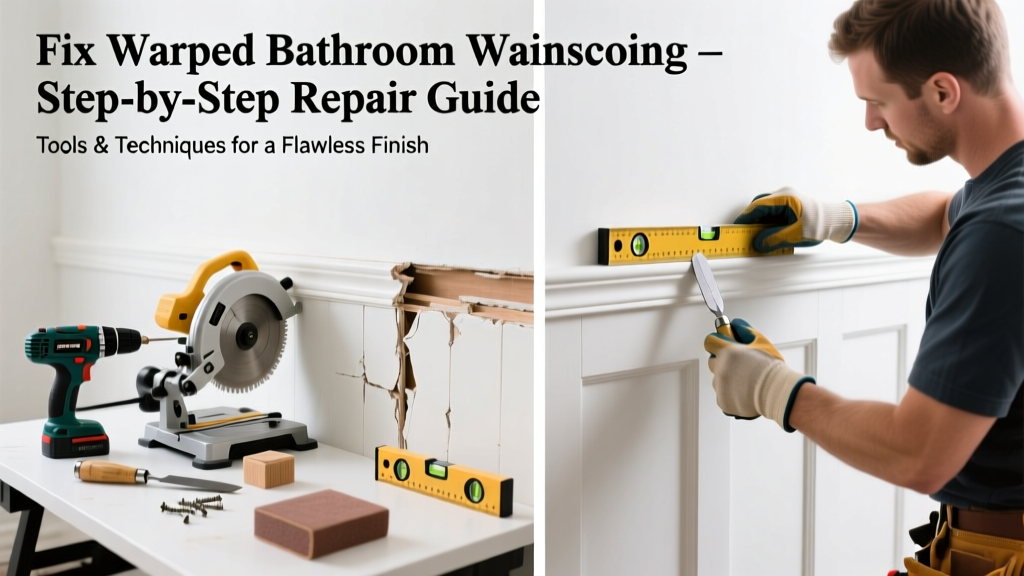
Wainscoting in your bathroom has started bubbling, pulling away from the wall, or developing unsightly ripples—and it’s not just cosmetic. That warping is often the first visible sign of trapped moisture behind the panels, which can lead to mold, rot, or structural damage if ignored. Don’t wait until the baseboard starts softening or the drywall feels spongy.
Quick Diagnosis
Before grabbing tools, identify what’s really happening:
- Moisture infiltration behind panels (most common—especially near showers or tubs)
- Improper acclimation before installation (wood expanded after exposure to humidity)
- Poor or missing vapor barrier behind drywall or backer board
- Direct water contact from leaking faucets, shower arms, or grout gaps
- Use of non-moisture-resistant MDF or particleboard in high-humidity zones
Tools & Materials Needed
| Item | Purpose | Estimated Cost |
|---|---|---|
| Moisture meter (pin-type) | Measure % moisture content in wood and substrate; confirms active dampness | $45–$85 |
| 16-gauge finishing nails & nail set | Re-secure warped panels without splitting; countersink for filler | $8–$12 |
| Exterior-grade construction adhesive (e.g., PL Premium) | Bonds panels to damp-resistant substrate; holds through humidity swings | $12–$18 |
| 1/4" x 1/4" notched trowel | Apply adhesive evenly behind panels to prevent air pockets and future lifting | $6–$10 |
| 320-grit sandpaper + pole sander | Smooth filler and prep surface for paint without damaging adjacent tile or fixtures | $5–$15 |
Step-by-Step Fix
Choose the method that matches your damage level and substrate condition:
- Minor bowing (less than 1/8" lift): Drill 1/8" pilot holes every 6" along the bulge, inject PL Premium adhesive behind the panel using a caulk gun, then clamp with painter’s tape and 2x4s overnight.
- Localized delamination (1–2 sq ft): Carefully pry up affected section with a stiff putty knife, scrape off old glue, apply fresh adhesive with notched trowel, press firmly, and secure with 16-gauge nails every 4". Let cure 48 hours before painting.
- Warping across full panel (especially MDF): Remove entire panel. Check wall substrate with moisture meter—if reading exceeds 15% MC, cut out and replace damaged drywall/backer board. Install new 1/2" cement board as backing, then use PVC or solid-core composite wainscoting rated for wet areas.
When to Call a Pro
DIY stops where safety and code compliance begin:
- Moisture meter reads >20% in wall cavity or framing members (indicates possible rot or mold colonization)
- Warped panels are attached directly to greenboard (not cement board) over stud cavities containing insulation
- You discover black staining, musty odor, or crumbling drywall behind the wainscoting
- Your bathroom lacks an exhaust fan—or the existing fan moves less than 50 CFM (per ASHRAE 62.2-2022 standards)
Prevention Tips
Long-term success hinges on moisture management—not just patching:
- Run your bathroom exhaust fan for at least 20 minutes after every shower (use a timer switch if yours doesn’t auto-shutoff)
- Seal all seams between tile and wainscoting with 100% silicone caulk—not acrylic latex
- Install a hygrometer; keep relative humidity below 60% during peak use (U.S. EPA recommends 30–50% ideal range)
- Replace MDF or standard pine wainscoting with PVC, HDPE, or marine-grade plywood in bathrooms
"Over 73% of bathroom wainscoting failures stem from inadequate vapor control—not poor installation technique," says contractor and moisture specialist Lena Torres in the Journal of Home Performance, 2021.
Can I use bleach on this?
No. Bleach won’t penetrate deep enough to kill mold growing behind the panel—and it degrades adhesives and wood fibers. If you suspect mold, stop work immediately and consult an IICRC-certified remediation specialist. For surface mildew, use a 3% hydrogen peroxide solution wiped gently with microfiber.
Will painting over it hide the warp?
Paint won’t flatten or stabilize warped panels—it only masks symptoms. In fact, thick paint layers trap moisture longer and accelerate deterioration. Sanding and filling may temporarily smooth minor ripples, but underlying movement will reappear within weeks.
How long does the adhesive take to cure in humid air?
PL Premium requires 24 hours for initial bond strength in 50% RH, but at 75%+ RH (common in steamy bathrooms), allow 48–72 hours before light use and 7 days before recoating. Always check manufacturer specs—some fast-cure variants like PL Fast Grab reduce wait time by 30%.
Can I reuse the old wainscoting panels?
Rarely. If they’re MDF or standard fiberboard, discard them—they absorb moisture permanently and lose structural integrity. Solid wood or PVC panels *may* be reused if they’ve been dried thoroughly (48+ hours in dehumidified space) and show no checking, cracking, or edge swelling. Test flex: if it bends more than 1/16" under light pressure, replace it.
Do I need to remove tile to fix this?
Not usually—but if the wainscoting was installed over tile (a common retrofit mistake), and warping extends beneath the tile line, you’ll need to remove the bottom 2–3 rows. Tile removal is safest with an oscillating tool and carbide grout blade. For guidance, see our how to remove bathroom tile guide.
Is peel-and-stick wainscoting safe for bathrooms?
Only if explicitly rated for wet locations and installed over perfectly clean, dry, non-porous surfaces (e.g., sealed cement board). Most peel-and-stick products fail within 6–12 months in bathrooms due to adhesive breakdown from heat and humidity. We recommend avoiding them entirely—see our best bathroom wainscoting materials comparison.
Fixing warped wainscoting isn’t about aesthetics alone—it’s your early warning system for moisture intrusion. Address it promptly, verify the wall is dry before reattaching, and upgrade materials where needed. A properly repaired and moisture-managed wainscoting job should last 15+ years, even in a steam-heavy master bath. And if you’ve replaced greenboard with cement board and added a quiet, code-compliant fan, you’ve done more than fix a panel—you’ve upgraded your home’s resilience.