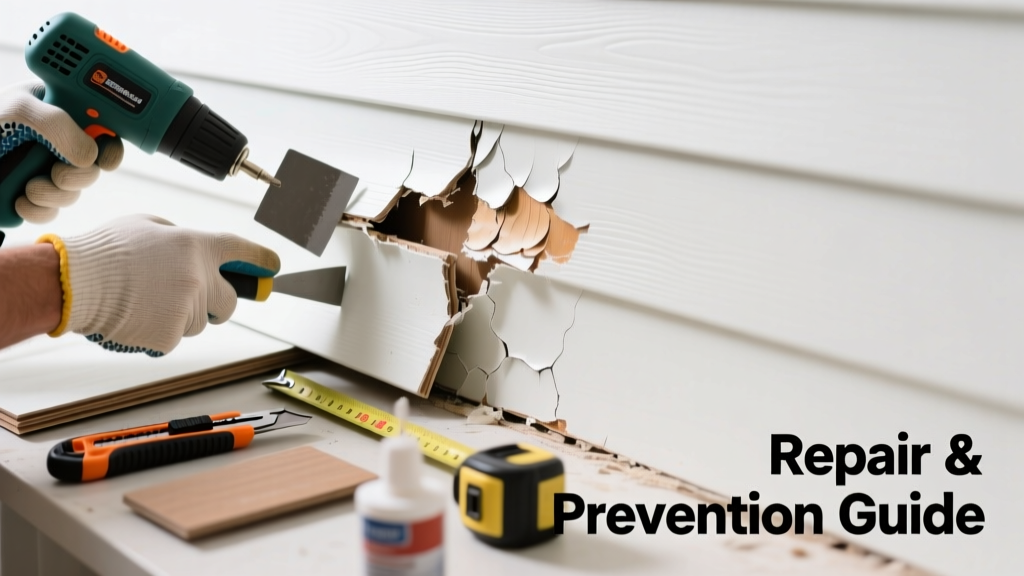
That warped, bubbled, or sagging section of vinyl siding isn’t just an eyesore—it’s a red flag that something’s overheating nearby. Vinyl begins to soften around 160°F and melts outright above 220°F, far lower than most people realize. If you’ve spotted distortion near windows, grills, or HVAC units, don’t ignore it—trapped heat can compromise insulation, invite moisture intrusion, and even create fire hazards.
Quick Diagnosis
Melted vinyl siding almost never happens by accident. It’s nearly always caused by concentrated heat exposure. Here are the top culprits:
- Low-emissivity (low-e) windows reflecting sunlight onto siding—especially during summer solstice months
- Gas grill or fire pit placed too close (<3 feet) to the house exterior
- Air conditioner condenser unit mounted directly against or angled toward the wall
- Halogen or LED landscape lighting aimed at the siding surface
- Dark-colored siding absorbing and retaining excessive solar radiation
Tools & Materials Needed
| Item | Purpose | Estimated Cost |
|---|---|---|
| Zip Tool (Vinyl Siding Remover) | Releases interlocking seams without breaking panels | $8–$15 |
| Utility Knife with Snap-Off Blades | Cuts through melted, fused sections cleanly | $5–$12 |
| Replacement Vinyl Siding Panel (matching profile & color) | Must match thickness, locking mechanism, and UV rating | $25–$45 per 12-ft panel |
| Corrosion-Resistant Screws (No. 8 x 1¼”) | Secures starter strip and new panel without warping | $6–$10 per box |
| Laser Thermometer (optional but recommended) | Measures surface temps to confirm reflection hotspots | $25–$60 |
Step-by-Step Fix
Replacing melted vinyl is straightforward—if the substrate is sound and only the outer layer is compromised. Follow these methods in order of severity:
- Assess substrate integrity: Gently press behind the melted area. If sheathing feels soft, rotted, or damp, stop and address moisture first—see our guide on repairing rotted sheathing behind siding.
- Remove damaged panel: Use a zip tool to unlock the upper edge from the course above. Slide it upward and out. Cut away any fused or brittle sections with a utility knife before full removal.
- Install starter strip (if needed): If the bottom row is gone, nail a corrosion-resistant starter strip level and plumb using shims. Leave 1/4" expansion gap at ends.
- Slide in replacement panel: Align the bottom nailing flange with the starter strip or underlying course. Press firmly until it clicks into place. Nail every 12–16 inches—but leave screw heads slightly loose (1/32") to allow for thermal expansion.
- Verify alignment & seal joints: Check horizontal level with a 4-ft level. Seal end joints with flexible, paintable acrylic caulk—not silicone—to prevent water entry while allowing movement.
When to Call a Pro
Some situations demand licensed expertise—not just because they’re tricky, but because missteps risk structural or safety consequences:
- More than three consecutive panels are melted—this signals systemic reflection issues requiring architectural assessment
- Melting occurs behind soffits or under roof overhangs, where access requires fall protection or ladder rigging
- You detect persistent musty odors or visible mold behind the siding—indicating long-term moisture infiltration
- Your home has fiber-cement or insulated vinyl backing; mismatched replacement can void warranties or trap condensation
According to the Insurance Institute for Business & Home Safety's 2023 report, improperly repaired vinyl siding contributes to 22% of post-storm water intrusion claims in southern U.S. states—many stemming from DIY attempts that ignored expansion tolerances.
Prevention Tips
Once fixed, protect your investment with proactive measures:
- Install anti-reflective window film on low-e glass facing south or west exposures
- Relocate outdoor cooking equipment to at least 5 feet from the house—and use a non-reflective concrete pad, not pavers
- Add a 2-inch air gap between AC condensers and walls using a mounting bracket kit
- Choose Light Reflectance Value (LRV) 55+ siding colors in climates with >2,500 annual sunshine hours
- Schedule biannual inspections of reflective surfaces—especially after window replacements or landscaping changes
Can I use bleach to clean melted vinyl siding?
No. Bleach accelerates UV degradation and makes already-softened vinyl more brittle. Instead, rinse with garden hose pressure and scrub gently with mild dish soap and a soft-bristle brush. For stubborn residue, use a 50/50 white vinegar–water solution—never undiluted.
Will painting over melted vinyl fix it?
Painting hides the symptom but worsens the problem. Darker paint raises surface temperature by up to 40°F—pushing compromised vinyl closer to total failure. The U.S. EPA estimates that 14% of household water usage is from leaks caused by ignored siding damage, including paint-trapped moisture behind warped panels.
How do I know if my siding is still under warranty?
Check the manufacturer’s label on the back of an undamaged panel (often near the top nailing flange). Most major brands—including CertainTeed, James Hardie (vinyl lines), and Ply Gem—offer 20–50 year limited warranties, but exclude heat-related damage unless you prove the installer used improper fasteners or omitted expansion gaps.
Can I patch melted vinyl instead of replacing it?
There’s no reliable patch for melted vinyl. Adhesives fail under UV exposure and thermal cycling. Heat-welded patches require industrial-grade tools and matching resin—something no hardware store carries. Replacement is faster, safer, and more durable.
Is melted vinyl siding a fire hazard?
Not directly—it’s self-extinguishing when flame source is removed—but melted areas expose wood sheathing and insulation, which *are* combustible. Also, gaps created by warping let embers enter wall cavities during wildfires. That’s why California’s Chapter 7A wildfire building code now mandates non-combustible cladding within 5 ft of grade in high-risk zones.
Why did only one section melt while the rest looks fine?
This almost always points to a focused heat source—not ambient temperature. Common triggers include a single window’s sun angle at 11 a.m. in June, a neighbor’s mirrored garage door, or a newly installed security light aimed downward. A laser thermometer reading across the wall will reveal spikes of 180°F+ in the affected zone, while adjacent areas stay below 120°F.
Replacing melted vinyl siding isn’t about aesthetics alone—it’s about restoring your home’s thermal envelope and weather barrier. Done right, the repair blends seamlessly and lasts decades. But skip the diagnostics, and you’ll be back at square one next summer. For deeper issues like recurring reflection patterns or whole-wall thermal imaging, consult a certified home energy auditor—they’ll spot what your eyes miss.