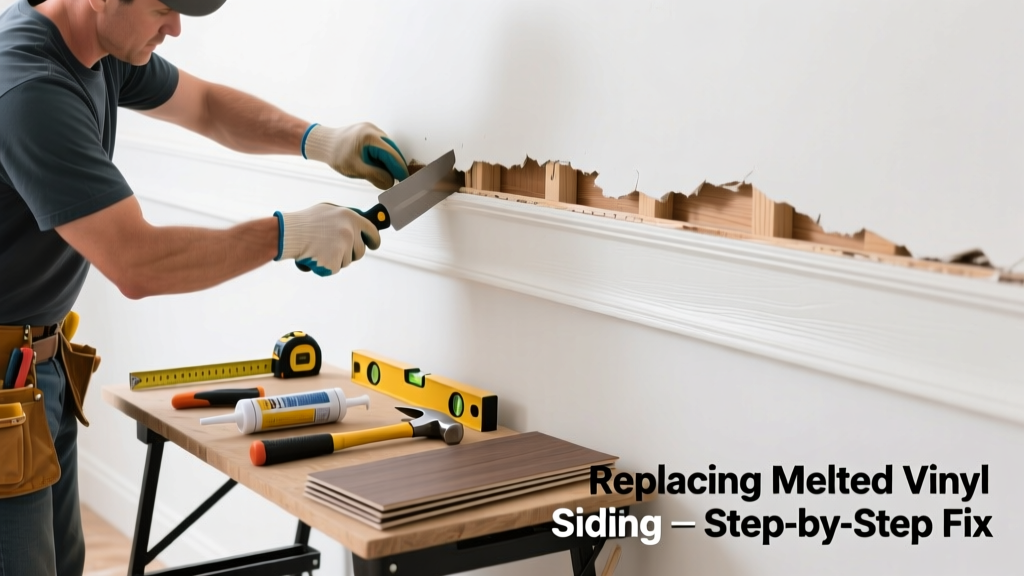
That warped, bubbled, or sagging patch of vinyl siding isn’t just an eyesore—it’s a red flag that heat damage has compromised its structural integrity and weather resistance. Whether it’s from a nearby grill, reflective window glare, or a malfunctioning HVAC vent, melted vinyl won’t recover on its own and must be replaced before moisture sneaks behind it. Ignoring it risks rot, mold, and even insect entry into your wall cavity.
Quick Diagnosis
Melted vinyl rarely happens without cause. Pinpointing the source prevents recurrence and helps assess scope:
- Proximity to outdoor cooking appliances (grills, fire pits) within 3–5 feet
- Concentrated sunlight reflected off energy-efficient windows (especially low-e glass angled toward the wall)
- Exhaust vents from dryers, HVAC units, or generators discharging hot air directly onto siding
- Accidental contact with welding sparks or torches during roof or deck work
- Prolonged exposure to heat sources like recessed lighting housings installed too close to exterior sheathing
Tools & Materials Needed
| Item | Purpose | Estimated Cost |
|---|---|---|
| Vinyl siding removal tool (zip tool) | Slides under panels to release locking seams without breaking them | $8–$15 |
| Replacement vinyl siding panel (matching profile & color) | Must match thickness, lap depth, and manufacturer’s lock design—check batch code on undamaged panel | $25–$45 per 12-ft panel |
| 1¼-inch corrosion-resistant siding nails (ring-shank) | Secure new panel while allowing for thermal expansion; never use staples or screws | $6–$12 per box |
| Level and tape measure | Ensure horizontal alignment and accurate cut length | $10–$25 |
| Utility knife with fresh blades | Cut replacement panel cleanly; dull blades cause cracking in cold weather | $3–$8 |
Step-by-Step Fix
Work from bottom to top—vinyl siding locks downward, so you’ll need to unhook panels above the damaged section first. Always wear gloves and safety glasses.
- Remove the damaged panel: Use the zip tool to gently lift the bottom edge of the panel directly above the melted section. Slide it sideways to disengage the locking hem, then lift up and out. Repeat for any overlapping panels above until the damaged piece is fully exposed and removable.
- Measure and cut the replacement: Measure the height needed, adding ¼ inch for expansion gap at top and bottom. Score and snap the new panel using a straightedge—never saw-cut unless absolutely necessary (sawdust clogs locking channels).
- Install the new panel: Slide the top locking edge under the panel above, then press down firmly while aligning the bottom with the course below. Use a level to confirm plumb and horizontal alignment before nailing.
- Nail correctly: Drive nails centered in the nailing flange, leaving 1/32-inch gap between nail head and flange to allow for seasonal expansion. Space nails no more than 16 inches apart, and never nail through the face of the siding.
When to Call a Pro
Some situations go beyond DIY safety or skill limits:
- Damage spans more than three full courses (horizontal rows), especially near corners or windows where specialty pieces are required
- Melted area reveals water-stained OSB or rotted sheathing beneath—this signals deeper moisture intrusion needing inspection and repair
- You’re unable to locate matching siding (especially if home is older than 10 years; manufacturers change formulations and colors frequently)
- Heat source remains unidentified or uncorrectable—e.g., solar glare from a neighbor’s newly installed window
Prevention Tips
Once repaired, prevent repeat damage with these field-tested strategies:
- Relocate grills and fire pits at least 6 feet from vinyl walls—and install a non-combustible heat shield (like fiber-cement board) behind them
- Apply anti-reflective window film to nearby low-e windows identified as glare sources (tested by holding a mirror to replicate reflection path)
- Redirect dryer or HVAC exhaust vents away from the house using rigid metal ducting—not flexible plastic
- Inspect siding annually for early signs of warping, especially on south- and west-facing walls during summer months
Can I glue melted vinyl back into shape?
No—melting permanently alters the PVC polymer structure. Heat-damaged vinyl loses tensile strength and UV resistance. Attempting to reheat or bond it invites cracking, further distortion, and premature failure. Replacement is the only reliable fix.
How do I find matching vinyl siding if mine is discontinued?
Start by checking the manufacturer stamp on an undamaged panel’s underside (often near the nail hem). Contact the maker directly with the product code and batch date. If unavailable, vinyl siding color matching tips can guide paint-safe options—but painting voids most warranties and requires special acrylic latex formulas.
Is melted vinyl siding a fire hazard?
Not actively—but it’s a warning sign. Vinyl ignites around 730°F, well above typical grill or reflector temperatures. However, once melted, its protective layer is compromised, making underlying wood framing more vulnerable to ember exposure during wildfires. According to the Insurance Institute for Business & Home Safety's 2023 report, homes with damaged or missing siding were 3.2× more likely to suffer flame penetration during ember-driven ignition events.
"Never force a new panel into place—if it doesn’t slide in smoothly, double-check alignment and expansion gaps. Over-compressing vinyl causes buckling within one season." — Dave R., certified vinyl installer with 22 years’ experience, Vinyl Siding Institute Master Trainer (2022)
Do I need to replace the entire wall if only one panel melted?
No—vinyl is modular by design. As long as adjacent panels are intact and undamaged, you can isolate and replace just the affected section. That said, if the melt occurred near a corner post or window jamb, you may need compatible starter strips or J-channels, which are available through specialty suppliers like vinyl siding accessories guide.
Can I install replacement siding in freezing weather?
Yes—but with caution. Vinyl becomes brittle below 40°F. Let panels acclimate indoors for 24 hours before cutting or installing. Use slower, deliberate pressure when locking panels, and avoid snapping or bending. The U.S. EPA estimates that 14% of household water usage is from leaks—including those caused by improperly installed siding, especially in temperature extremes.
What’s the average time to replace one melted panel?
An experienced DIYer can complete removal, measurement, cutting, and installation in 45–75 minutes—assuming no surprises behind the wall. First-timers should budget 2–3 hours, including tool familiarization and double-checking alignment. Rushing the nail placement or expansion gap is the #1 cause of callbacks, per the Vinyl Siding Institute’s 2021 Field Repair Audit.
Replacing a single melted vinyl siding panel is one of the most satisfying and cost-effective exterior repairs you can tackle—especially when you know exactly what went wrong and how to stop it from happening again. Just remember: precision in measuring, patience in locking, and respect for thermal movement make all the difference between a clean, lasting fix and a wavy, noisy mess down the road.