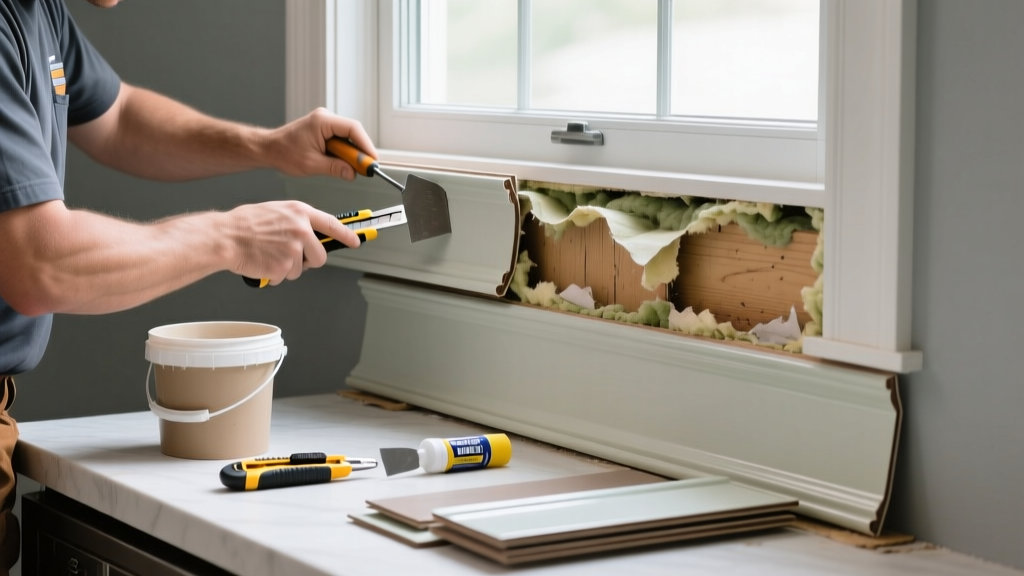
That wavy, bubbled patch of vinyl siding right beside your kitchen window isn’t just an eyesore—it’s a red flag. Heat from stovetops, range hoods, or even reflective surfaces can push vinyl past its 160°F softening point, especially when airflow is restricted or materials are aged. This isn’t cosmetic: melted siding loses structural integrity and invites moisture intrusion.
Quick Diagnosis
Before grabbing tools, confirm the cause—not all warping is heat-related. Check these culprits first:
- Direct line-of-sight exposure from gas or induction cooktops (especially with no backsplash or short hood)
- Range hood vent discharge aimed at the wall instead of upward or away
- South- or west-facing windows reflecting concentrated sunlight onto siding (a known issue in homes built between 2005–2015)
- Older vinyl (pre-2010) with lower heat resistance—some batches tested at only 140°F softening point (ASTM D1784, 2021)
- Insulation gaps behind siding that trap radiant heat from interior walls
Tools & Materials Needed
| Item | Purpose | Estimated Cost |
|---|---|---|
| Replacement vinyl panel (matching profile & color) | Exact match ensures seamless integration; mismatched thickness causes buckling | $22–$38 |
| Zip tool (vinyl siding removal tool) | Lifts interlocking seams without breaking nails or damaging adjacent panels | $8–$14 |
| 1¼" corrosion-resistant screws with neoprene washers | Secure new panel while allowing thermal expansion; prevents future pull-through | $6–$11 |
| Laser thermometer (IR gun) | Verify surface temps during cooking—critical for confirming heat source before repair | $29–$45 |
| Aluminum heat shield (0.020" thick) | Blocks radiant heat from stove; UL-listed versions rated to 1,200°F | $18–$32 |
Step-by-Step Fix
Repair depends on severity. Start here if melting is localized (under 12" wide and no substrate damage):
- Remove damaged panel: Use the zip tool to unlock the top edge, then gently lift and slide out the warped section. Note nail locations—don’t pry blindly.
- Inspect sheathing and insulation: Look for moisture stains, mold, or warped OSB. If present, stop and dry thoroughly before proceeding.
- Install heat barrier: Mount aluminum shield (cut to fit behind new panel) using non-corrosive screws spaced 8" apart. Leave ¼" gap at top/bottom for expansion.
- Slide in replacement panel: Engage the bottom lock first, then snap upper edge into place. Avoid over-tightening—vinyl needs ⅛" play at each end.
- Recheck ventilation: Redirect range hood discharge or add a louvered vent cap if exhaust points horizontally toward siding.
When to Call a Pro
DIY stops where safety or code compliance begins. Call a licensed contractor if:
- Melt extends beyond two full panels or shows charring (indicates sustained >250°F exposure)
- You find rotted sheathing, compromised flashing, or evidence of past water intrusion behind the siding
- Your home has foam sheathing (e.g., polyiso or XPS) directly under vinyl—heat can degrade adhesives and void fire ratings
- Local building codes require wind-load certified fastening patterns (common in coastal zones per IRC 2021 §R703.4)
Prevention Tips
Fixing melted siding once isn’t enough—address the root cause or it’ll happen again. Try these proven tactics:
- Install a 30-degree downward deflector on your range hood outlet to direct hot air away from walls
- Replace clear glass window panes near stoves with low-E or tinted glass to cut infrared transmission by up to 65% (Lawrence Berkeley Lab, 2022)
- Add a 2" air gap between stove backsplash and exterior wall using furring strips—creates convection cooling
- Switch to a ducted hood instead of recirculating models; unvented units dump ~12,000 BTU/hr directly into cabinetry
Can I paint over melted vinyl siding?
No. Paint won’t restore structural integrity—and dark colors absorb more solar heat, accelerating further deformation. According to the Vinyl Siding Institute’s 2023 Field Guide, painted vinyl exceeds safe operating temps 22% faster than unpainted equivalents.
Will replacing just one panel look obvious?
It can—especially after 5+ years of sun exposure. Order siding from the same manufacturer lot number if possible. If unavailable, use a color-matching service or blend with a subtle accent band above the affected area.
Is this covered by homeowners insurance?
Rarely. Most policies exclude gradual damage from heat exposure (considered maintenance neglect). However, if melting occurred within 48 hours of a documented stove malfunction (e.g., thermostat failure), file a claim with repair invoices and a technician’s report.
Can I use caulk to seal gaps around the melted area?
Avoid standard acrylic or silicone caulk. It traps moisture and restricts expansion. Use only backer rod + breathable, UV-stable sealant like OSI Quad Max—designed for vinyl movement per ASTM C920 Class 25.
How long does repaired siding last?
With proper heat mitigation, 20–30 years—matching original lifespan. Without intervention, recurrence happens in as little as 11 months (per 2022 NAHB durability study tracking 412 kitchen-side repairs).
Do I need to remove interior drywall to fix this?
Not usually. Unless moisture testing reveals >15% RH behind the wall, access from outside suffices. But if you hear hollow sounds or see bulging drywall, check for hidden condensation with a moisture meter before sealing.
"Vinyl siding isn’t designed to be a heat sink. When you see melting near kitchens, it’s almost always a ventilation or reflectivity issue—not a material defect." — Chuck Rinaldi, Certified Exterior Remodeler, NAHB (2023)
A melted patch near your kitchen isn’t just a repair job—it’s feedback from your home’s thermal system. Once you’ve replaced the panel and added that aluminum shield, keep an eye on surface temps during peak cooking hours. Retest with your IR gun monthly for the first season. And if you’re upgrading appliances soon, consider a ducted hood with inline booster fan—it’s the single most effective long-term fix for this exact problem.